How long do you think it takes to plant 40,000 onions by hand?
One week, maybe two weeks?
With the Paperpot Transplanter, two days tops.
That’s what Darren Vollmar at Ledgeview Gardens in De Pere, Wisconsin, is doing. A 20-acre farm that grows both in-field and hydroponically, Ledgeview Gardens does 40,000 paperpot onions of six different varieties every season: three early-season varieties and three storage varieties.
In this webinar, Darren Vollmar shares tips and techniques for planting 40,000 onions with the Paperpot Transplanter.
Onion Basics
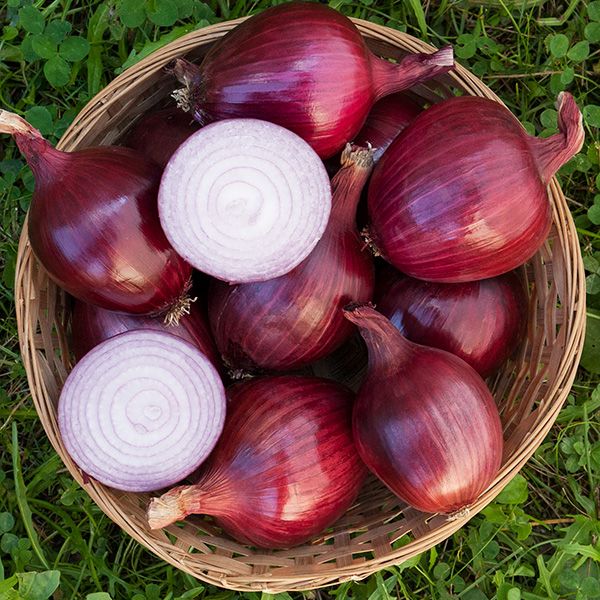
Storage or Fresh. When selecting onions to grow, remember that certain varieties are meant for storage into the winter, and others will not store well and should be eaten fresh.
Germination. Yellow and white onion varieties generally germinate earlier than red varieties, and some storage varieties also germinate earlier than early fresh varieties.
Need trimming. When aiming for bulb onions, trim the tops of the plants while in the nursery to divert the plant’s growing energy to the roots and the bulb. Otherwise, the plant will spend its growing energy on both the top leaves and the bulb, making sizing up the bulb take a lot longer.
Paperpot Onions: The Downside and Upside
Downside. Planting paperpot onions at a high volume in the Paperpot transplanter requires a lot of space and a high upfront cost in trays.
At their volume of 40,000 onions at 264 cells per tray, about 151 trays are needed to seed them all in, plus an extra 20% to account for potential germination issues.
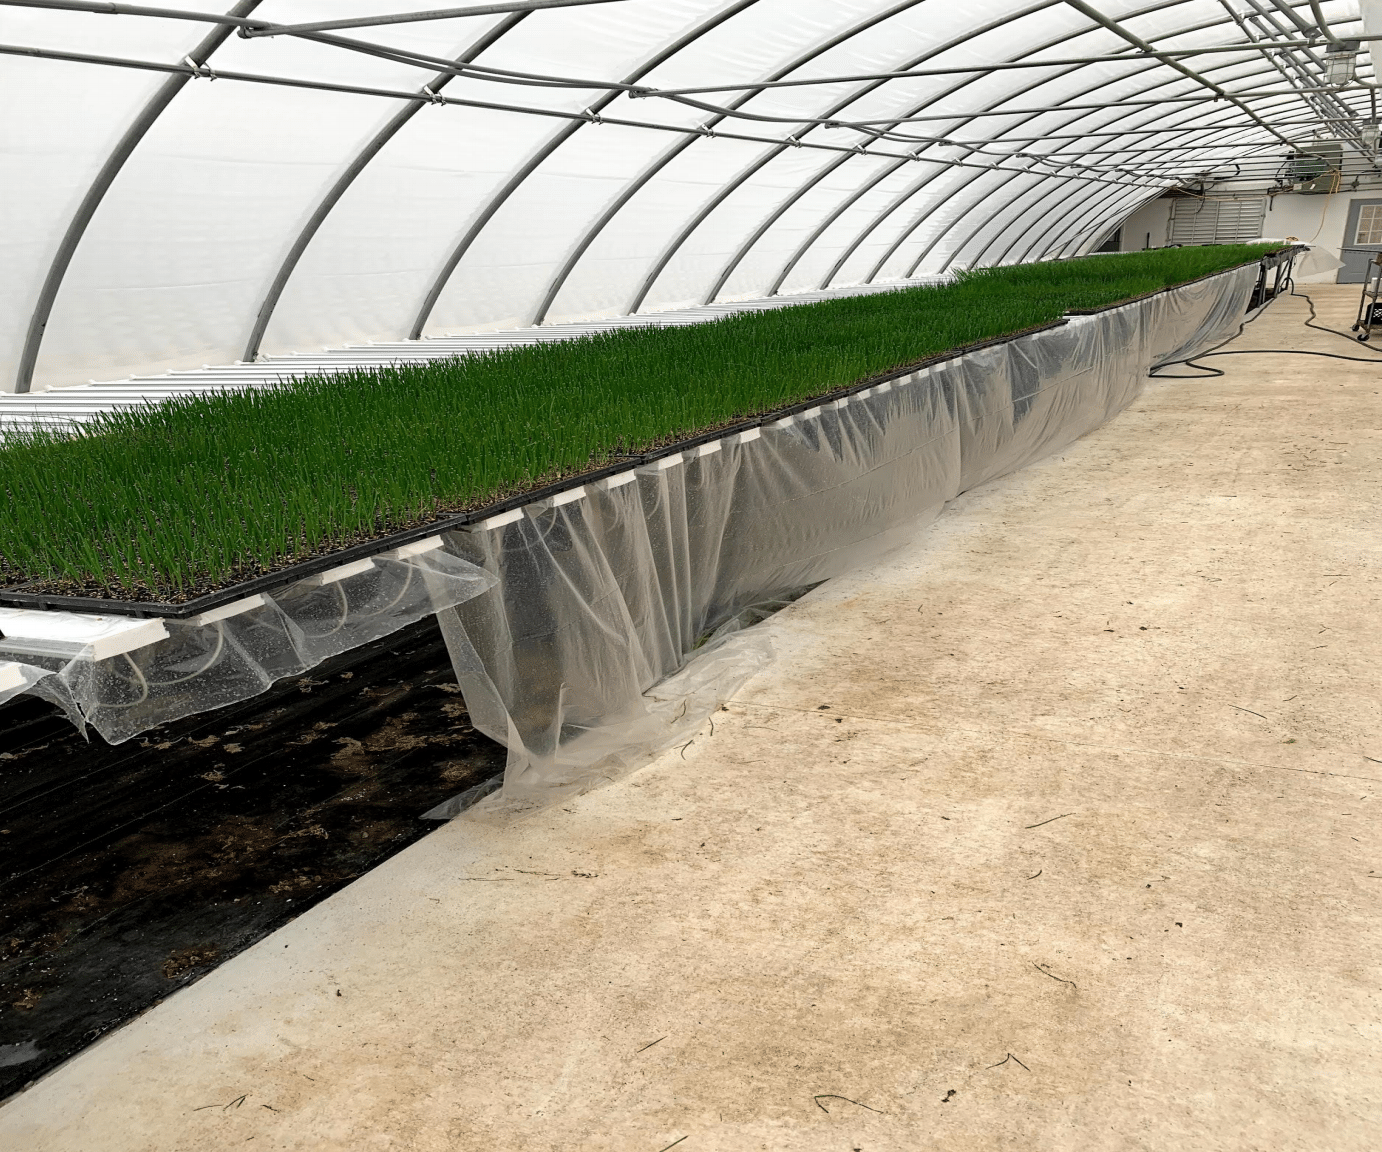
For perspective, the space required to hold all Ledgeview Gardens’ germinating onion trays is 5’x100’. A space this size holds eight varieties of 5,000 plants each.
Upside. Despite the space issue, the Paperpot system makes up for it by cutting down the time needed to plant out all the crops to less than half compared to traditional hand transplanting.
At Ledgeview Gardens, a single person can plant out 40,000 crops of onions, leeks, and shallots in a day and a half, and even faster with another person following behind carrying fresh trays at the ready.
Soil Prep and Spacing
Darren shares how they prep their beds and mark their spacings when planting onions at Ledgeview Gardens.
Aim for loose soil. The Paperpot Transplanter works best on loose, fluffy soil, which you want to aim for when planting out any crop using the tool.
Minimal rocks and debris. The biggest problem Darren watches out for when doing his bed prep is rocks. He explains that when the transplanter hits a decent-sized rock, it will shift and curve the row. Although it can be easily corrected, the issue will come later on when weeding using a mechanical weeder that does multiple rows at a time. Chances are, the weeder will either pick up an onion or two or pick up the paper pot chains if they’re not buried deep enough.
Remember: If you hit a rock and the row shifts, try not to follow the curve while you’re doing the next row.
Minimal Till. Though not required, Darren tills his beds just enough to loosen the top layer of soil for the Paperpot Transplanter.
Raised beds or flat ground. Onions will do well on either raised beds or flat ground.
Minimal to low soil moisture. For a smooth transplanter run, make sure that your soil’s moisture content is just enough that the transplanter’s weighted wheels can compact the soil around the chains, but not too wet that the soil will pull in clumps as the tool runs along the bed.
Space between rows. Onions will perform well even in tight spacing between rows, up to six rows in a 30-inch-wide bed. That said, planting at tight spacings may pose a challenge when doing mechanical weeding that requires hefty tire space.
Firm bed edges. When planting on raised beds, having a bed maker that will firmly pack the bed top will significantly help fit those six rows on a 30-inch-wide bed.
Seeding Onions in Paper Chains
Paper chains. Onions will do well in all paper chain spacings. Darren does most of their onions in 4-inch paper chain pots except for leeks, which they do in 6-inch chains.
Seed. Onion seed is available raw or pelleted, but between the two, Darren highly recommends getting pelleted seeds when able. Non-pelleted onion seeds tend to slip between the drop seeder plates, and cells often end up with multiple seeds. On the other hand, pelleted seeds work best with the drop seeder and make seeding very quick and efficient.
Nutrient shot. Because Ledgeview Gardens has a hydroponic setup, they’re able to fertigate their trays with water-soluble nutrients of phosphates and nitrates, which is easily achievable by dissolving all-purpose plant food.
They use OMRI-certified Monty’s All-Purpose Plant Food in liquid form that they dilute and apply by overhead watering. The nutrient shot gives the onions a boost and keeps them green.
When to seed. In Wisconsin, where Darren farms, they seed their onions around mid to late February.
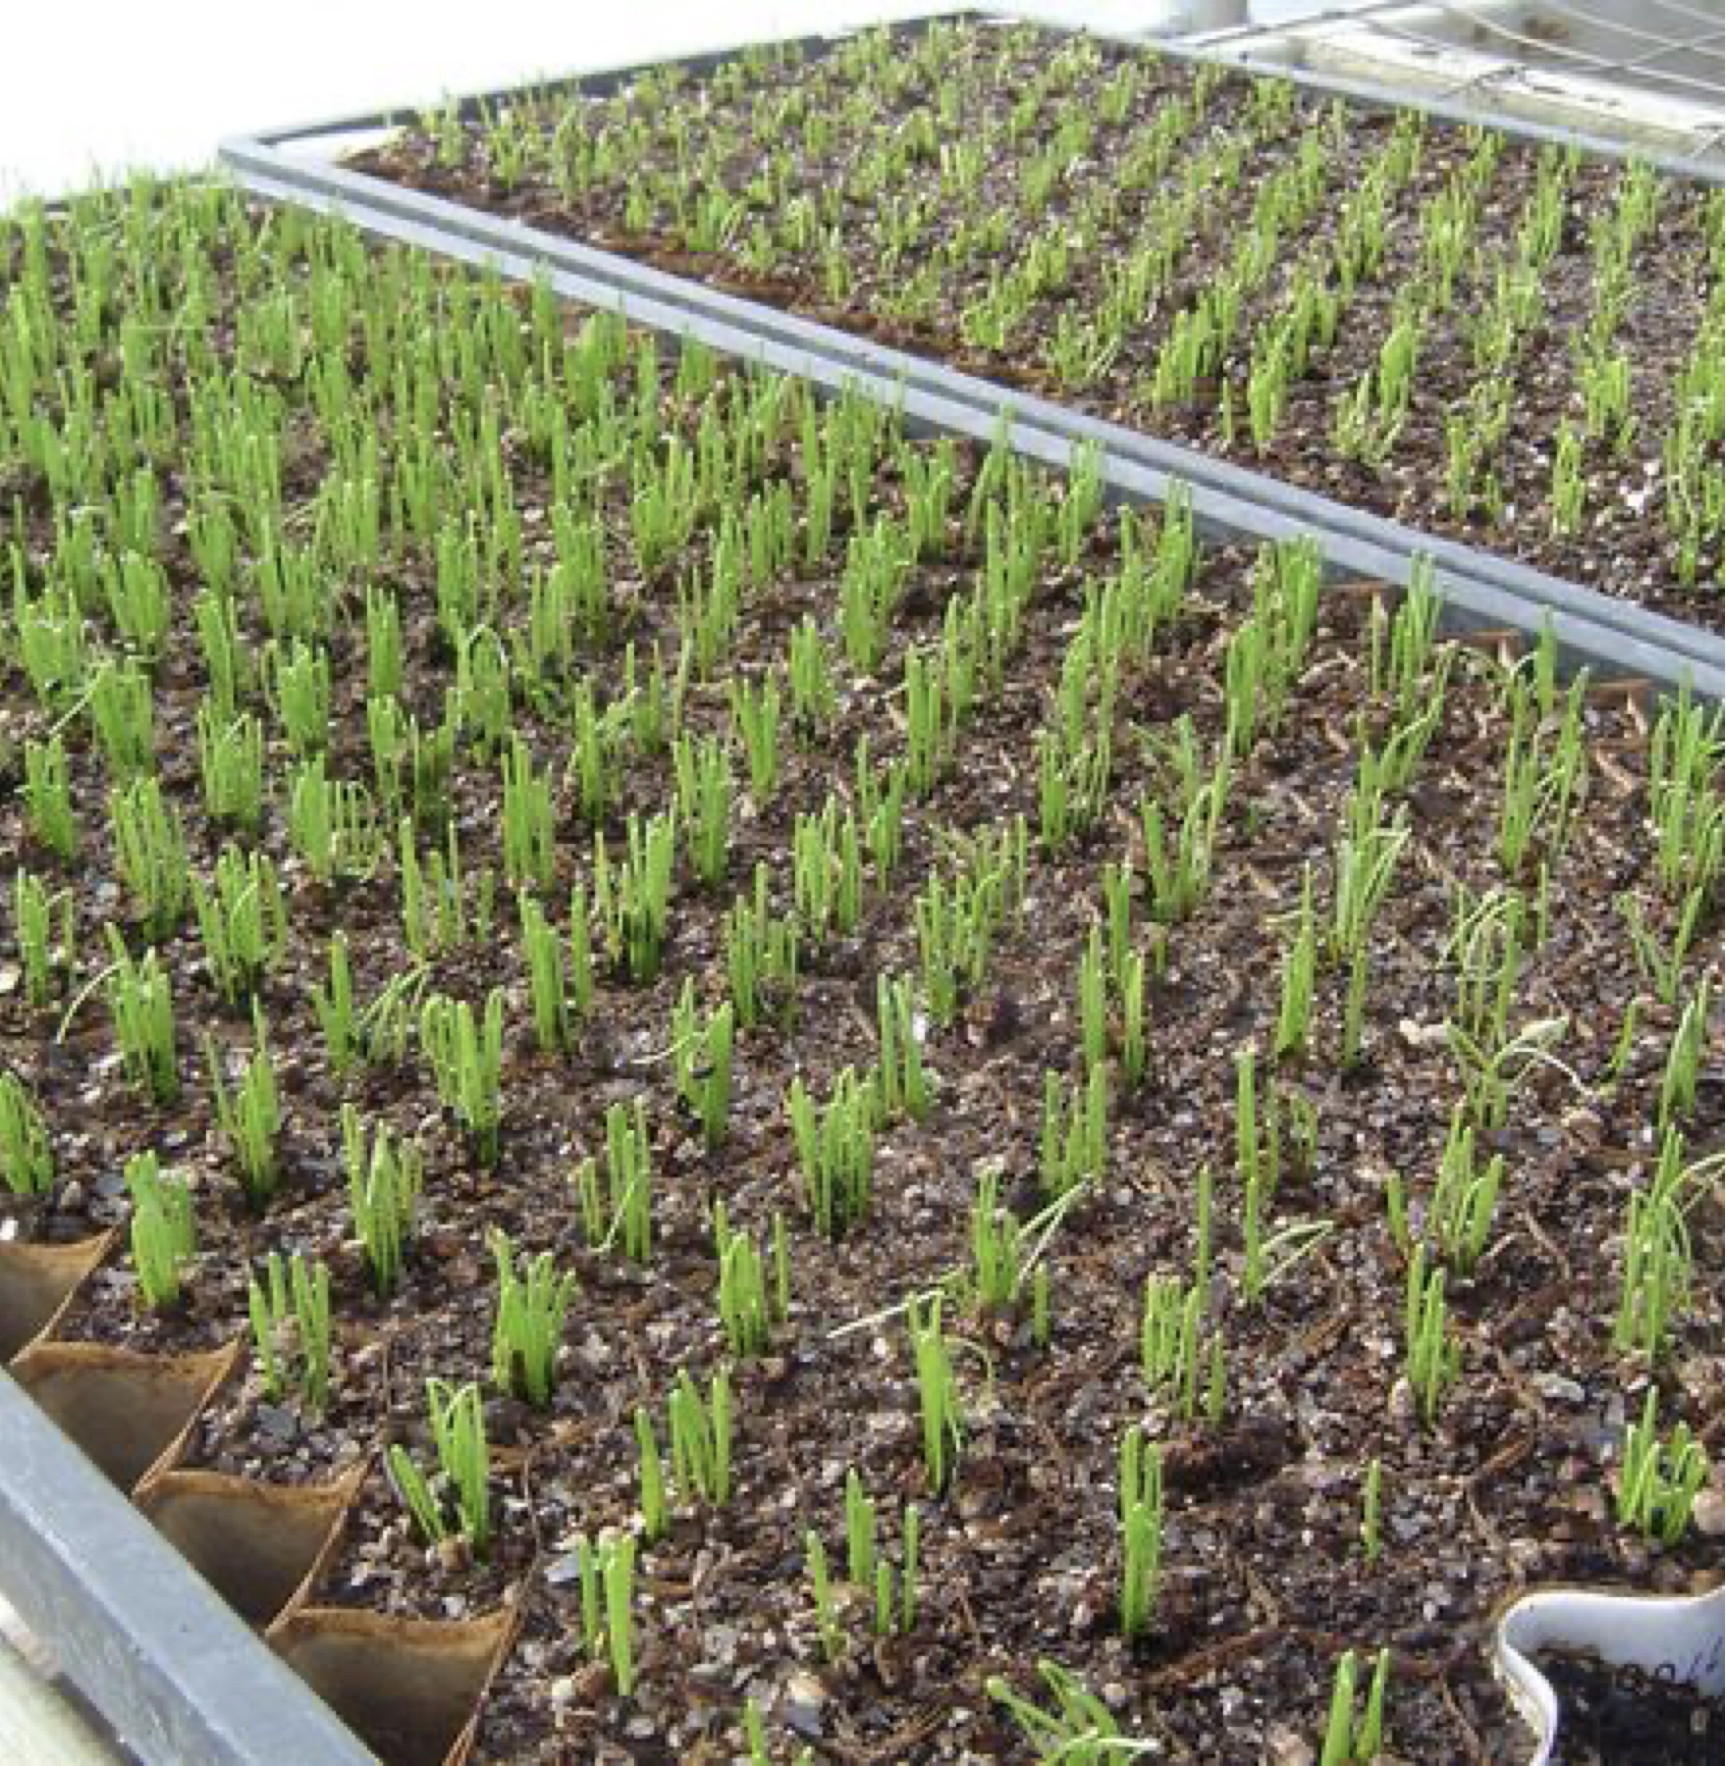
Germination rates will be seen around one week after seeding. If there are spots of bad germination, Darren re-plants trays and consolidates them, or he will dibble the empty cells with a pencil, re-seed, and give them more time to germinate.
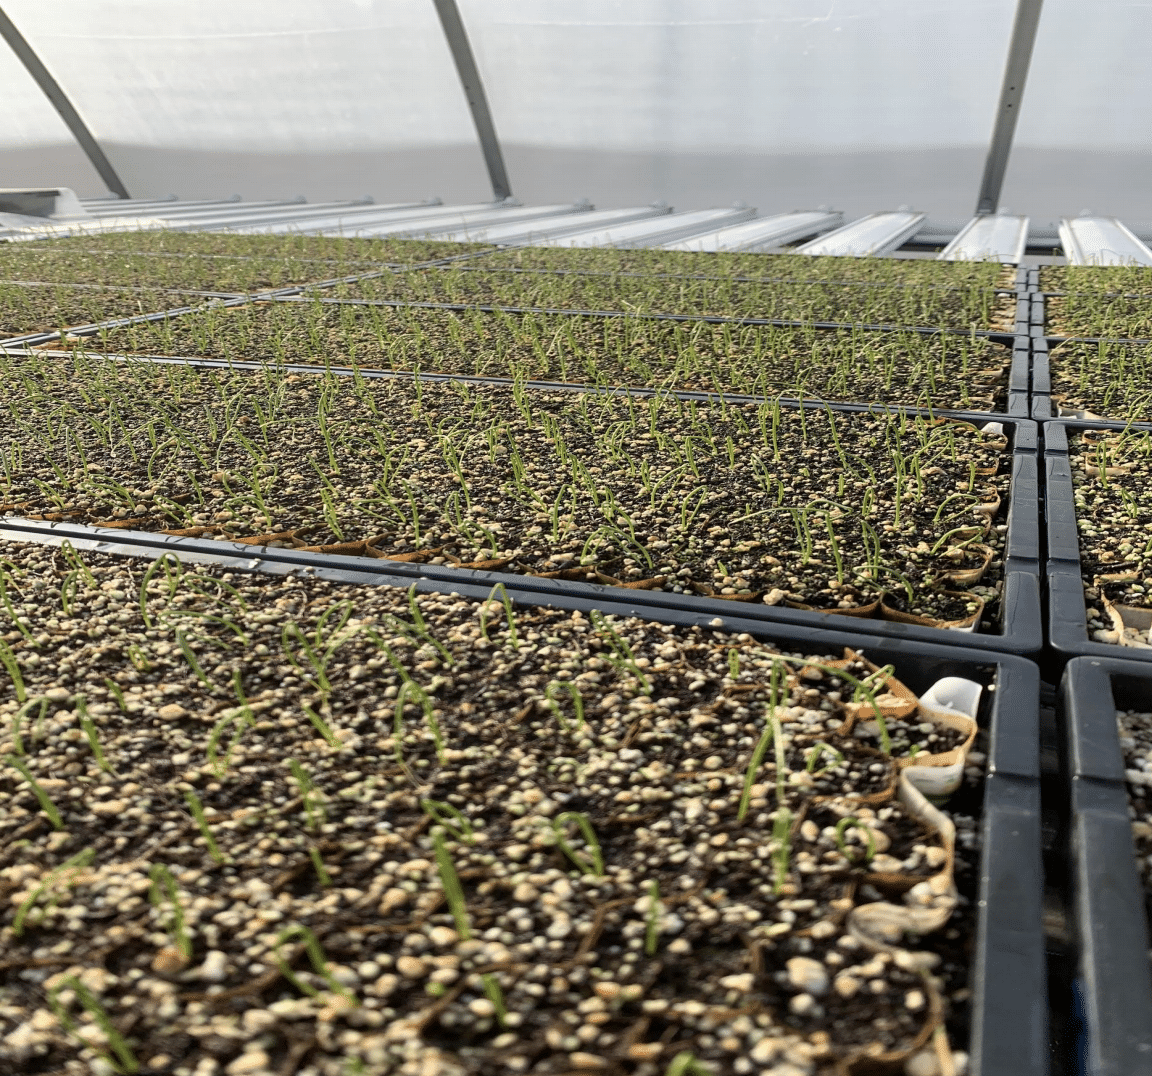
One week after seeding.
Miniature greenhouse set up. The seeded trays are covered with a plastic sheet to create a miniature greenhouse environment and retain humidity. Once they germinate, the plastic comes off until they’re ready to be planted out in the field.
Trimming. Onions are trimmed twice. Trimming the onion tops allows the plant to redirect its growing energy to the root system and the bulb itself. Trimming also prevents the tops from tangling with each other when they’re transplanted out into the field.
1st trimming is done when the top leaves are at 6-8” high and are cut to 4”.
2nd trimming is done about two weeks before transplanting, and no more than 3” is trimmed from the top.
Yellowing Leaves. After trimming, the area where the cut was made will tend to yellow. This is not a cause for concern. However, if the leaves begin to yellow going down towards the bulb, you might want to give them some additional nutrients to help them green up. The extra nutrients will also help to prevent transplant shock.

Trimmed tops.
Common Concerns
Many growers are reluctant to grow paperpot onions because of two concerns: one, that there isn’t space for enough soil to hold the plant until it comes time to transplanting onions, and two, that the chains will not hold up if the onions stay in them for too long. Darren shares that this is not the case: the chains hold up fine, and there is enough soil in the cells to hold the onions from seed to field, no problem.
He shares an anecdote of having left trays of onions in the greenhouse because there was no space in the field. The onions bulbed up into cipollini-type and grew out of the chains just fine and never needed to be planted out into the field.
4-inch Paper Chain vs 6-inch Paper Chain
Four-inch chains made the most sense for Ledgeview Gardens’ context and provided just the right amount of space where the onions would almost touch after they sized up, given the nutrients they needed for the season.
On the other hand, six inches were a little too much space to allow more weeds to come up between each cell.
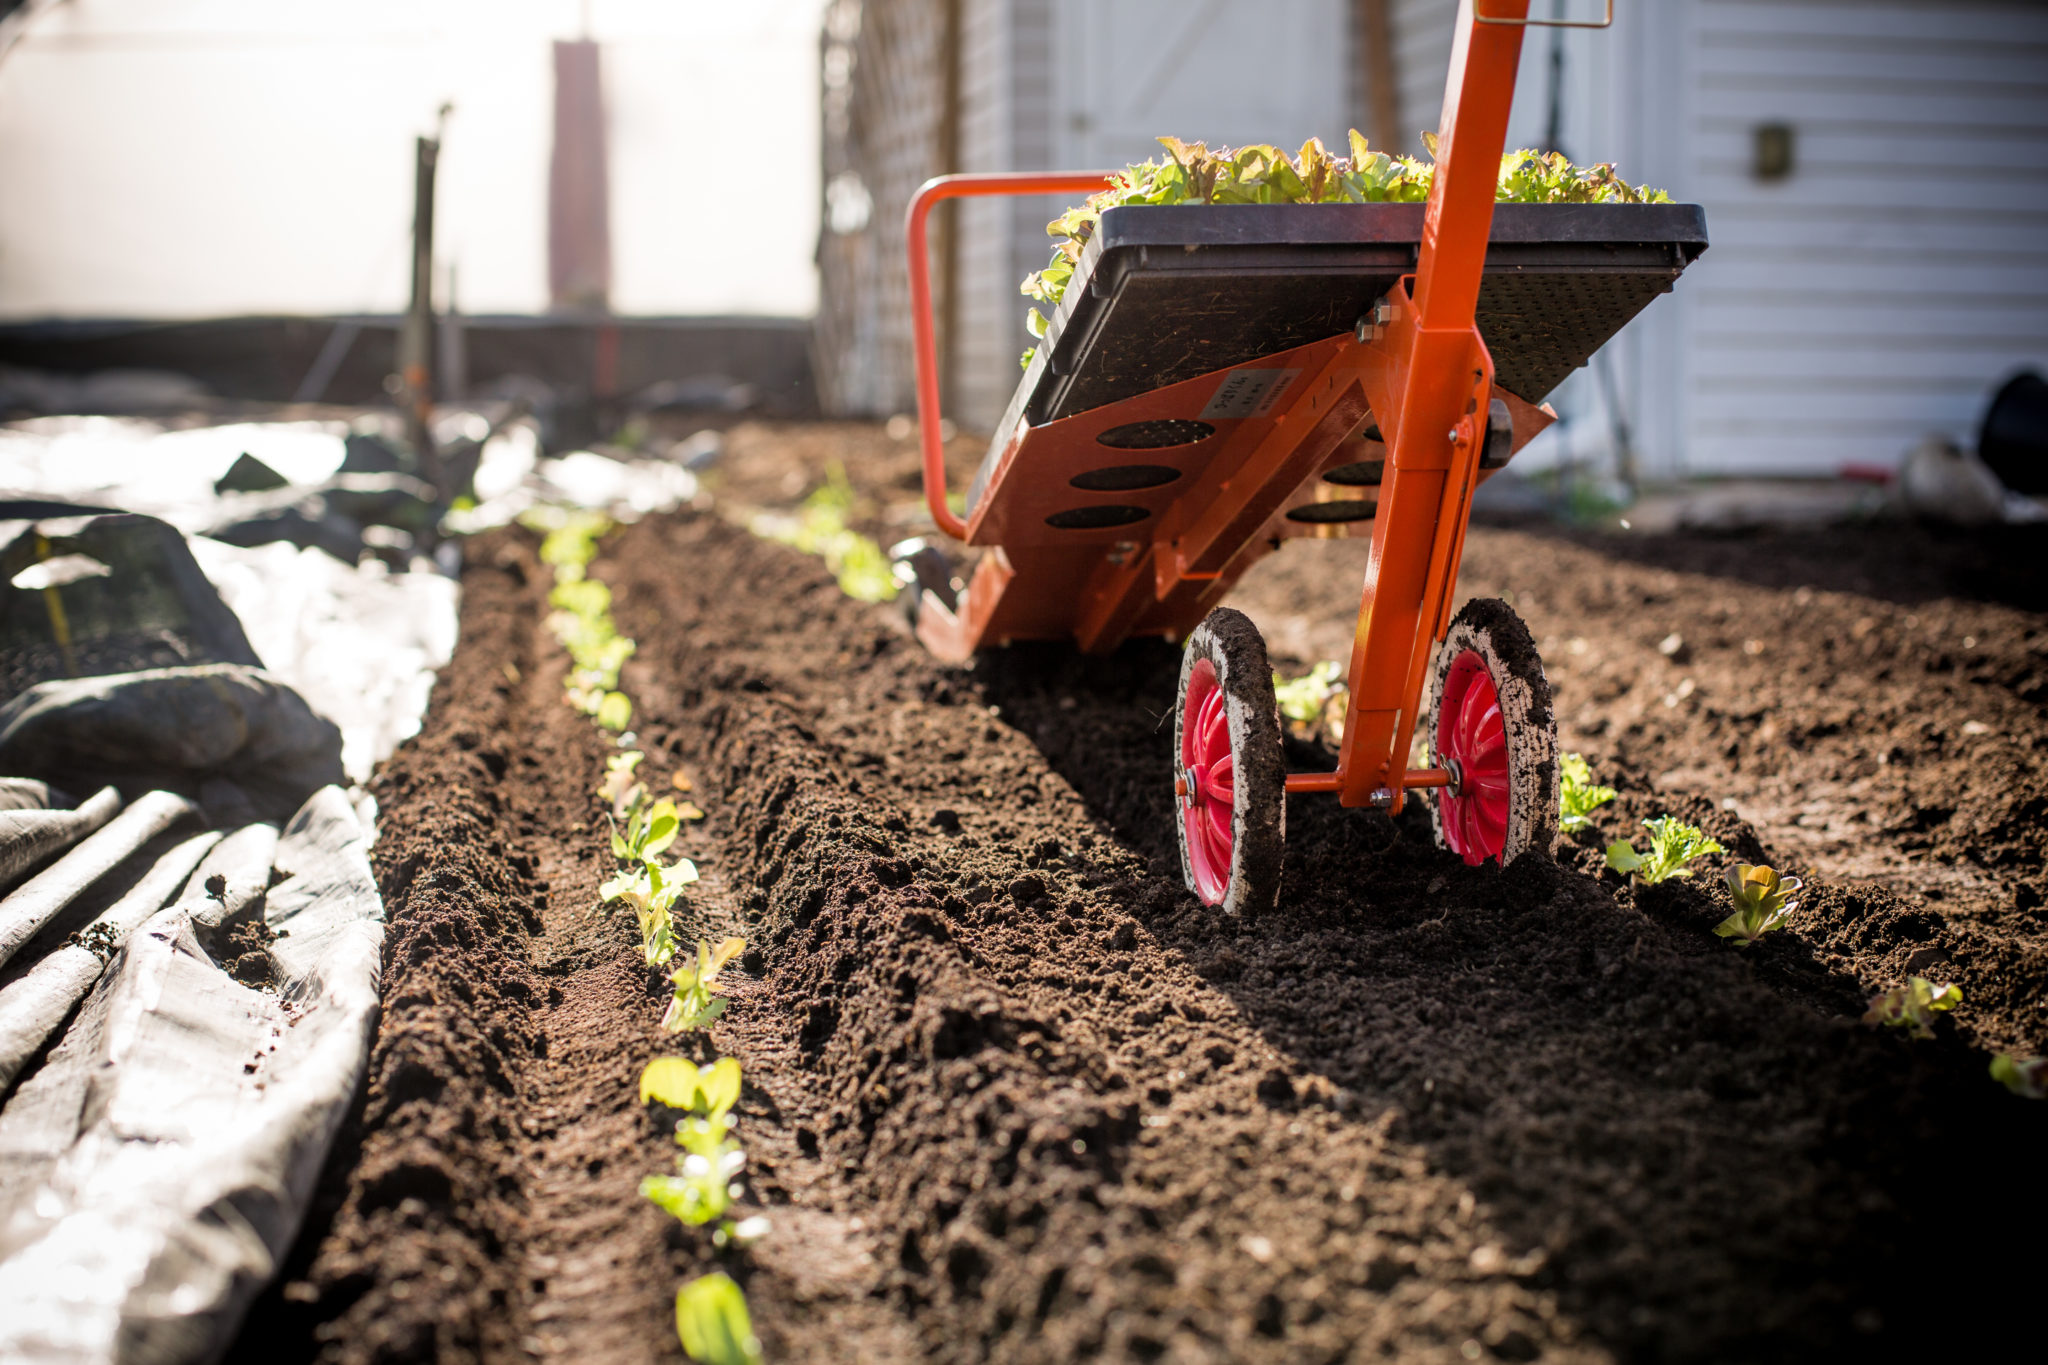
Paperpot Transplanting
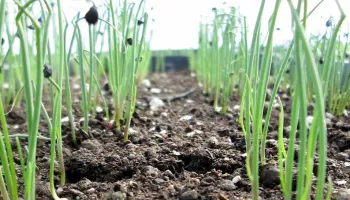
The onions are ready to be rolled out into the field 1½-2 weeks before the last frost date, which usually falls in late April or early May in Wisconsin. Getting the timing down right for in-field growing also helps with minimize transplant shock.
Lastly, before they’re planted out, the crops will get one last in-tray fertigation.
Straighter rows are better. Straighter rows make for easier weeding and harvesting.
Adjust planting depth according to your soil structure. Given that onions are stocky, they thrive best planted deeply in the soil.
In soft, sandy soils, the onions can be easily planted deep with minimal adjustments to the paperpot transplanter, but in harder, clumpier clay soils, planting at depth might be a little more challenging, and some onions might peek out from the soil. Adjusting the weighted wheels will help to plant them deeper. The first rains also help with setting in the onion roots.
If the onions are planted deep enough, you won’t have to worry about accidentally pulling up the crops when you are weeding. You might hit the chains, but the onions will stay in the ground.
Water the chains well, but do not saturate. The dryer the trays are in the nursery, the more the paper chains will stick together when being transplanted, which causes tearing. If algae begin to grow on top of the chains, the chains will stick together even more and raise the risk of them tearing apart as they’re rolled out in the field. Prevent this by watering the trays 2-3 hours prior to planting.
No outgrowing roots. Make sure no roots are growing through the bottom of the tray. Otherwise, the trays will hold onto the onions as they’re being planted out. The transplanter’s ramp can be used to scrape off the roots for smooth planting.
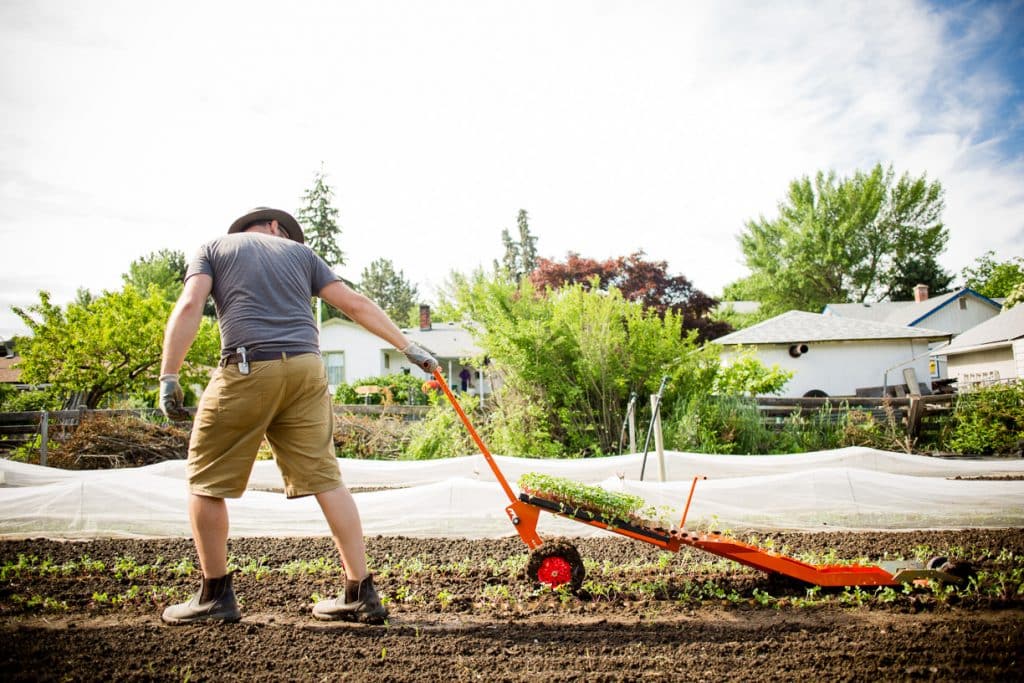
A second person to help. Although the Paperpot Transplanter’s weighted wheels do a good job of covering up the chains and packing down the soil, it will occasionally miss a couple of spots, which is why a second person follows along and fills in those spots as Darren operates the machine.
With their toes pointed out and their heels pointed in, the second person straddles the rows and digs their heels in to fill in space that the paperpot transplanter could not fully cover up. They also carry fresh trays to replace the empties for Darren. When there isn’t a second person to help, Darren will leave replacement trays at about 16-pace intervals.
If the rows of paper pot chains are out of the row alignment, the second person can also set the chains right and re-burry them before continuing down the row.
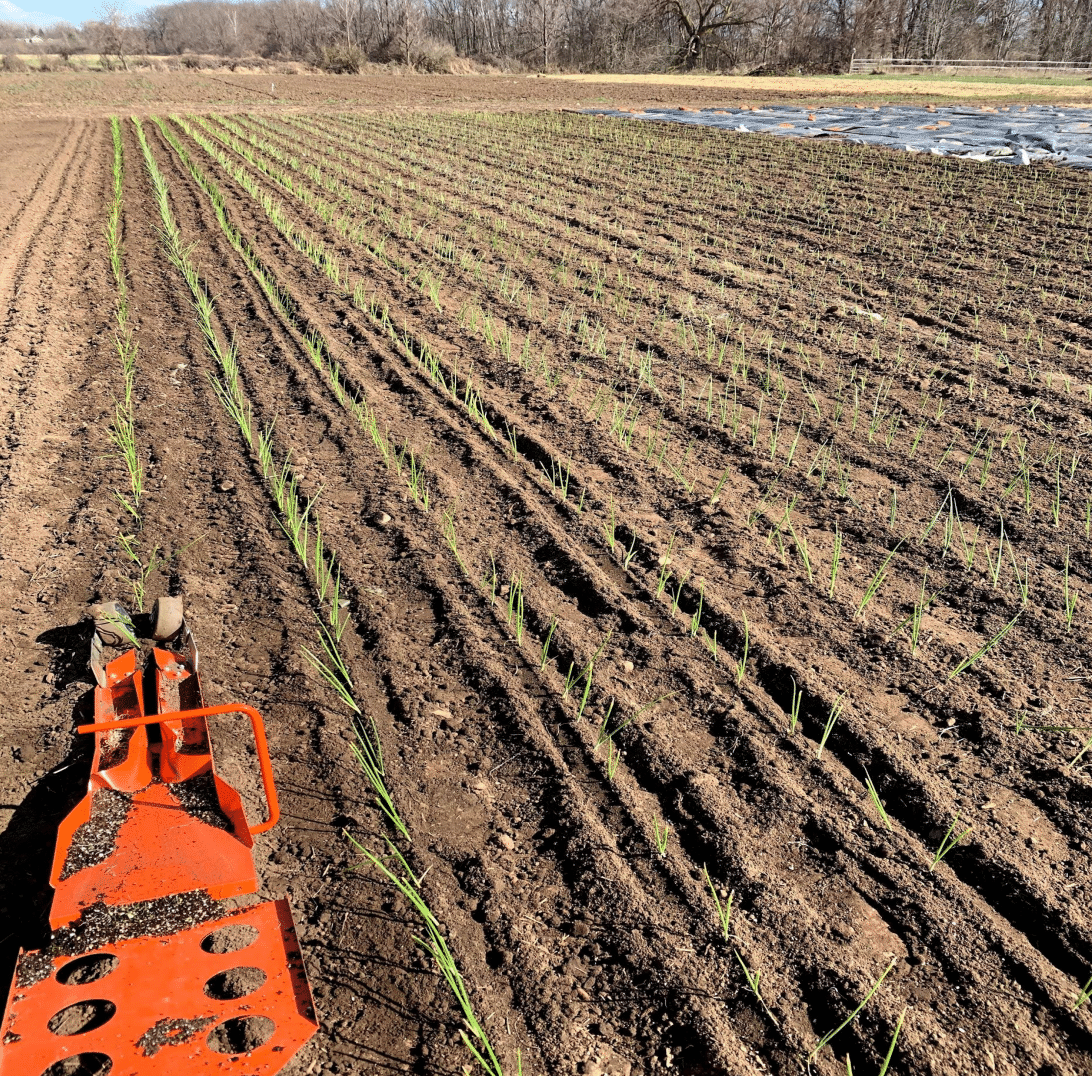
Planting out onions at 4” in-row spacing.
Weed Control for Paperpot Onions
Planting in paper chains or not, Darren says that weeding is always the most challenging part of growing onions. And when the in-row spacing is 4”, it’s twice the challenge.
Early bed prep is the best. The best way to stay on top of weeds for growing any crop is to deal with them before they become a problem, and stale seed bedding is a great way to do it. Depending on your farm and your weed seed bank, flame weeding can also be a good option, although Darren notes that flame weeding doesn’t work too well when they’re dealing with crabgrasses on their farm.
Finger weeders. Although the roots need to have firmly set in before starting, finger weeders work well with paper chain pots.
Tine weeder. When considering using tine weeders, take care not to go in aggressively, and make sure that the chains are deeply buried. Otherwise, you run the risk of tearing up both the paper chains and the crops. Onions are hardy, but if tine weeders bend the onion necks too much, the cell structure of the plant can get destroyed, which then stunts the onion’s growth.
Wire weeders. Wire weeders work well with leeks planted at six inches apart, but not with closer-spaced onions.
Wheel hoes. Wheel hoes only work between the rows but not between crops within rows.
Beat out the weed pressure. According to Darren, once the onions start to size up, they can sufficiently beat out the weed pressure and continue to grow to good market-sized onions.

Two-wheel tractor weeding setup.
Onion Size Demand
The fewer number of onions there is to a pound, the better it is for market sales, which is why Darren is pleased that they’re able to bulb up their onions to good market sizes. That said, he does have customers who want giant, 3-4” diameter onions, while others prefer small to medium-sized ones.
This goes to show that however big you grow your onions, there will always be a market for them.
Gardener Mentality
Some market farmers have that gardener mentality—they tend to baby their paper chain pots: they hope to prevent transplant shock by going slow when they’re transplanting, and they come back afterward with a rake to clean up and neaten the rows. In a 20-acre farm of direct-seeded, paper pot, and waterwheel crops, there just isn’t time for that.
“I’m pretty confident in the structure of the paper and the chain unit itself. I’m confident in the soil structure in those cells, with the onion staying where it needs to be or the transplant staying where it needs to be. When I start rolling out paper chains, without racing, I’m going for speed,” Darren shares. “If you spend a ton of time really babying those cells or coming behind and hand packing or anything like that, you’re losing the efficiency aspect of this whole thing.”
When the goal is to put out 40,000 onions in a day, the speed and efficiency that the Paperpot Transplanter affords must take precedence.
Paperpot and Other Kinds of Onions
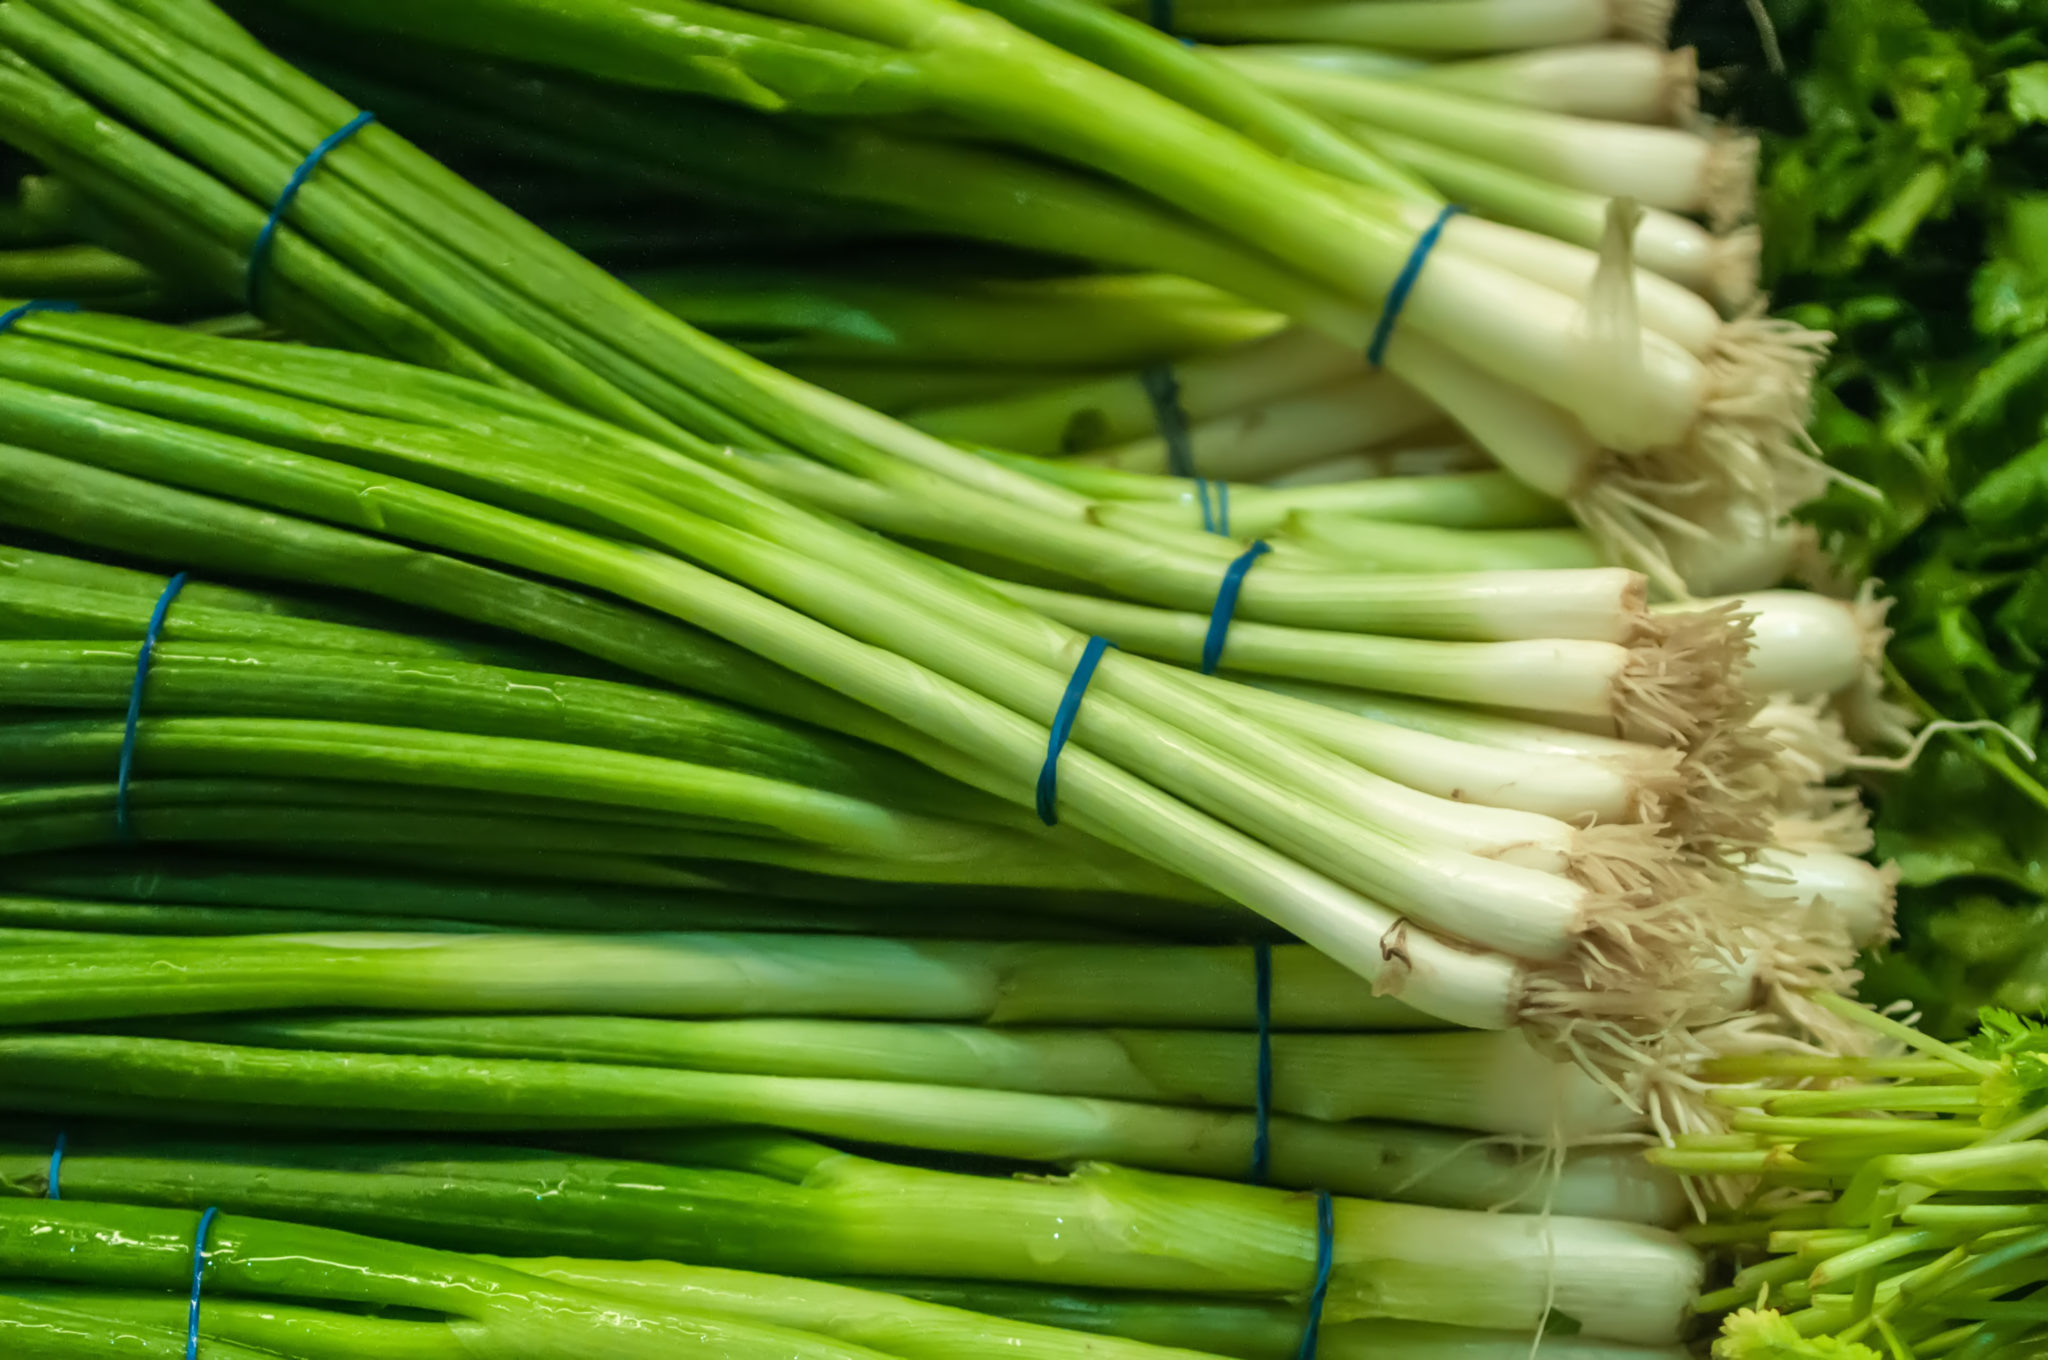
Apart from onions, Darren also profitably grows shallots, leeks, and bunching onions in paper pot chains.
Bunching onions. Bunching onions are typically seeded at 4-6 seeds per cell in 4-inch paper chains.
Shallots. Shallots are better grown from seed than bulbs or transplants, as they grow much larger.
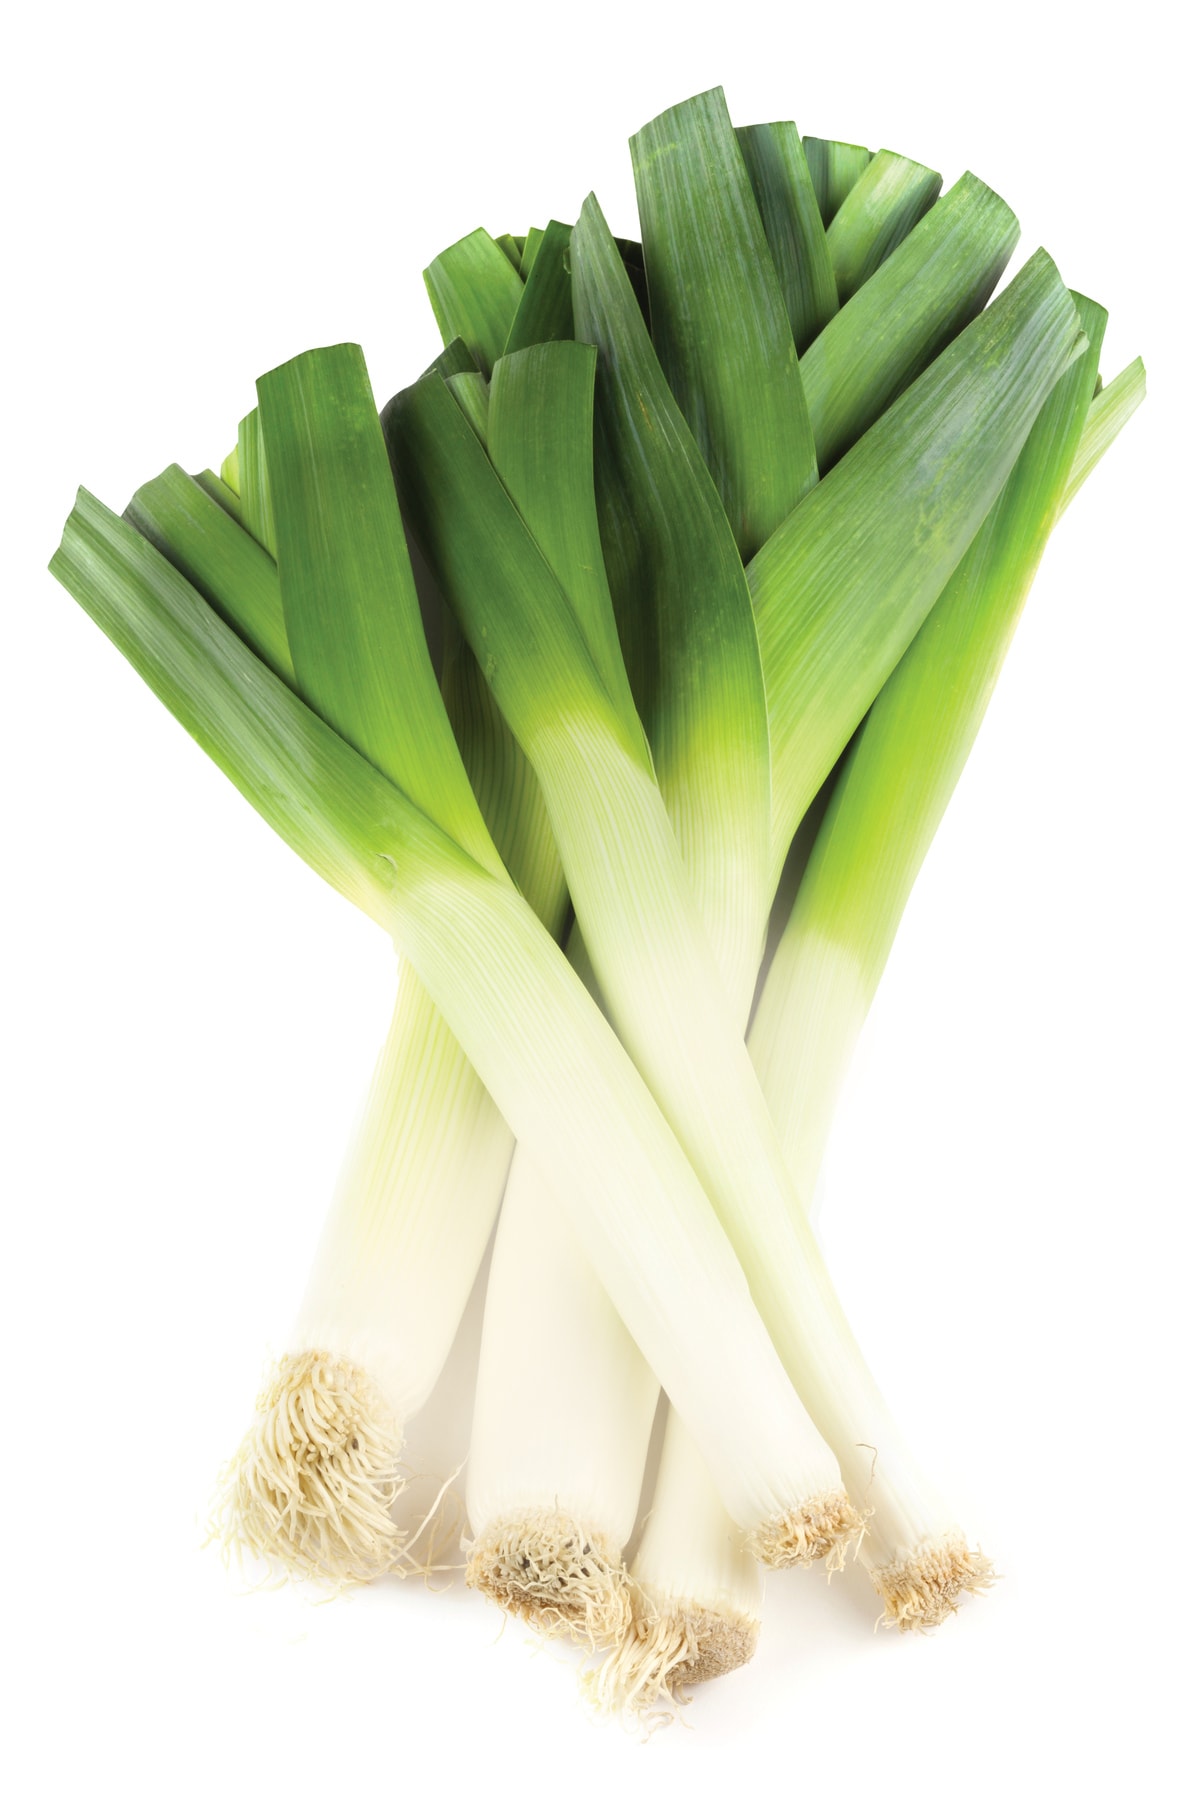
Leeks. The only onion grown in 6-inch paper chains, leeks are planted out a little differently than the others at Ledgeview Gardens. Rows are marked out with a string, and a double plow wheel hoe creates 4” deep trenches. The paper pot chains are then transplanted into the furrow and filled back in after the roots have set in.
Leeks with a higher white blanched portion of the stalk are considered more valuable at the market. Due to this, Darren hills his leeks during cultivation to further bury more of the plant, blanching even more of the stalk.
Got questions?
Download our Paperpot Onions Growers Notes here.
Relevant Links
How to Grow Onions in Paperpots (Paper Chain Pots) | How to Grow Bunching Onions in Paperpots (Paper Chain Pots) | How to Use the Paperpot Transplanter

Arie
Great article! Thank you for the detailed information, this will help immensely with the upcoming season.
artisto
Good stuff