How to Grow Dill In Paperpots (Paper Chain Pots)
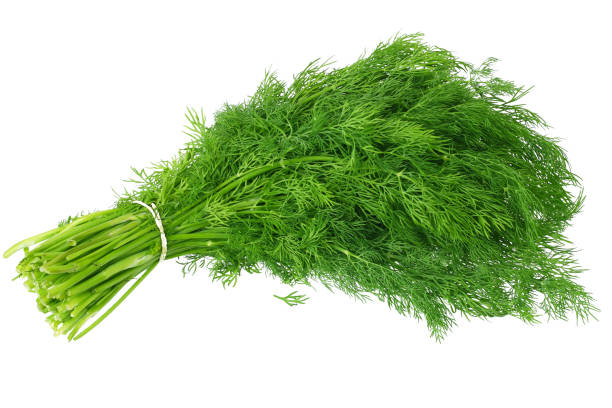
Growing Dill in Paperpots

Better germination!

No hand transplanting!

Less transplant shock!
Dill can be very hit or miss when direct sown in the field due to finicky germination and weed pressure when young. Growing Dill in paperpots can solve these issues!
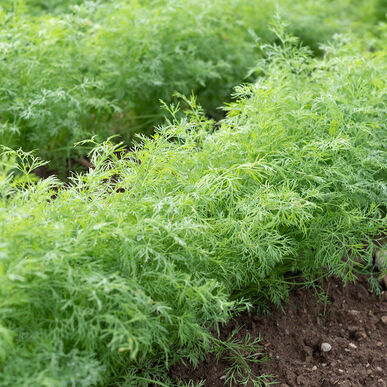
“A crop like Dill is usually direct seeded, but in the 4+ weeks it would take before the plants are this big, the weeds would be large and plentiful. I’ve mown down too many direct seeded beds because of the weed pressure. Maybe one day I’ll be skilled at direct seeding. Until then I’ll keep using the paperpot!”
Little Sun Farm

The Specifications for Paperpot Dill
| PAPER CHAIN POT | 2" |
| ROWS PER 100’ X 30” BED | 5 |
| TRAYS PER 100’ X 30” BED | 10 |
| KWIK KLIK™ TOP PLATE | N/A |
| SEEDS PER CELL | Broadcast 2 Tablespoons evenly over entire tray, covering all cells |
| SEED PER 100’ X 30’ BED | 132 g (+/-) *Always round up when placing seed orders to ensure having enough |
| RECOMMENDED CULTIVARS | Hera or Greensleeves |
| GERMINATION | 7-14 days at 70°F |
| DAYS TO TRANSPLANT | 30 days (+/-) *time from seeding to transplanting in the field |
| DAYS TO MATURITY | 50 days (+/-) *time from seeding to being ready for harvest |
| HARVEST WINDOW | 14 days (+/-) *time crop is at ideal stage for harvest after reaching maturity |
| TOTAL DAYS IN FIELD | 34 days (+/-) *DTM + harvest window - days to transplant |
| HARVEST UNIT | Bunches |
| TARGET CROP YIELD | 600 Bunches (+/-) |
| PRICE PER UNIT | $3 *depending on local market pricing |
| REVENUE PER BED | $1800 *depending on local market pricing |
| SEEDING | Kwik Klik™ Drop Seeder, Paperpot Germination Trays, Paper Chain Pots |
| TRANSPLANTING | Paperpot Transplanter |
| TILTHING | Power Harrow or Precision Depth Roller (With no tractor: Tither) |
| AERATION | Meadow Creature Broadfork |
| SHAPING | Bed Preparation Rake |
| WEED CONTROL | Flame Weeder |
| CULTIVATION | Flex Tine Weeder or Collinear Hoe |

Suggested Tools for Paperpot Dill
Bed Preparation for Paperpot Transplanting

- Broadfork the bed to aerate and loosen the soil.

- Smooth and shape the bed with a bed preparation rake, removing any debris.

- If the previous crop was fertilized, Dill will do fine without reapplication.
- If not, here are two options:
- 1) Layer on 1” of compost, enough to mostly cover the native soil.
- 2) Sprinkle on a combination of alfalfa meal and pelleted chicken manure.
- If layering compost, do not tilth in hopes of smothering any surface weed seed.
- If adding amendments, tilth the top 1-2” of soil to mix in amendments.
- Irrigate for 10-14 days*, allowing any weed seed in the top layer of soil to germinate.

- Flame weed the bed when the cotyledons of the weed seeds have emerged.
Planting Dill in Paperpots
Seeding Dill in Paperpots
Prepare trays with 2” paper chain pots, and fill with potting mix.
Evenly sprinkle 2 Tablespoons of dill seed over the entire tray, ensuring coverage over each cell (No Kwik Klik Drop Seeder Required for Dill).
If there is concern some cells were inadequately seeded, sprinkle more seed to be safe. With Dill’s inconsistent germination, better to over-sow.
Water trays and place in germination chamber at 70°. Emergence should occur at 7-14 days.
Transfer the trays to greenhouse tables immediately after germination.
Dill seedlings should be transplanted when they are approximately around 1.25” tall.
Thoroughly water the trays before heading to the field for transplanting.
Using the Paperpot Transplanter, plant the five rows of Dill.
5 rows on a 30″ bed: 6” between rows, and 3” from the outer rows to the edge of the bed.
Reference https://paperpot.co/learn/ for instructional videos if needed.
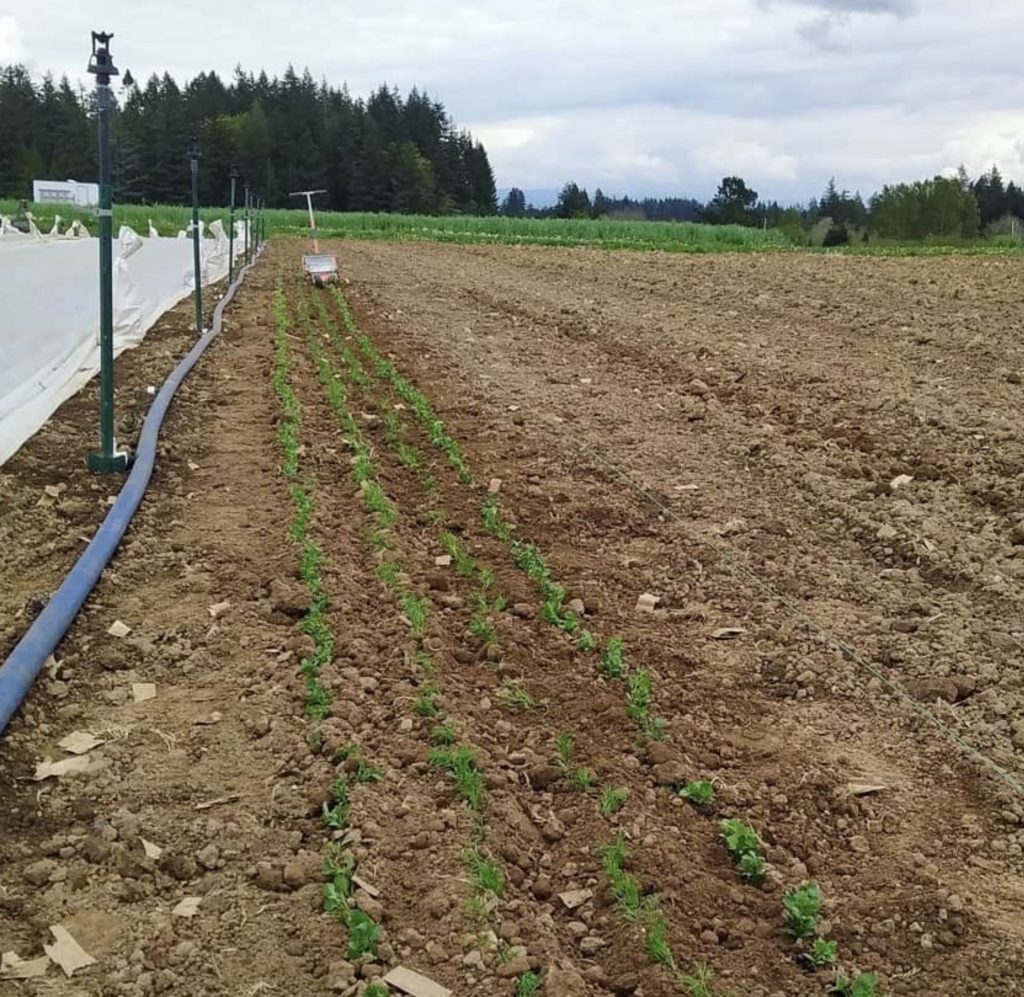
Transplanting Dill with the Paperpot Transplanter
Irrigation
Water the beds thoroughly with overhead irrigation, or four rows of drip.
Frequent shallow waterings will support root establishment after transplanting.
10-14 days after transplanting, cultivate using the Flex Tine Weeder or Collinear Hoe. Repeat again after 7 days.
A wire weeder is also an effective cultivation tool allowing you to get very close to the crops.
Dill is slow growing when young, so regular weeding/cultivating is crucial during that time.
Cultivation (Weeding)

Harvesting Dill
Dill provides one harvest per planting.
If any way possible, harvest when dry. Dill does not do well when wet after harvest.
Create bunches with rubber bands while harvesting in the field.
Aim for bunches of dill approximately 6-8” tall.
Avoid washing dill, as it tends to rot quickly in the cooler if left moist.
If it must be washed, spin and dry it thoroughly.
Bunches can be stacked in totes when fully dried.
Dill can be stored at 35-40° until taken to market.
Washing and Packing
Overall Paper Chain Pots are a great way to increase efficiency for growing Dill.
Ease of transplanting, higher germination rates, and less weed competition are some of the reasons why growing Dill in paper chain pots makes so much sense.
Get started growing Dill on your farm using a Paperpot Transplanter and download the Growers Notes below.
INTERESTED IN PURCHASING A PAPERPOT TRANSPLANTER?
If you have any questions, please reach out hello@paperpot.co or 877.850.1555.