Growing Sunflower Microgreens in Paperpot Trays
Growing Sunflower Microgreens in Paperpot Trays

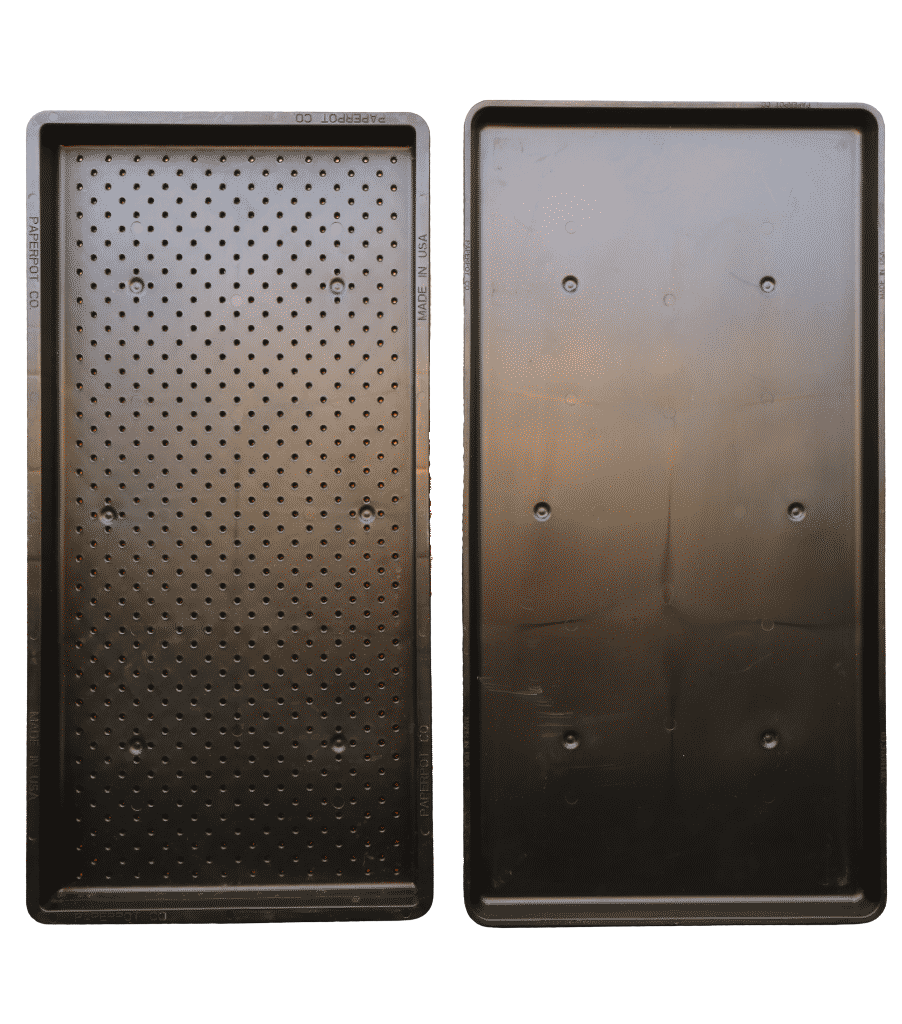
Won’t bend or break!

Larger trays = higher yields!

Matching solid bottom trays for easy watering!
Growing microgreens in Paperpot Trays gives you over 30% more growing space than standard 1020 trays, and they’ll last you a lifetime without breaking. This prevents you from needing to dispose of cheap plastic trays after just a year or two. Paperpot Trays also have low-profile side walls for better air flow, and convenient thumb holes for bottom watering when used with matching solid bottom trays. When stacking Paperpot Trays for germinating microgreens, there is a small air gap between the soil surface and the tray above, greatly reducing mold issues!
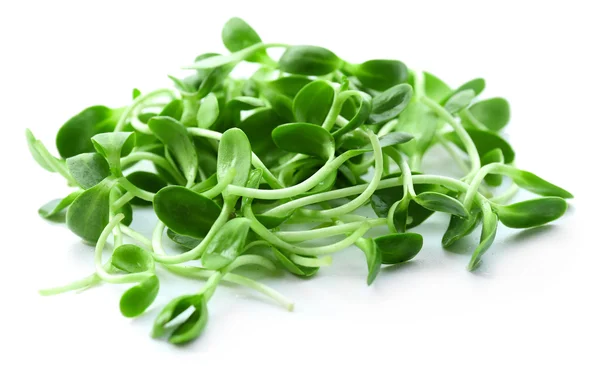
Sunflower microgreens are quite popular with their crips juicy leaves and sweet nutty flavor. Being larger and more substantial than the other microgreens, they can serve as the base for a salad, or be used to compliment any other lettuce based salads.
Contending with the seed hulls brings an added challenge for growers, but the high demand and good return make them one of the top produced microgreens.
Sunflower microgreens are rich in vitamins A, B complex, D, and E, calcium, iron, magnesium, potassium, and phosphorus.
For some good research based information on the health benefits of microgreens, check out: The Institute of Food Technologists, Researchgate.net and Sciencedirect.com

The Specifications for Sunflower Microgreens
| SUNFLOWER MICROGREENS | Paperpot Trays (12" x 24") | Standard Trays (10" x 20") |
| RECOMMENDED CULTIVARS | Black Oil | Black Oil |
| DRY GRAMS PER TRAY | 220 g | 167 g |
| SOAK TIME | 4-8 hours | 4-8 hours |
| GERMINATION TIME (STACKED) | 4 days | 4 days |
| DAYS TO MATURITY | 12 days (+/-) *time from seed to harvest | 12 days (+/-) *time from seed to harvest |
| TARGET CROP YIELD PER TRAY | 700 g | 532 g |
| HARVEST UNIT | 140 g of product (+/-) per clamshell | 140 g of product (+/-) per clamshell |
| HARVEST UNITS PER TRAY | 5 (+/-) | 3.8 (+/-) |
| PRICE PER UNIT | $14 | $14 |
| REVENUE PER TRAY | $70 (+/-) | $53 (+/-) |
| TRAYS | Perforated top trays nested into solid bottom trays (Paperpot Trays or 1020’s) |
| GROWING MEDIUM | 80% peat moss, 20% perlite or vermiculite (nutrients/compost optional) |
| SOAKING/RINSING | 5-gallon bucket, mesh paint strainer bag liners - or - large metal colander |
| SEED SANITIZING | Sanidate 5.0 (1.6 oz to 5 gal. water), or Zerotol 2.0 (20 ml to 2 L of water), or 1:1 white vinegar and hydrogen peroxide |
| SHELVING | NSF Wire Shelving Racks: 60"x24"x72" fits four Paperpot trays per shelf, 48”x18”x72” fits four 1020 trays per shelf. *Add a 6th shelf to these 5-tier racks to fit five grow shelves, 12” between shelves. |
| LIGHTING | 4’ T5 LED Barina Lights - 3 per 24” deep shelf (2 per 18” deep shelf) |
| VENTILATION | Desktop computer fans (2 per shelf), or standing fan next to rack |
| HARVEST | Well sharpened kitchen knife |
| PACKAGING | Clamshells (or plastic bags), farm logo stickers |
| POST HARVEST | White vinegar, hydrogen peroxide, or Zerotol 2.0 (food grade hydrogen peroxide concentrate), 2 Liter pump spray bottle. |

Suggested Tools & Supplies
The best growing medium consistency for microgreens is composed of fine particulates with eve drainage. Too much drainage will lead to dehydrated crops, and too little drainage will lead to fungal issues.
Clumpy mix can be loosened up by hand when adding to your filling bin. Mix with larger particulates can be sifted through a DIY sifter made from 1/4” wire mesh on a box frame. This can be placed over a wheel barrow or tote to sift our larger material that may inhibit germination.
When filling trays with growing medium, make sure to spread it evenly in the corners and edges of the tray or microgreens in those areas will become dehydrated and tend to fall over.
After spreading the growing medium evenly in the tray, use a custom wooden press, or an empty tray to tamp/press the soil, creating a smooth even surface.
Spray down the growing medium with water prior to seeding.
Soil & Tray Preparation

Seeding & Germinating
Soak the dry seeds in a 5-gallon bucket of water lined with a paint strainer bag for 4-8 hours.
Sunflower seeds float, so twist the bag closed and weight it down with a brick in the bucket.
If mold is an issue in your context, after the initial soaking, soak them again in a 1:1 white vinegar–hydrogen peroxide solution for 10 minutes. Rinse again, and they’re ready for planting.
After soak time, lift the strainer bag, dump the water, and tie off the bag to the bucket handle to drain. Allowing the seeds to dry a little makes them easier to spread when seeding.
Spread the soaked seeds evenly over the tray. Press the tray once more after seeding to ensure good seed to soil contact, then water generously.
Seeded trays can be stacked up to six at a time, with an empty seventh tray at the top. Place a 14 lb paver on the top to weight down the trays, encouraging strong stems and vigorous growth.
Germinating trays do well at 70-73° and can be stacked in racks with no lights.
After 3-4 days the sprouts will begin pushing the trays up, and it’s important to monitor closely so the stack does not tip over.
Transfer the trays to the grow racks under the lights, nesting them into the solid bottom trays.
Top water sunflower for the first 3-4 days under lights to help soften the seed hulls.
16 hours of light per day is recommended for microgreens.
After day 2 or 3, daily brush over the tops of the greens with your hand to knock off hulls. Do this just after watering. Position sunflowers on bottom shelf of rack so hulls can fall to the floor.
At day 4, watering can be done by lifting the top tray by the thumbhole and pouring water straight into the bottom tray.
Bottom watering should take place once every morning. If your growing medium does not retain its moisture as long, water once more in the evening.
Stop watering 24-48 hours prior to harvest to ensure crops are dry and free from excess moisture. This helps greatly to extend the shelf life of the microgreens.
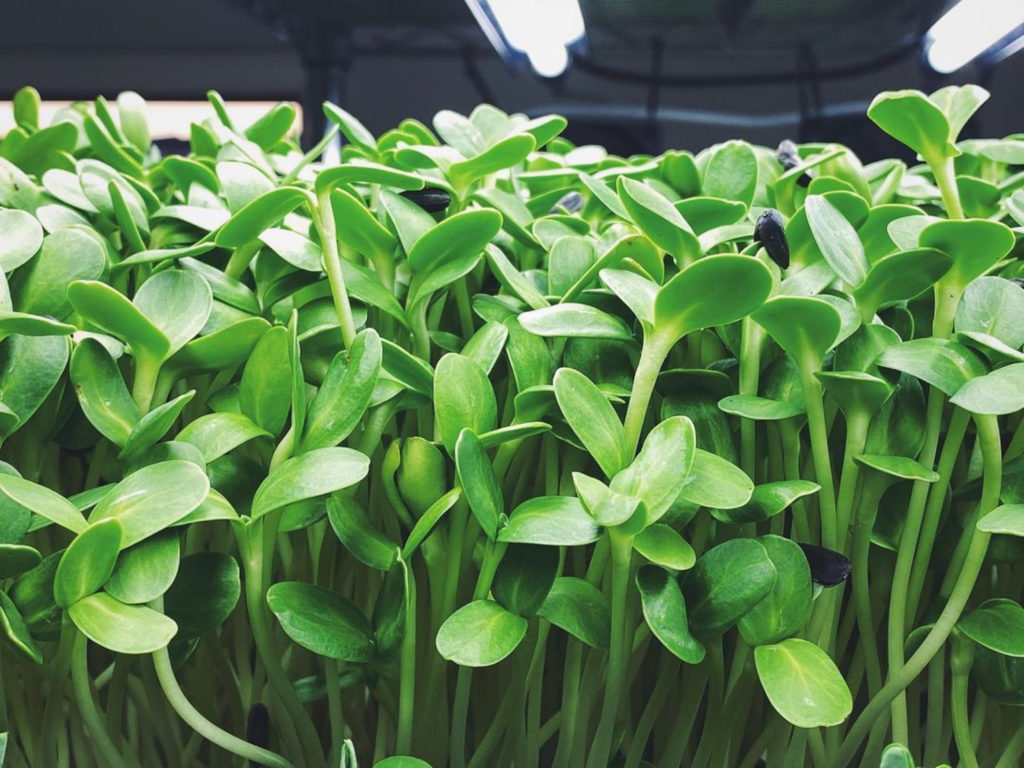
Sunflower microgreens are ready for harvest when the true leaves are just barely beginning to emerge above the cotyledons.
Growing & Watering
Harvesting & Packaging
Wash hands thoroughly and/or wear latex gloves before handling greens for harvest.
Sharpen the harvesting knife each time prior to harvest. To harvest, grab a handful of microgreens and cut just high enough above the growing medium to ensure there isn’t any stuck on the ends of the greens.
Remove any remaining sunflower hulls by hand, and carefully place the greens directly into the clamshells.
Carefully place the greens directly into the clamshells.
Scintilla Farms tip: place the clamshells into the refrigerator with the lids open for the first 10-15 minutes to avoid build up of moisture (after which they can be closed). This can increase shelf life.
Dump the harvested tray’s soil and root matter into bins or wheel barrows to be taken to compost.
Rinse, then spray down the tops and bottoms of the trays with 20ml of Zerotol 2.0 to a 2 Liter pump spray bottle of water, or a 1:1 hydrogen peroxide, white vinegar solution. Allow trays to dry in a rack prior to being reused.

Post Harvest & Tray Sanitizing
Paperpot Trays are a wise choice for growers serious about growing microgreens for profit.
Durability, longevity, higher yields, and increased air flow, are just some of the reasons why growing microgreens in Paperpot Trays makes so much sense.
Get started growing Sunflower Microgreens in Paperpot Trays and download the Growers Notes below.
DOWNLOAD ALL OF THE MICROGREENS GROWERS NOTES
- Amaranth Microgreens
- Arugula Microgreens
- Cilantro Microgreens
- Green Shiso Microgreens
- Leek Microgreens
- Nasturtium Microgreens
- Pea Shoot Microgreens
- Radish Microgreens
- Sunflower Microgreens
The Microgreens Growers Notes were developed in partnership with Scintilla Farms and Seth Davis.
INTERESTED IN PURCHASING?
If you have any questions, please reach out hello@paperpot.co or 877.850.1555.