How to Grow Garlic In Paperpots (Paper Chain Pots)
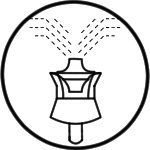
Growing Garlic in Paperpots

Better germination!

No hand transplanting!

Less transplant shock!
Farmers are finding that the Paperpot Transplanter even works great for planting garlic cloves! When you compare the time spent on your hands and knees planting each clove in the field to the 10 minutes it takes to plant one tray of paperpot garlic, it becomes an easy choice. Not to mention the avoided wear and tear on your body!
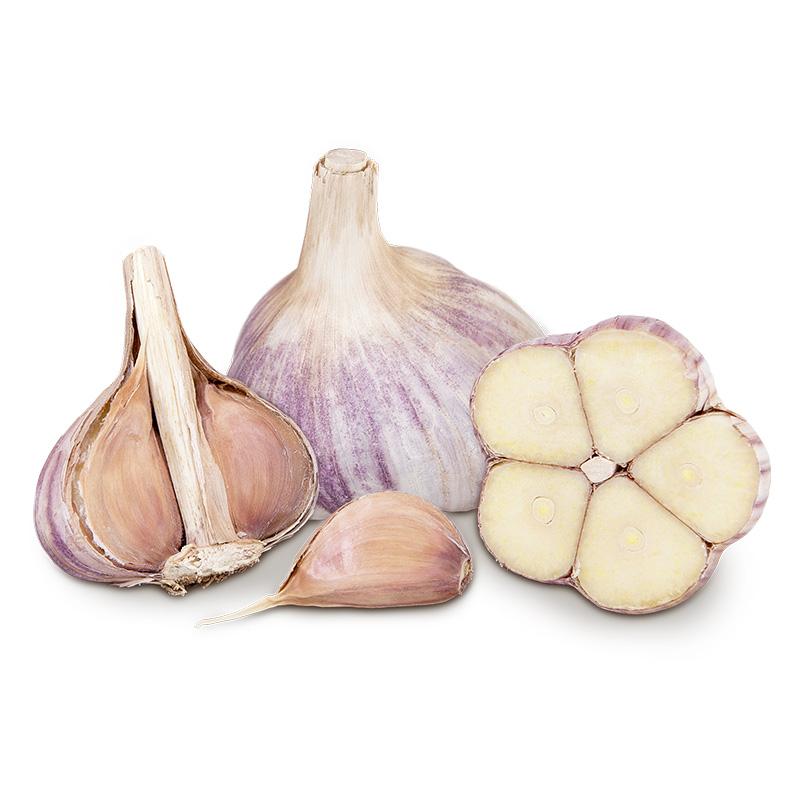
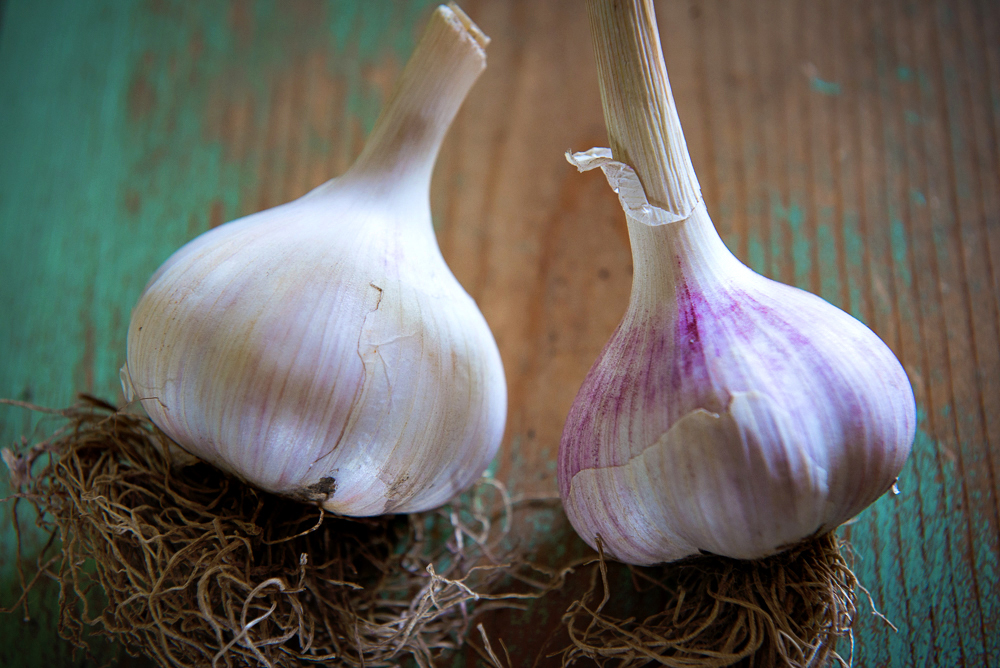
Garlic is a relatively easy crop to grow for most market gardeners.
Direct seeding cloves by hand in the field has always been a necessary part of the process, but now the Paperpot Transplanter has made this task possible in the up right position!
Planting garlic the traditional way is a very time consuming task, requiring many hours on your hands and knees.
The Paperpot Transplanter solves this problem.
It allows you to plant cloves in paper chain pots in a controlled environment, and then quickly and easily transplant them into the field just a day later.

The Specifications for Paperpot Garlic
| PAPER CHAIN POT | 6" |
| ROWS PER 100’ X 30” BED | 5 |
| TRAYS PER 100’ X 30” BED | 4 |
| KWIK KLIK™ TOP PLATE | N/A |
| SEEDS PER CELL | 1 clove per cell |
| SEED PER 100’ X 30’ BED | 950 cloves |
| RECOMMENDED CULTIVARS | Music, Siberian |
| GERMINATION | N/A |
| DAYS TO TRANSPLANT | 1 day (+/-) *time from seeding to transplanting in the field |
| DAYS TO MATURITY | 255 days (+/-) *time from planting to being ready for harvest |
| HARVEST WINDOW | 14 days (+/-) *time crop is at ideal stage for harvest after reaching maturity |
| TOTAL DAYS IN FIELD | 268 days (+/-) *DTM + harvest window - days to transplant |
| HARVEST UNIT | Head |
| TARGET CROP YIELD | 950 |
| PRICE PER UNIT | $1 *depending on local market pricing |
| REVENUE PER BED | $950 *depending on local market pricing |
| SEEDING | Kwik Klik™ Drop Seeder, Paperpot Germination Trays, Paper Chain Pots |
| TRANSPLANTING | Paperpot Transplanter |
| TILTHING | Power Harrow or Precision Depth Roller (With no tractor: Tither) |
| AERATION | Meadow Creature Broadfork |
| SHAPING | Bed Preparation Rake |
| WEED CONTROL | Flame Weeder |
| CULTIVATION | Collinear Hoe, Wire Weeder, Flex Tine Weeder |

Suggested Tools for Paperpot Garlic
Bed Preparation for Paperpot Transplanting

- Broadfork the bed to aerate and loosen the soil.
- Smooth and shape the bed with a bed preparation rake, removing any debris.

- Garlic will require a fresh application of compost prior to planting.
- Layer on 1-2” of compost, enough to cover the native soil.
- Irrigate for 10-14 days*, allowing any weed seed in top layer of soil to germinate.

- Flame weed the bed when the cotyledons of the weed seeds have emerged.
Growing Garlic in Paperpots
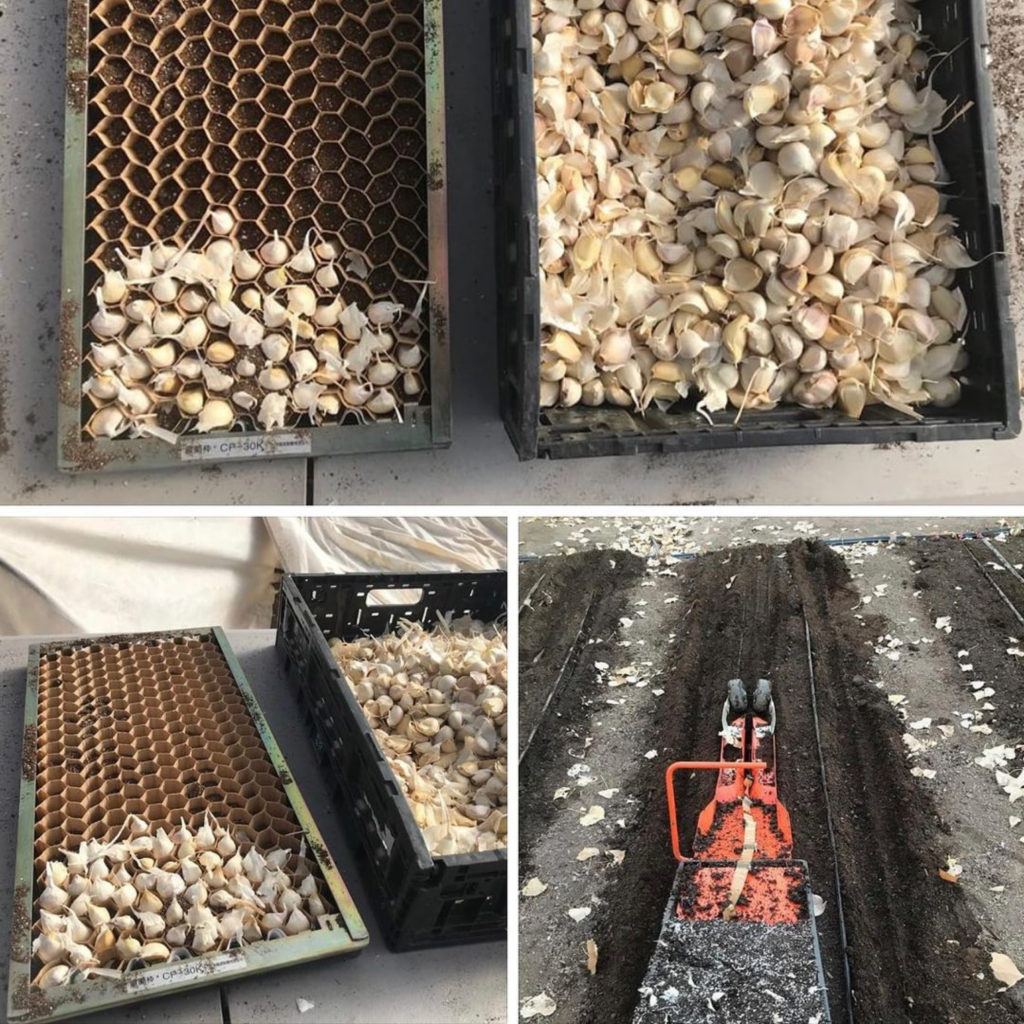
Seeding Garlic in Paperpots
Prepare trays with 6” paper chain pots.
Plant one clove into each cell, root side down, pointy side up.
Cover over the garlic cloves with compost, massaging it around them and into the cells.
Water the trays heavily, then allow them to sit for 24 hours prior to planting.
Thoroughly water trays again before heading to the field for transplanting.
Set the Paperpot Transplanter to its deepest setting, and fold back the tamping wheels.
Using the Paperpot Transplanter, plant the five rows of onions.
There should be 6” between rows, and 3” from the outer rows to the edge of the bed.
After transplanting, a quick pass with a Flex Tine Weeder will help smooth the bed and ensure all paper chains are fully buried.
Cover the beds with 6” (+/-) of straw mulch to suppress weed growth and protect the soil.
Reference https://paperpot.co/learn/ for instructional videos if needed.
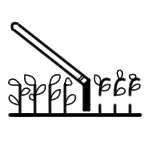
Transplanting Garlic with the Paperpot Transplanter
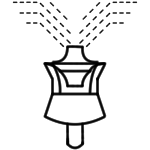
Irrigation
Water the beds thoroughly with overhead irrigation, or four rows of drip.
Frequent shallow waterings will support steady bulb development.
A few weeks prior to harvesting, stop watering. This can reduce rot during drying.
Ensure the straw mulch you select is weed free.
Hand weeding once or twice may be necessary.
Cultivation (Weeding)

Harvesting Garlic
Garlic scapes can be harvested as an additional product before the heads are ready for harvest.
Scapes can be harvested above the main stock and should be 6” or longer with curled ends.
When 3-4 leaves on the plant are yellowed and dried out, the garlic is generally ready for harvest.
Harvest on a dry and sunny day to avoid fungal issues during the curing process.
After harvest, cut the roots off, and cut the stem to about 2”.
The garlic can be brought indoors and spread on tables for curing. 80-85° is ideal for curing.
If a greenhouse is used for curing, placing shade cloth over the garlic to prevent sun scald. Fans should be used for plenty of ventilation and air flow. Harvest totes (if note overfilled) may also be used for curing.
Curing is generally completed after 10-14 days when the center of the cut stem, the neck, and the outer skins are all dried out.
After curing, peel off just one layer of outer skin to make the garlic presentable for market.
Cured garlic can be stored in a cold room at 38-50°, with 65-70% relative humidity.
If saving cloves for next year’s plantings, set aside approximately 13 lbs (+/-) per 100’ x 30” bed.

Curing and Packing Garlic
Overall Paper Chain Pots make garlic a much more farmer-friendly crop.
Time savings, ease of transplanting, and uniform planting distances are some of the reasons why garlic makes sense to be grown in paperpots.
Get started growing garlic on your farm using a Paperpot Transplanter and download the Growers Notes below.
INTERESTED IN PURCHASING A PAPERPOT TRANSPLANTER?
If you have any questions, please reach out hello@paperpot.co or 877.850.1555.