How to Grow Storage Radishes In Paperpots (Paper Chain Pots)

Growing Storage Radishes in Paperpots

Better germination!

No hand transplanting!

Less transplant shock!
Growing storage radishes in paper chain pots is an easy and effective way to transplant radishes.
Storage Radishes are conventionally direct sown in rows and thinned to 6″ apart, but farmers who’ve switched to growing them in 6″ paper chain pots never go back!
The Paperpot Transplanter system allows you all the benefits of starting your crop in the nursery, but takes away the labor intensive and time consuming step of transplanting by hand.
By starting your storage radishes in a protected nursery environment, you can ensure perfect germination and healthy starts, setting yourself up for healthier crops and higher yields! Plus you have the added benefit of more time to prep the beds they’re scheduled to be transplanted in, and eliminate weed seed in advance by tarping or flaming.
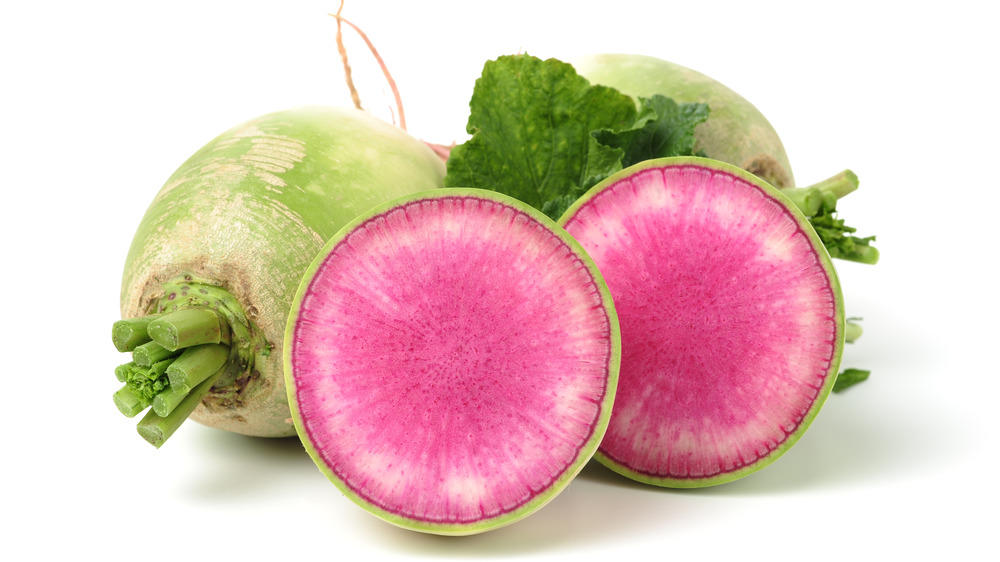
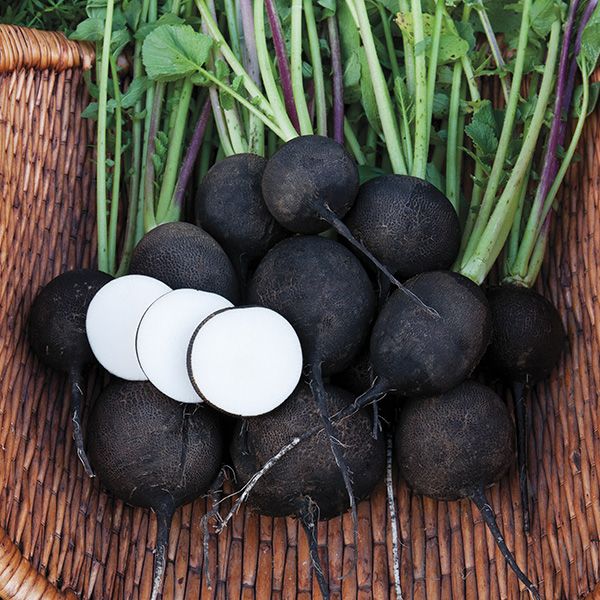
Storage radishes will size up perfectly in paper chain pots. They do not affect bulb formation.

The Specifications for Paperpot Storage Radish
| PAPER CHAIN POT | 6" |
| ROWS PER 100’ X 30” BED | 4 |
| TRAYS PER 100’ X 30” BED | 3 |
| KWIK KLIK™ TOP PLATE | Plate: Paperpot (264 holes) / Thickness: 3mm / Hole Diameter: 3mm |
| SEEDS PER CELL | 1 |
| SEED PER 100’ X 30’ BED | 760 seeds (+/-) *Always round up when placing seed orders to ensure having enough |
| RECOMMENDED CULTIVARS | KN-Bravo, Red Meat, Nero Tondo, Green Luobo, Alpine, Red King 2 |
| GERMINATION | 36 hours at 77°F |
| DAYS TO TRANSPLANT | 15 days (+/-) *time from seeding to transplanting in the field |
| DAYS TO MATURITY | 50 days (+/-) *time from seeding to being ready for harvest |
| HARVEST WINDOW | 21 days (+/-) *time crop is at ideal stage for harvest after reaching maturity |
| TOTAL DAYS IN FIELD | 56 days (+/-) *DTM + harvest window - days to transplant |
| HARVEST UNIT | bunch (3-4 per, 2.5-3.5" diameter bulns) |
| TARGET CROP YIELD | 217 bunches |
| PRICE PER UNIT | $3 *depending on local market pricing |
| REVENUE PER BED | $650 *depending on local market pricing |
| SEEDING | Kwik Klik™ Drop Seeder, Paperpot Germination Trays, Paper Chain Pots |
| TRANSPLANTING | Paperpot Transplanter |
| TILTHING | Power Harrow or Precision Depth Roller (With no tractor: Tither) |
| AERATION | Meadow Creature Broadfork |
| SHAPING | Bed Preparation Rake |
| WEED CONTROL | Flame Weeder |
| CULTIVATION | Wheel Hoe w/ Bio-Disc Cultivator or Flex Tine Weeder |

Suggested Tools for Paperpot Storage Radishes
Bed Preparation for Paperpot Transplanting

- Broadfork the bed to aerate and loosen the soil.

- Smooth and shape the bed with a bed preparation rake, removing any debris.

- If the previous crop was fertilized, storage radishes will do fine without reapplication.
- If not, here are two options:
- 1) Layer on 1” of compost, enough to mostly cover the native soil.
- 2) Sprinkle on a combination of alfalfa meal and pelleted chicken manure.
- If layering compost, do not tilth in hopes of smothering any surface weed seed.
- If adding amendments, tilth the top 1-2” of soil to mix in amendments.

- Irrigate for 10-14 days*, allowing any weed seed in top layer of soil to germinate.

- Flame weed the bed when the cotyledons of the weed seeds have emerged.
Growing Storage Radishes in Paperpots
Seeding Storage Radishes in Paperpots
Prepare trays with 6” paper chain pots, and fill with potting mix.
Install Paperpot bottom plate and specified top plate into Kwik Klik™ (KK) Drop Seeder.
Pour seed onto the top plate and rotate until one seed fills each hole.
Position the KK Drop Seeder over the tray, ensuring the holes are lined up with the cells, and click to drop the seeds.
Water the trays, then place in germination chamber for 36 hours at 77°.
Transfer the trays to greenhouse tables after germination.
Thoroughly water trays before heading to the field for transplanting.
Using the Paperpot Transplanter, plant the four rows of storage radish.
Four rows on a 30” bed: 7.5” between rows, 3.75” from the outer rows to the edge of the bed.
Reference https://paperpot.co/learn/ for instructional videos if needed.
Transplanting Storage Radishes with the Paperpot Transplanter
Irrigation
Water the beds thoroughly with overhead irrigation or four rows of drip.
Frequent shallow waterings will support rapid growth.
10-14 days after transplanting, cultivate using a Terrateck Wheel Hoe with the bio-disc cultivator attachment.
A weekly pass with the flex tine weeder is also an effective tool for preventing weeds.
Cultivation (Weeding)

Harvesting Storage Radishes
Storage radishes are ready for harvest when the bulbs are 2.5 to 3.5”.
Harvest in the kneeling position, bunching 3-4 radishes together.
Remove yellows leaves and discard any misshapen/damaged beets in the field while bunching.
Using a Washdown Gun sprayer over a root wash table, spray each bunch while rotating until all soil is thoroughly cleaned off.
Transfer the washed bunches to totes, and store at 35° until taken to market.

Washing and Packing Storage Radishes
Paper Chain Pots make storage radish an easier to grow and higher value crop.
Time savings, ease of transplanting, and high germination rates are some of the reasons why storage radish is a popular crop grown in paperpots.
Get started growing radishes on your farm using a Paperpot Transplanter and download the Growers Notes below.
INTERESTED IN PURCHASING A PAPERPOT TRANSPLANTER?
If you have any questions, please reach out hello@paperpot.co or 877.850.1555.