How to Grow Cabbage In Paperpots (Paper Chain Pots)
Growing Cabbage in Paperpots

Better germination!

No hand transplanting!

Less transplant shock!
Growing cabbage in paper chain pots will increase your chances of having a successful crop!
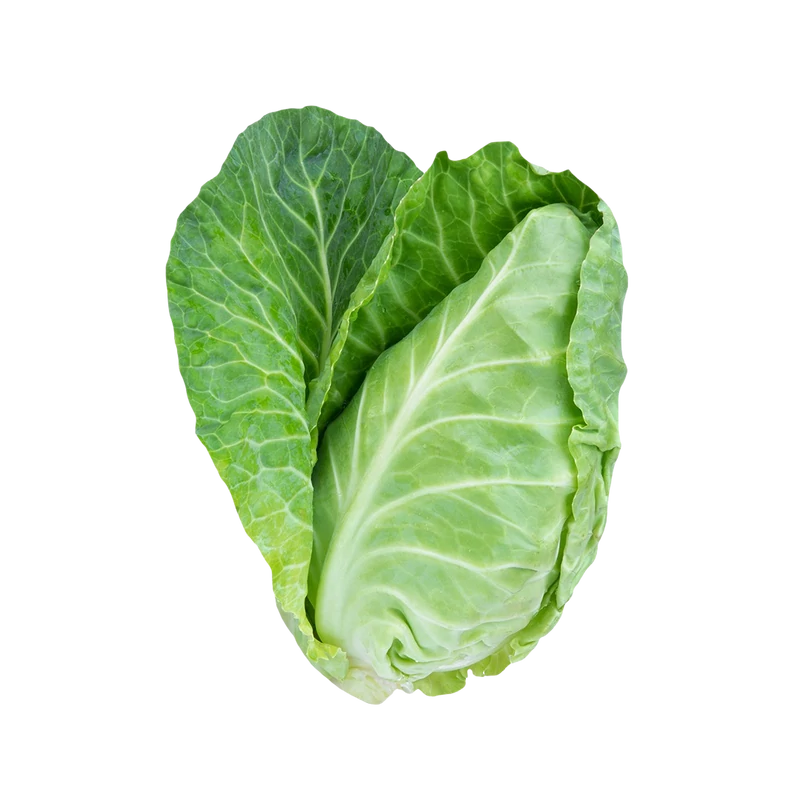
Cabbage is a popular crop for most market gardeners.
Direct seeding is very difficult and often produces subpar results. Because of this most market gardeners transplant their cabbage.
But transplanting cabbage (the traditional way) brings its own set of problems. Transplanting is both time and labor-intensive.
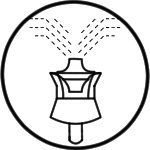
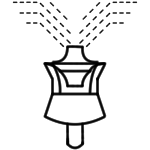
The Paperpot Transplanter solves this problem.
It allows you to germinate cabbage in a controlled environment then quickly and easily transplant it into the field 28 days later. All without bending over or transplant shock!
12″ in-row spacing for early cabbage can be accomplished by seeding every other cell in a 6″ paper chain pot. Paperpot Co. makes custom Skip Plates for the Kwik Klik™ (KK) Drop Seeder to make seeding every other cell as quick and efficient as possible!

The Specifications for Paperpot Cabbage
| PAPER CHAIN POT | 6” (seed every other cell for 12” in-row spacing) |
| ROWS PER 100’ X 30” BED | 3 |
| TRAYS PER 100’ X 30” BED | 3 |
| KWIK KLIK™ TOP PLATE | Plate: Paperpot Skip Plate (132 holes) / Thickness: 2.5mm / Hole: 1.5mm |
| SEEDS PER CELL | 1 |
| SEED PER 100’ X 30’ BED | 396 seeds (+/-) *Always round up when placing seed orders to ensure having enoughenough |
| RECOMMENDED CULTIVARS | Early cabbage varieties (w/12” spacing): Carafax, Tiara, Omero |
| GERMINATION | 72 hours at 86°F |
| DAYS TO TRANSPLANT | 28 days (+/-) *time from seeding to transplanting in the field |
| DAYS TO MATURITY | 68 days (+/-) *time from seeding to being ready for harvest |
| HARVEST WINDOW | 14 days (+/-) *time crop is at ideal stage for harvest after reaching maturity |
| TOTAL DAYS IN FIELD | 54 days (+/-) *DTM + harvest window - days to transplant |
| HARVEST UNIT | Heads |
| TARGET CROP YIELD | 285 heads (+/-) |
| PRICE PER UNIT | $3 *depending on local market pricing |
| REVENUE PER BED | $855 *depending on local market pricing |
| SEEDING | Kwik Klik™ Drop Seeder, Paperpot Germination Trays, Paper Chain Pots |
| TRANSPLANTING | Paperpot Transplanter |
| TILTHING | Power Harrow or Precision Depth Roller (With no tractor: Tither) |
| AERATION | Meadow Creature Broadfork |
| SHAPING | Bed Preparation Rake |
| WEED CONTROL | Flame Weeder |
| CULTIVATION | Flex Tine Weeder or Collinear Hoe |

Suggested Tools for Paperpot Cabbage
Bed Preparation for Paperpot Transplanting

- Broadfork the bed to aerate and loosen the soil.
- Smooth and shape the bed with a bed preparation rake, removing any debris.

- Cabbage will do best in beds freshly amended with fertilizer.
- Here are two options:
- 1) Layer on 1” of compost, enough to mostly cover the native soil.
- 2) Sprinkle on a combination of alfalfa meal and pelleted chicken manure.
- If layering compost, do not tilth in hopes of smothering any surface weed seed.
- If adding amendments, tilth the top 1-2” of soil to mix in amendments.
- Irrigate for 10-14 days*, allowing any weed seed in top layer of soil to germinate.

- Flame weed the bed when the cotyledons of the weed seeds have emerged.
Growing Cabbage in Paperpots
Seeding Cabbage in Paperpots
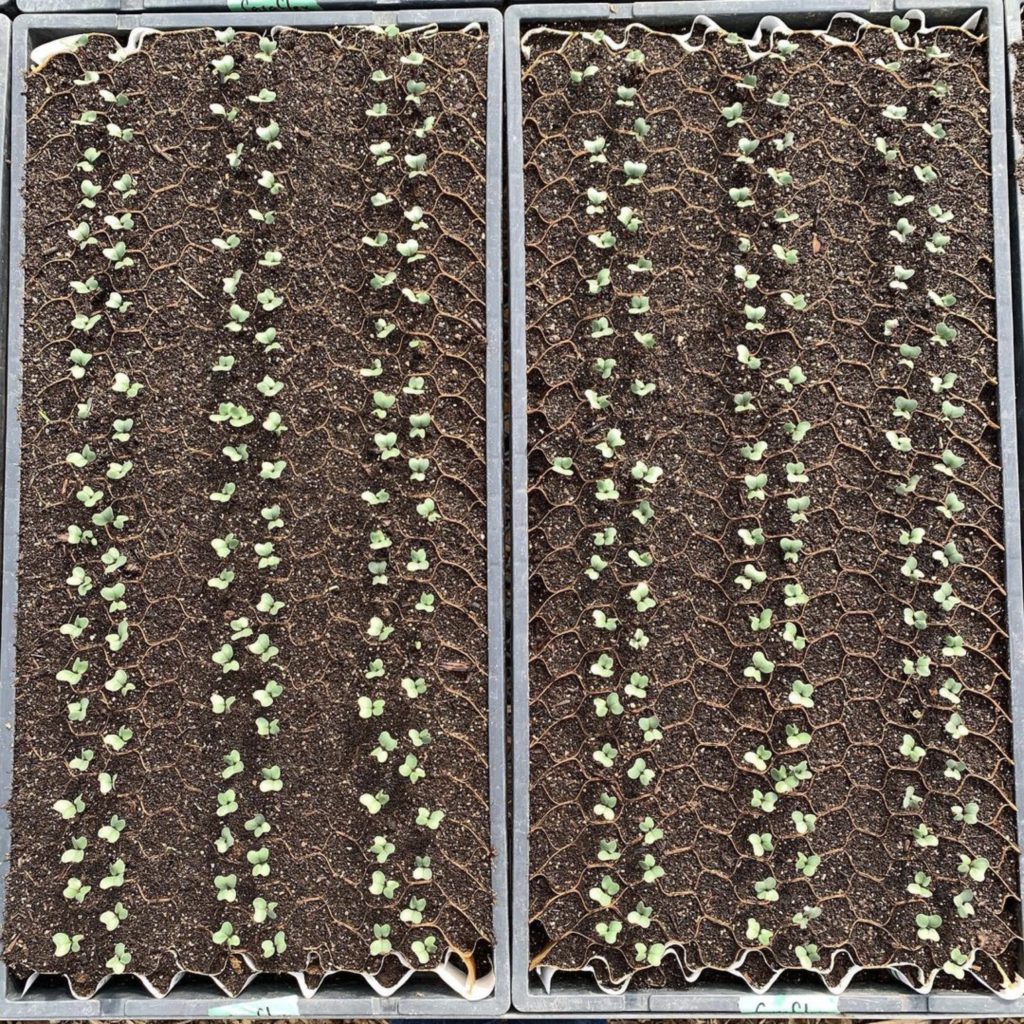
Prepare trays with 6” paper chain pots, and fill with potting mix.
Install Paperpot bottom plate and custom “skip” top plate into Kwik Klik™ (KK) Drop Seeder.
Note: the pattern on the skip plate will only allow a seed to drop in every other cell of the 6″ paper chain, creating 12” in-row spacing.
Pour seed onto the top plate and rotate until one seed fills each hole.
Position the KK Drop Seeder over the tray, ensuring the holes are lined up with the cells, and click to drop the seeds.
Water the trays, then place in germination chamber for 72 hours at 86°.
Transfer the trays to greenhouse tables after germination.
Thoroughly water trays before heading to the field for transplanting.
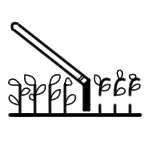
Using the Paperpot Transplanter, plant the three rows of cabbage.
There should be 10” between rows, and 5” from the outer rows to the edge of the bed.
Reference https://paperpot.co/learn/ for instructional videos if needed.
Transplanting Cabbage with the Paperpot Transplanter
Irrigation
Water the beds thoroughly with overhead irrigation, or four rows of drip.
To prevent cabbage moths, immediately cover the beds with floating row cover (or insect netting in the warm season). The cover will only come off for cultivation and harvest times. Weigh down the edges with sand bags every 5 feet.
It is important to water throughout hot days during the warm season.
14-16 days after transplanting, cultivate using a collinear hoe.
After this point the heads should fill out to form a canopy and shade out any potential weeds.
The Flex Tine Weeder is also an effective cultivator for cabbage when it is young.
Cabbage will benefit from a side dressing of nitrogen rich fertilizer half way through its maturity.
Cultivation (Weeding)

Harvesting Cabbage
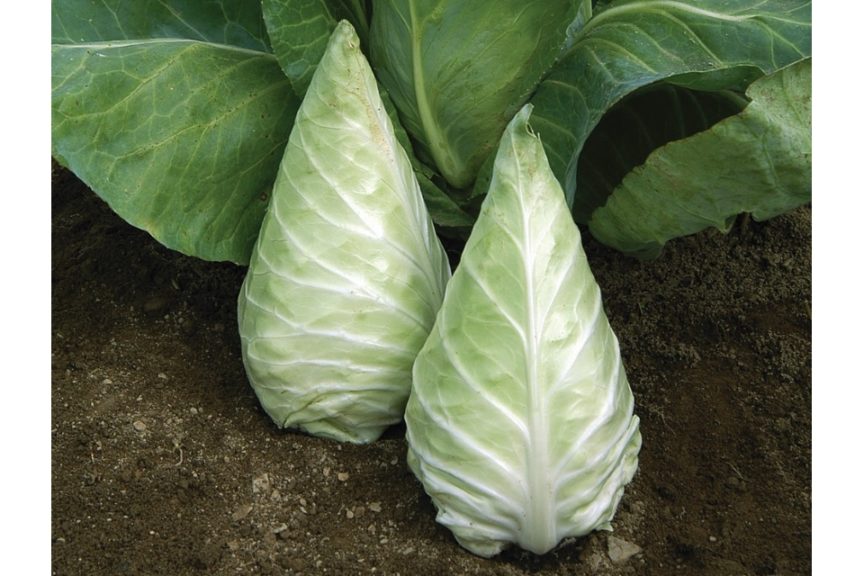
For highest yield, cut the cabbage heads when they are solid (firm to hand pressure).
Use a freshly sharpened knife for harvesting cabbage.
Remove large peripheral leaves so just the head remains.
Cabbage heads do not require being washed after harvest.
Cabbage should be taken quickly to the cooler after coming off the field.
Store at 35° until taken to market.
Washing and Packing Cabbage
Overall Paper Chain Pots make cabbage a much more farmer-friendly crop.
Time savings, ease of transplanting, and high germination rates are some of the reasons why cabbage is a popular market garden crop grown in paperpots.
Get started growing cabbage on your farm using a Paperpot Transplanter and download the Growers Notes below.
INTERESTED IN PURCHASING A PAPERPOT TRANSPLANTER?
If you have any questions, please reach out hello@paperpot.co or 877.850.1555.