If you’re the adventurous type who’s always raring to try new ways to do things on the farm, then one thing you might want to try your hand at growing garlic using the Paperpot Transplanter is garlic. Josh Shelburne of Whole Heart Farm in Albuquerque, New Mexico has been doing this successfully for a few years now and has since developed an effective system that works for their farm.
In a recent webinar presentation in cooperation with Paperpot Co., Josh shares tips and tricks on how he successfully grows garlic using the Paperpot Transplanter.
Garlic Basics
Before diving headfirst into growing garlic in the paperpot system, let’s take a look at some key points for growing garlic.
Long season crop
Garlic is a long-season crop that is sown in the fall and harvested in early summer. In warm climates like New Mexico, garlic can be planted around mid-November to the first of December, but earlier in colder climates. The crop can then be harvested in late June.
Grown from cloves
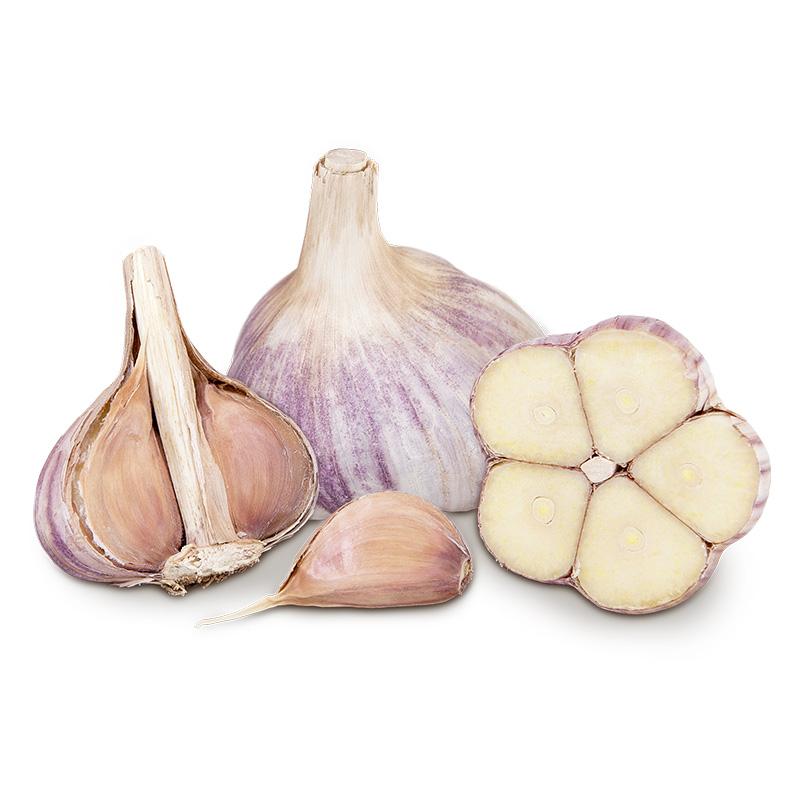
While garlic can be grown from seed, it is most commonly grown from cloves. Garlic is clonal, which means each clove will grow into a clone of its parent bulb.
Garlic needs to vernalize
In order to form bulbs with multiple cloves, garlic will need to undergo vernalization, which is exposure to a period of cold. Depending on the variety of garlic, usually, 30-45 days of freezing temperatures will suffice.
Instead of growing into a bulb with multiple cloves, garlic will grow into one large clove without vernalization, which is usually the case in tropical climates. To remedy this, some growers put their garlic in the refrigerator to prime them prior to planting.
Low maintenance crop
Apart from the need for consistent watering and a bit of fertility, garlic is a fairly low-maintenance crop.
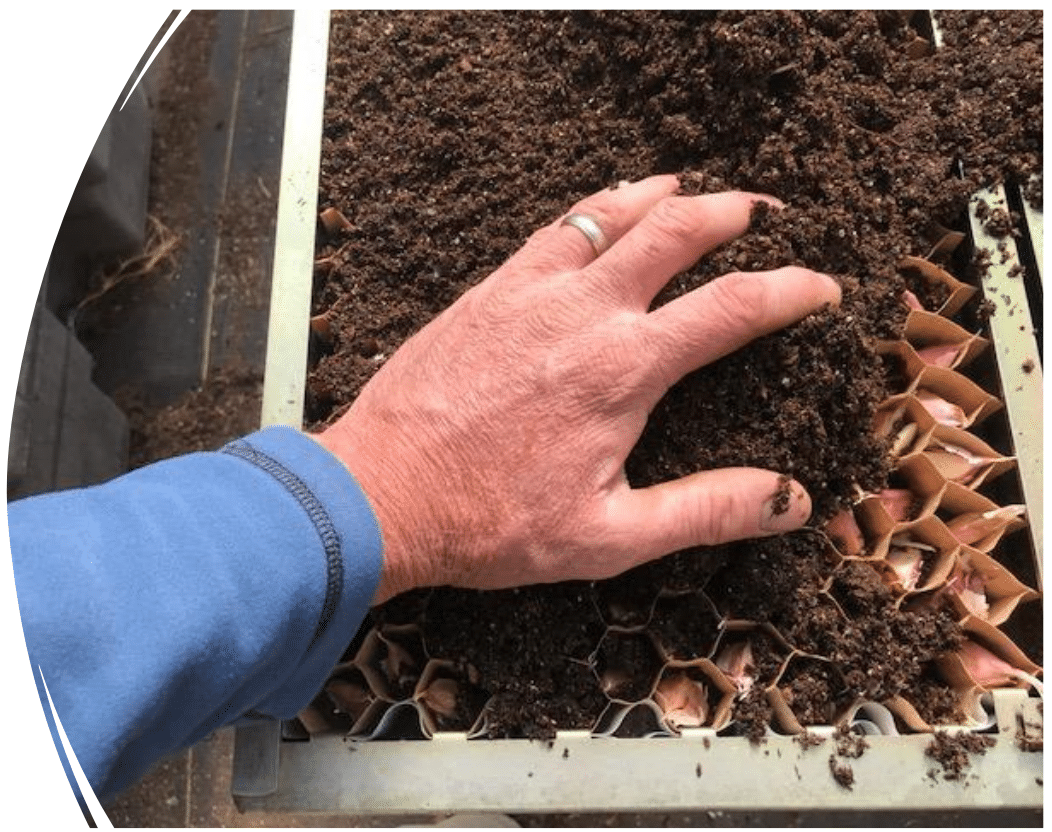
At Josh’s farm, they fill the paper chain pots with straight compost rather than potting mix. They also add a heavy layer of compost when the garlic is transplanted, and then top dress in mid-spring to give it one final boost of fertility in the end stage of its life.
Shelf Life
Garlic has two general varieties: hard neck and soft neck. Soft neck can last from nine to twelve months, while hard neck varieties can only last about four to six months. Most garlic found in grocery stores are soft neck varieties.
Note: Hard neck varieties produce scapes, which are edible flower stalks similar to those produced by green onions. Soft neck garlic does not produce scapes.
Paperpot Garlic
Choosing the growing medium.
Any soil you have available can be used in the paper chains, but Josh found that garlic grows well in pure compost. As long as the medium doesn’t have much mulch, it will do well. Compost you’ve already ordered in bulk for the farm will be much cheaper than potting mix, though potting mix will also work fine.
Chain spacing.
Different paper chain spacings can be used for different kinds of garlic.
- 2-inch chains work well for green garlic.
- 4-inch chains work well if you want a higher yield per bed of mid-sized garlic.
- 6-inch chains are best for growing larger size garlic, although they yield less bulbs per bed than 4-inch chains.
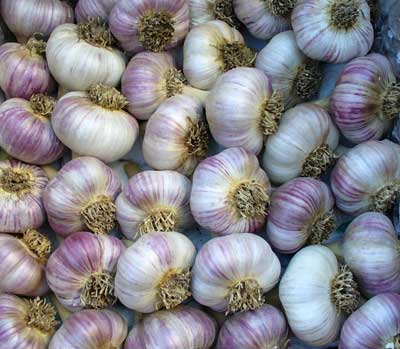
Use small and medium cloves.
Many growers prefer to use larger cloves in hopes of growing larger garlic bulbs. After doing a bit of reading and having watched Curtis Stone’s video with Karl Hammer of Vermont Compost, Josh concluded that the size of the clove doesn’t matter.
Planting small and medium cloves has given them good-sized garlic and has allowed them to sell the large-sized garlic bulbs for a good price, which most customers tend to look for.
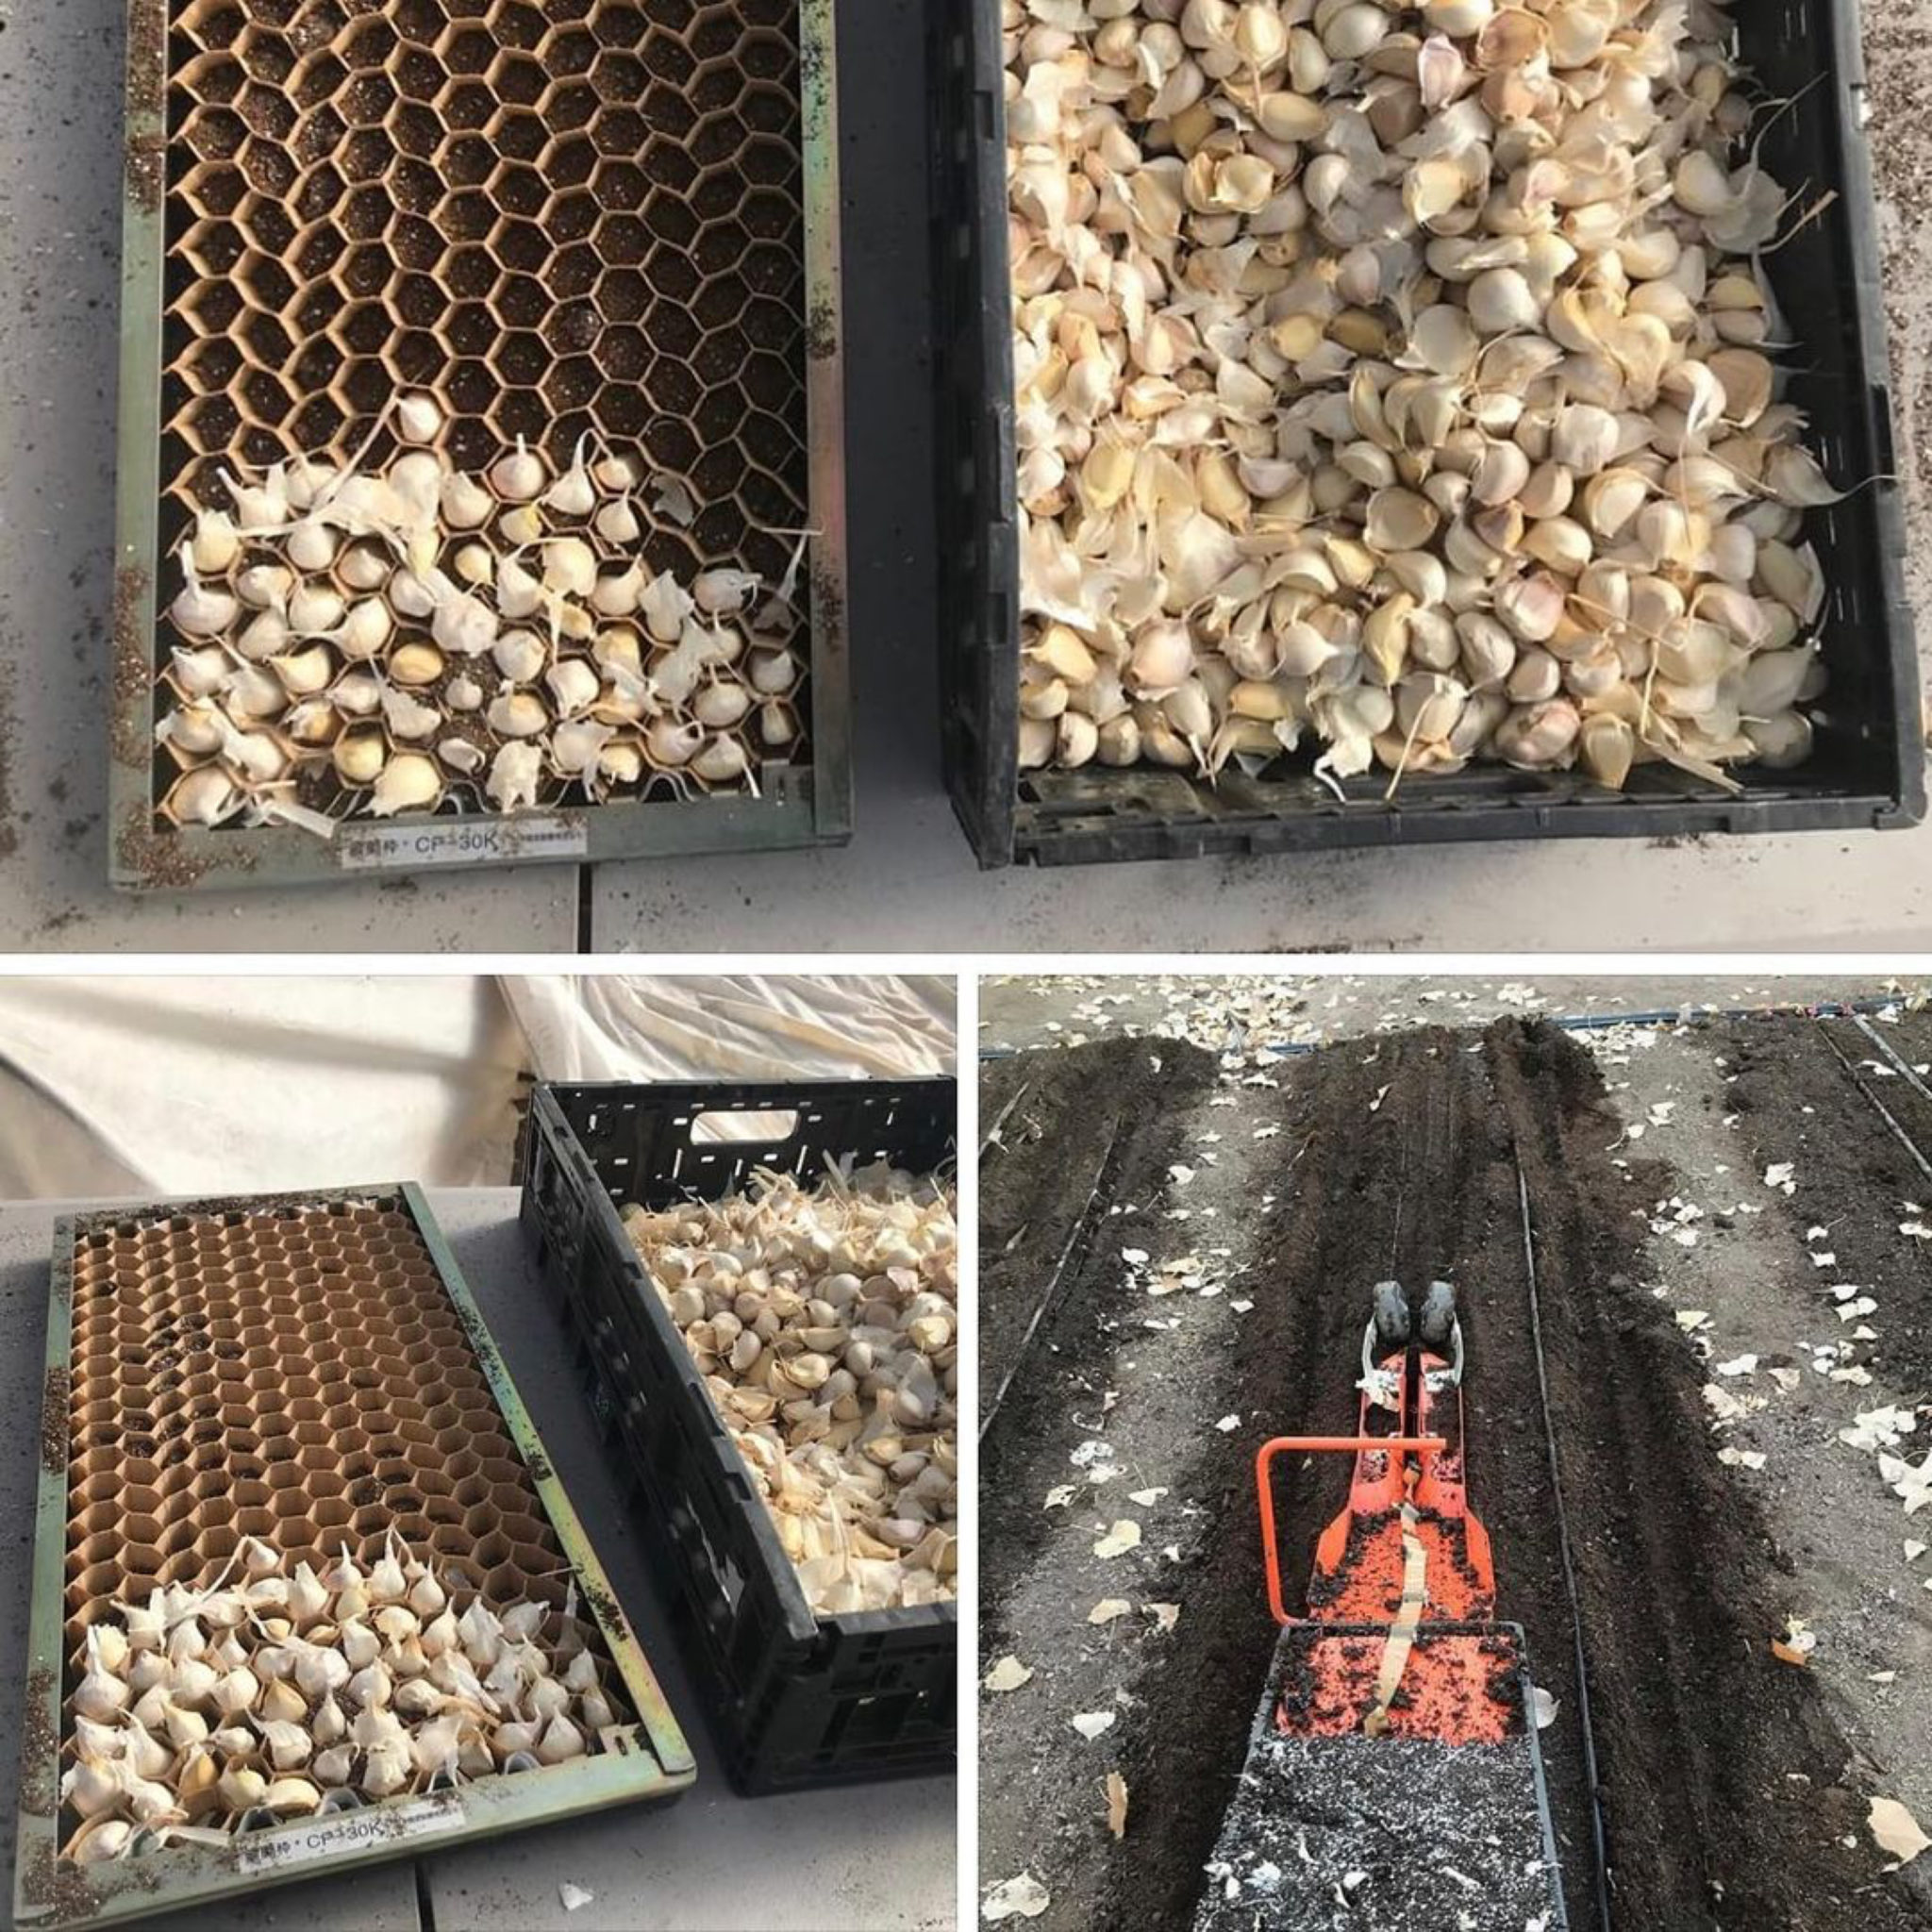
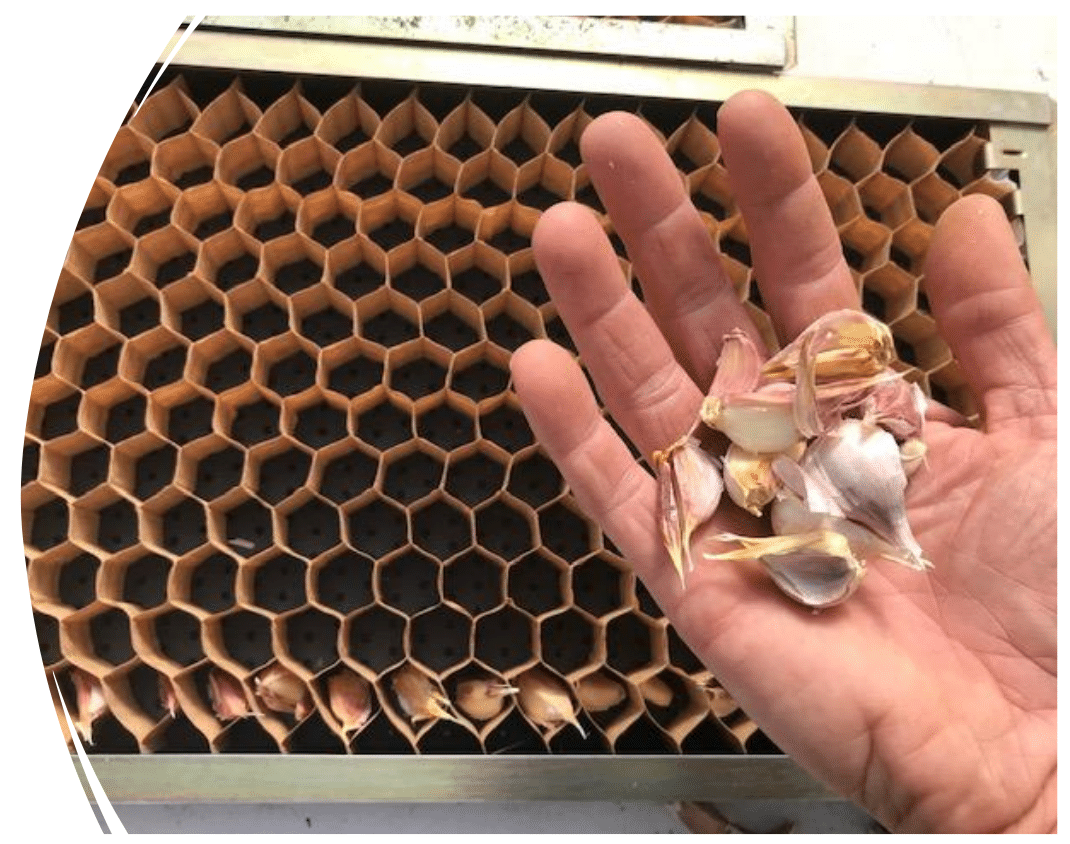
Seeding garlic in paper chains.
Although hand-seeding garlic cloves one cell at a time takes some time, this technique ensures neater trays, one clover per cell, and correct orientation with the root side down and the pointed side up. Though spreading garlic cloves in bulk over the tray may be faster, multiple cloves may land in cells, and the cloves themselves tend to land upside-down or sideways.
Perspective and Context: At Josh’s farm, it takes about 10 minutes for a single person to seed one paperpot tray of garlic and about 30 minutes for one person to transplant 5 rows on a 75-foot-long bed.
Final press.
After seeding the empty paper chain pots with cloves, it’s important to press in the soil medium to maximize clove-to-soil contact and ensure the cloves stay in place when they are transplanted
Water.
After packing in the growing medium, water the trays well until they’re saturated. Josh waters about two to three times to make sure the soil has been adequately watered.
Dwell time.
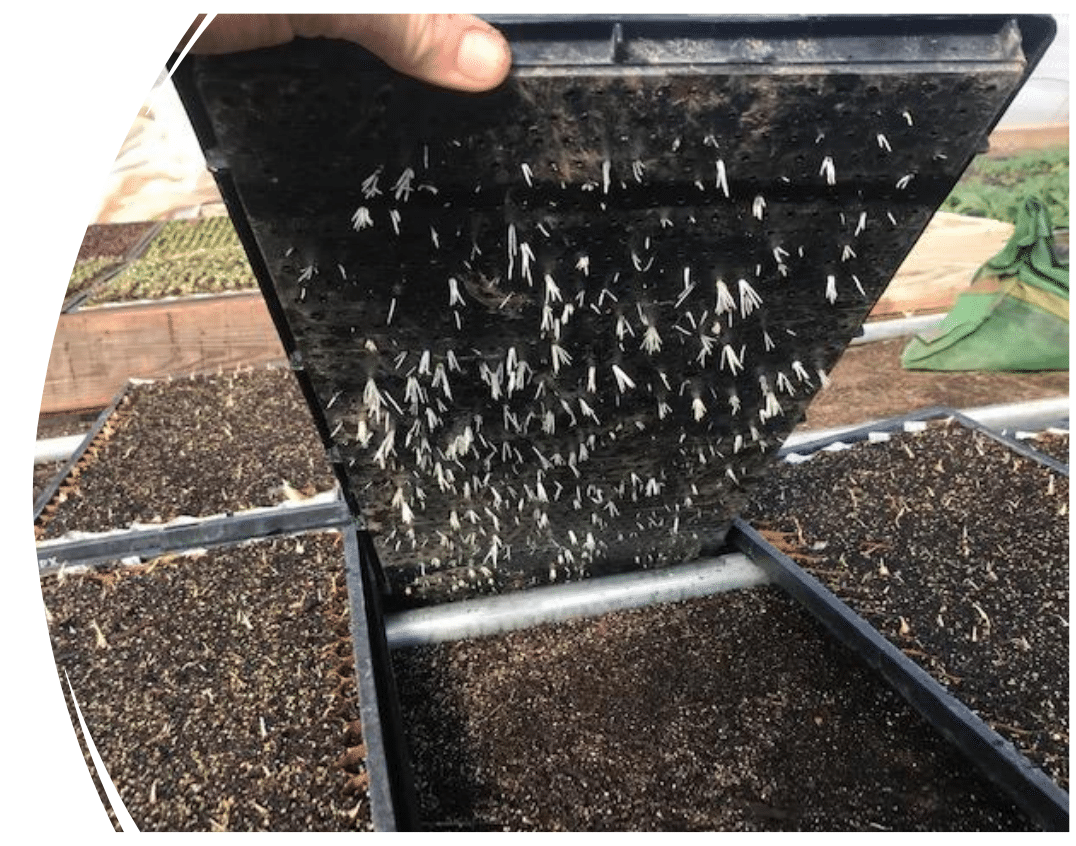
Dwell time is a term coined by Josh referring to the period of time from when the trays of garlic were initially watered to the time they are transplanted into the field. After the initial watering, the garlic husk softens, loosens, and melds together with the soil to help hold everything in place as the chains are transplanted out into the field.
Josh typically allows about one day of dwell time prior to transplanting, but sometimes two.
If the dwell time lasts longer than three or four days, garlic roots will begin to poke out from the bottom of the tray. Allowing garlic to root out will make the paper chains more difficult to unravel, and increase the risk of tearing the chains and having the chains flip upside down while transplanting. If rooting is starting to happen, use the transplanter ramp to scrape them off from under the tray.
Transplanting with the Paperpot Transplanter
Bed preparation.
The transplanter needs well-loosened soil to function smoothly. Loose soil with good tilth will be the easiest to plant in.
Josh’s farm has heavy clay soil, so he preps their beds with a wheel hoe, top-dresses with compost, and then makes a pass with a broadfork if the soil still needs more loosening.
Plant at the lowest setting.
Because garlic needs to be planted relatively deeply, the Paperpot Transplanter needs to be at its lowest setting. Planting them at least 2-3 inches deep is adequate for ensuring a quality crop.
Furrower, wheels, and sweeps.
With the furrower at its deepest setting, the wheels and sweeps of the transplanter aren’t as effective at covering up the furrow.

However, this is not an issue. When planting the five rows, line up the wheels on the mound created by the previous pass. This will naturally bury the garlic in the previous row.
Tidying up.
A quick pass with a rake after all rows are planted will fill in any unburied spots. This final sweep also serves as a double-check to see if there are any gaps in the rows.
Garlic on the loose.
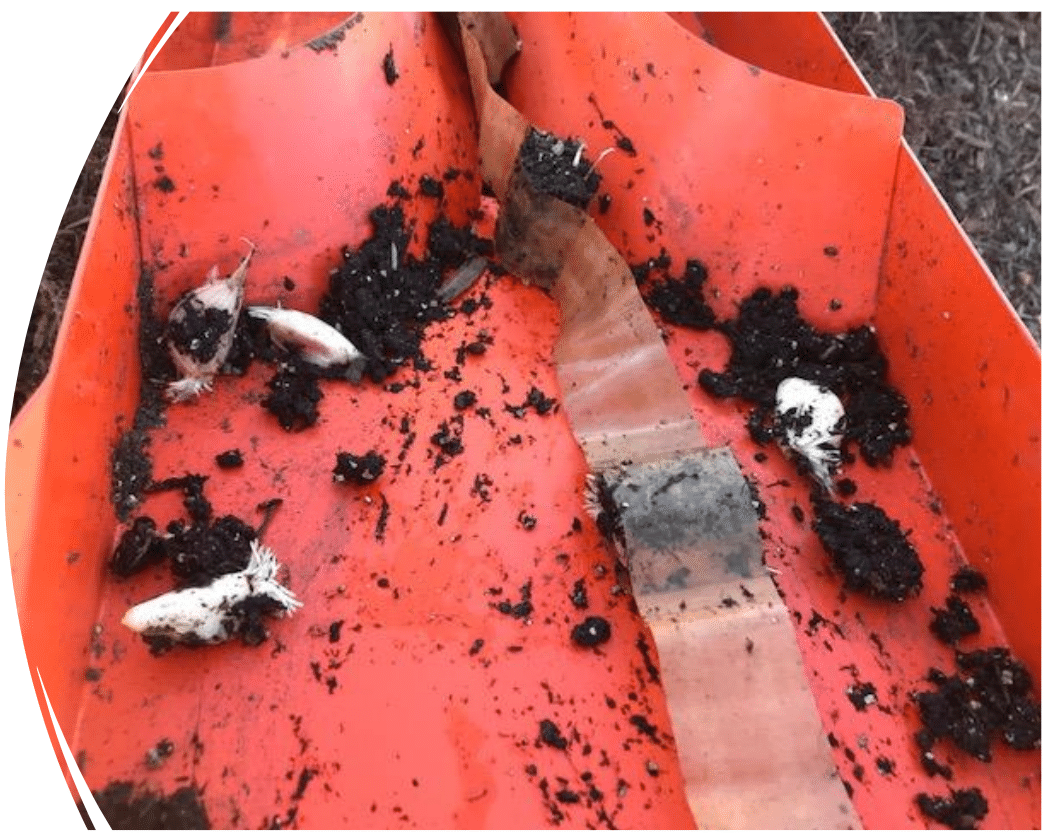
Occasionally, garlic will pop out of the paper chains, as is the nature of planting garlic with the Paperpot Transplanter. Despite keeping the soil in the chains well-packed, well-watered, and making sure that the garlic had enough dwell time, some of the cloves may still pop out.
When this happens, Josh gathers all the cloves that popped out of the chains and hand plants them in the gaps before starting a new chain.
Paperpot Transplanting vs. Hand Transplanting
- Faster, more efficient planting time.
- Allows a lot of garlic to be planted all at once.
- Easier on the body.
- Eliminates hours spent on your hands and knees hand transplanting each individual clove.
- Adds one more use of the Paperpot Transplanter to your farm system. This increases the value that the tool brings to your farm. “If you have it, you might as well use it.”
- No need to mark anything out.
- Skips the step of marking out spacings in the field; the paper chains will do it for you.
Paperpot Garlic Tips and Reminders
- Stack a maximum of 3 trays on the Paperpot Tansplanter while operating.
The weight of the heavy, wet trays helps to keep the transplanter deep in the soil as it’s pulled along the beds. The transplanter will stay on the ground and won’t bounce up as much when you hit hard patches. The extra weight will help you power through the chunkier areas. - From Josh’s experience, paper chains do not interfere with bulb growth.
- Plant 24 hours after seeding trays. Save yourself the trouble of having to deal with overgrown roots that interfere with transplanting.
- Saturate trays with water before planting.
- Make sure the cells in the paper chains are firmly packed with soil mix.
- Press down on the first paper chain with a foot or a fist. While some people pin their first cell with a landscape staple, when planting garlic, Josh will step on the first cell of his paper chain and push the transplanter a few feet to get it started.
- Loosen the soil. Pulling the transplanter along the beds can be difficult without good tilth, but having loose soil, along with good technique will make the task easier.
- Wheels up. While Josh keeps the transplanter wheels down when working with other crops, he keeps the Paperpot Transplanter’s wheels up when planting garlic, as it gives more weight to the transplanter itself, which then secures it in the soil.
Time Savings
While it does take some time to seed a paperpot tray of garlic by hand, it is exponentially faster than planting out each clove in the field.
If you’re planting garlic for the first time using the Paperpot Transplanter, don’t worry if it takes a little longer than you’d like. New systems take a bit of getting used to. With a little time and some adjustments to fit your context, you’ll find the best way to make it work in your system.
Got questions?
Get in Touch with Josh Shelburne of Whole Heart Farm!
Download our Paperpot Garlic Growers Notes here.
Relevant Links
How to Grow Garlic in Paperpot Chains | What is the Paperpot Transplanter and Why Use it? | How to Use the Paperpot Transplanter