“Complexity is the enemy of execution.”
Tony Robbins
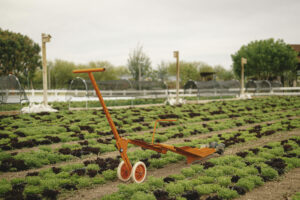
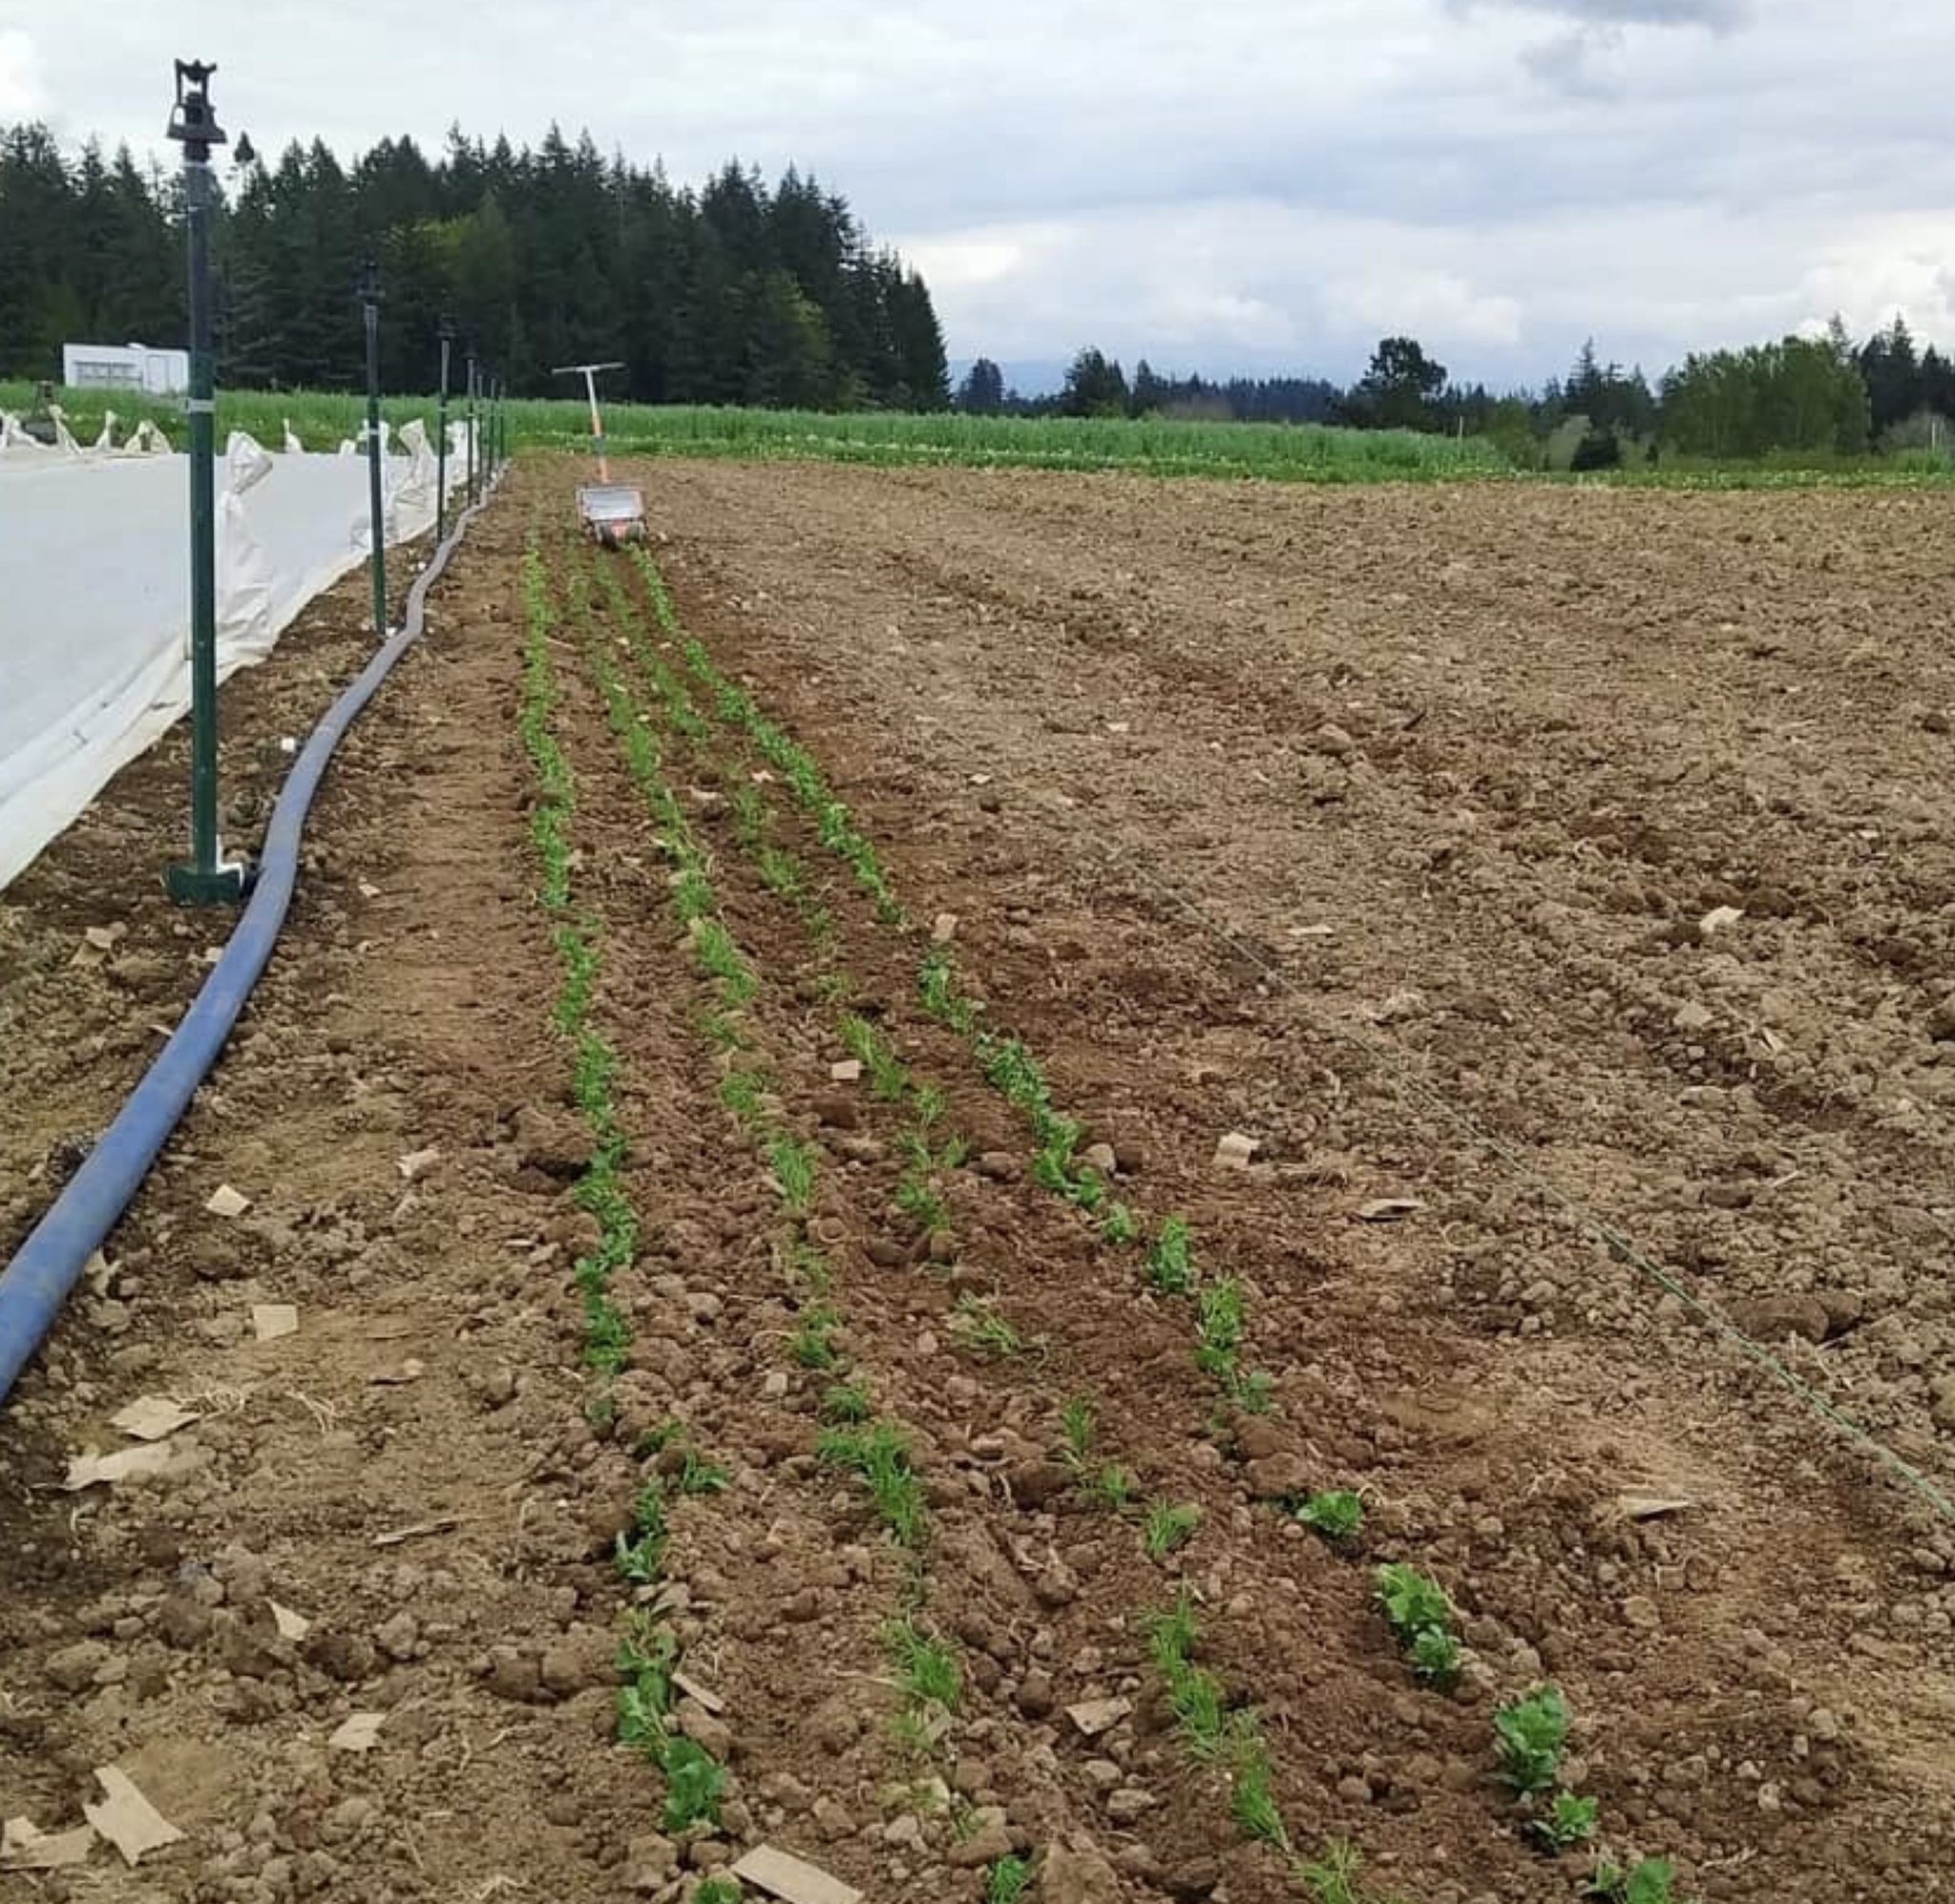
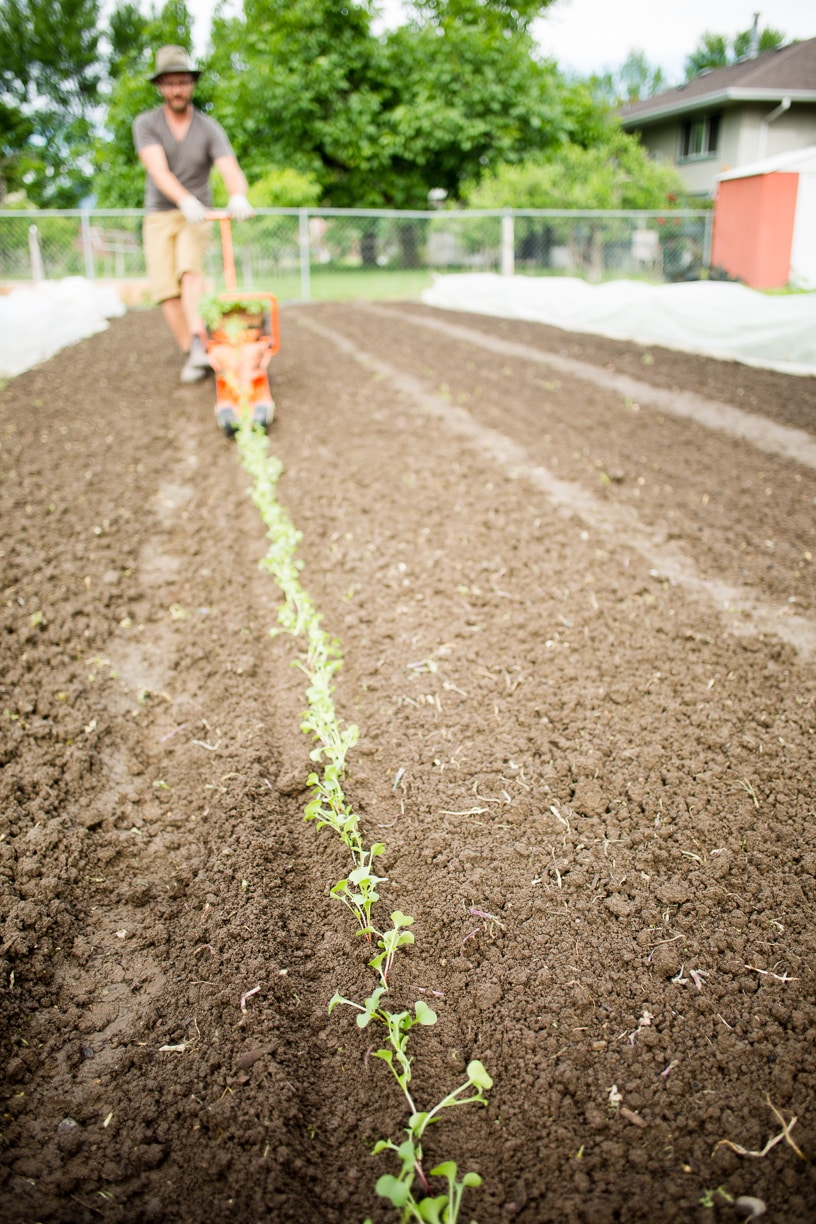
This statement is especially true for market farmers. One of the best ways to reduce complexity in an intensively managed small-scale market farm is to standardize as many of your systems as possible. Erich Shultz of Steadfast Farm in Mesa, Arizona has been working on this for many years.
In this article, we will be given an inside view of how he has standardized and streamlined the majority of their farm systems.
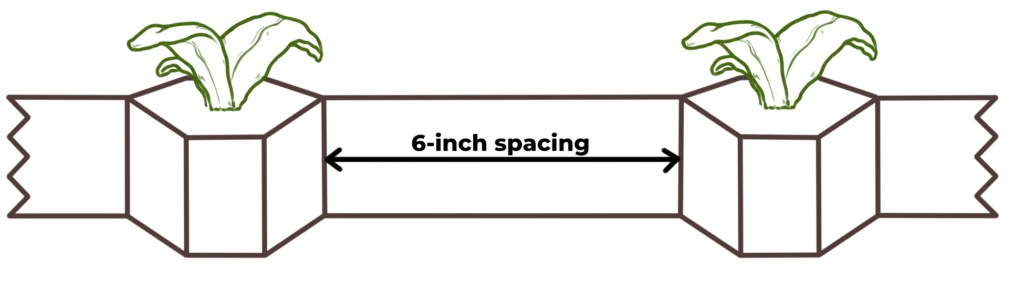
Standardizing Six-Inch Spacing
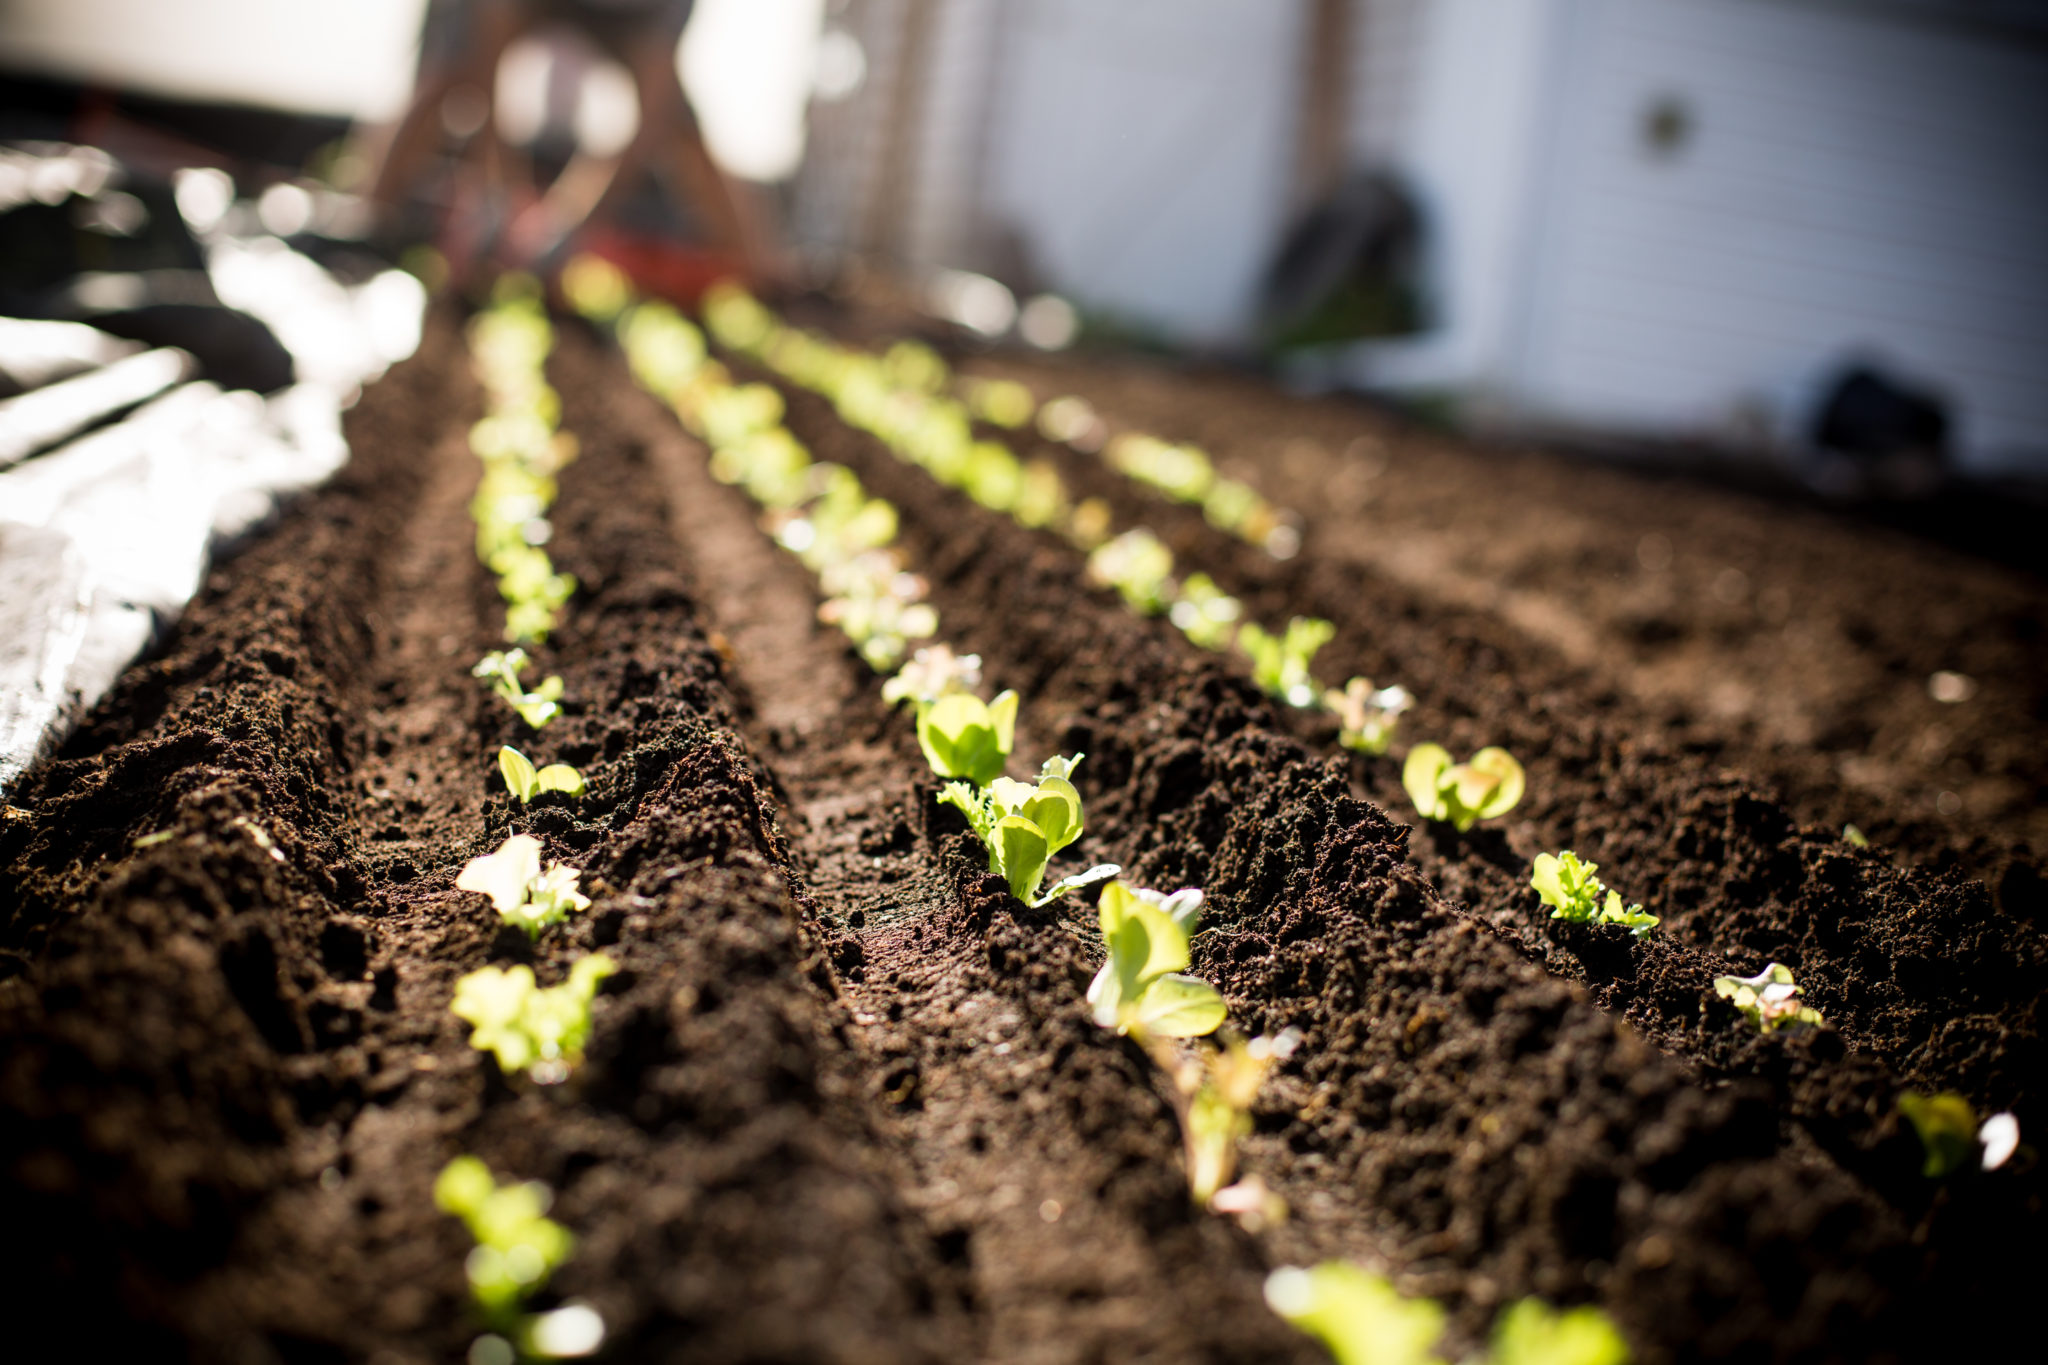
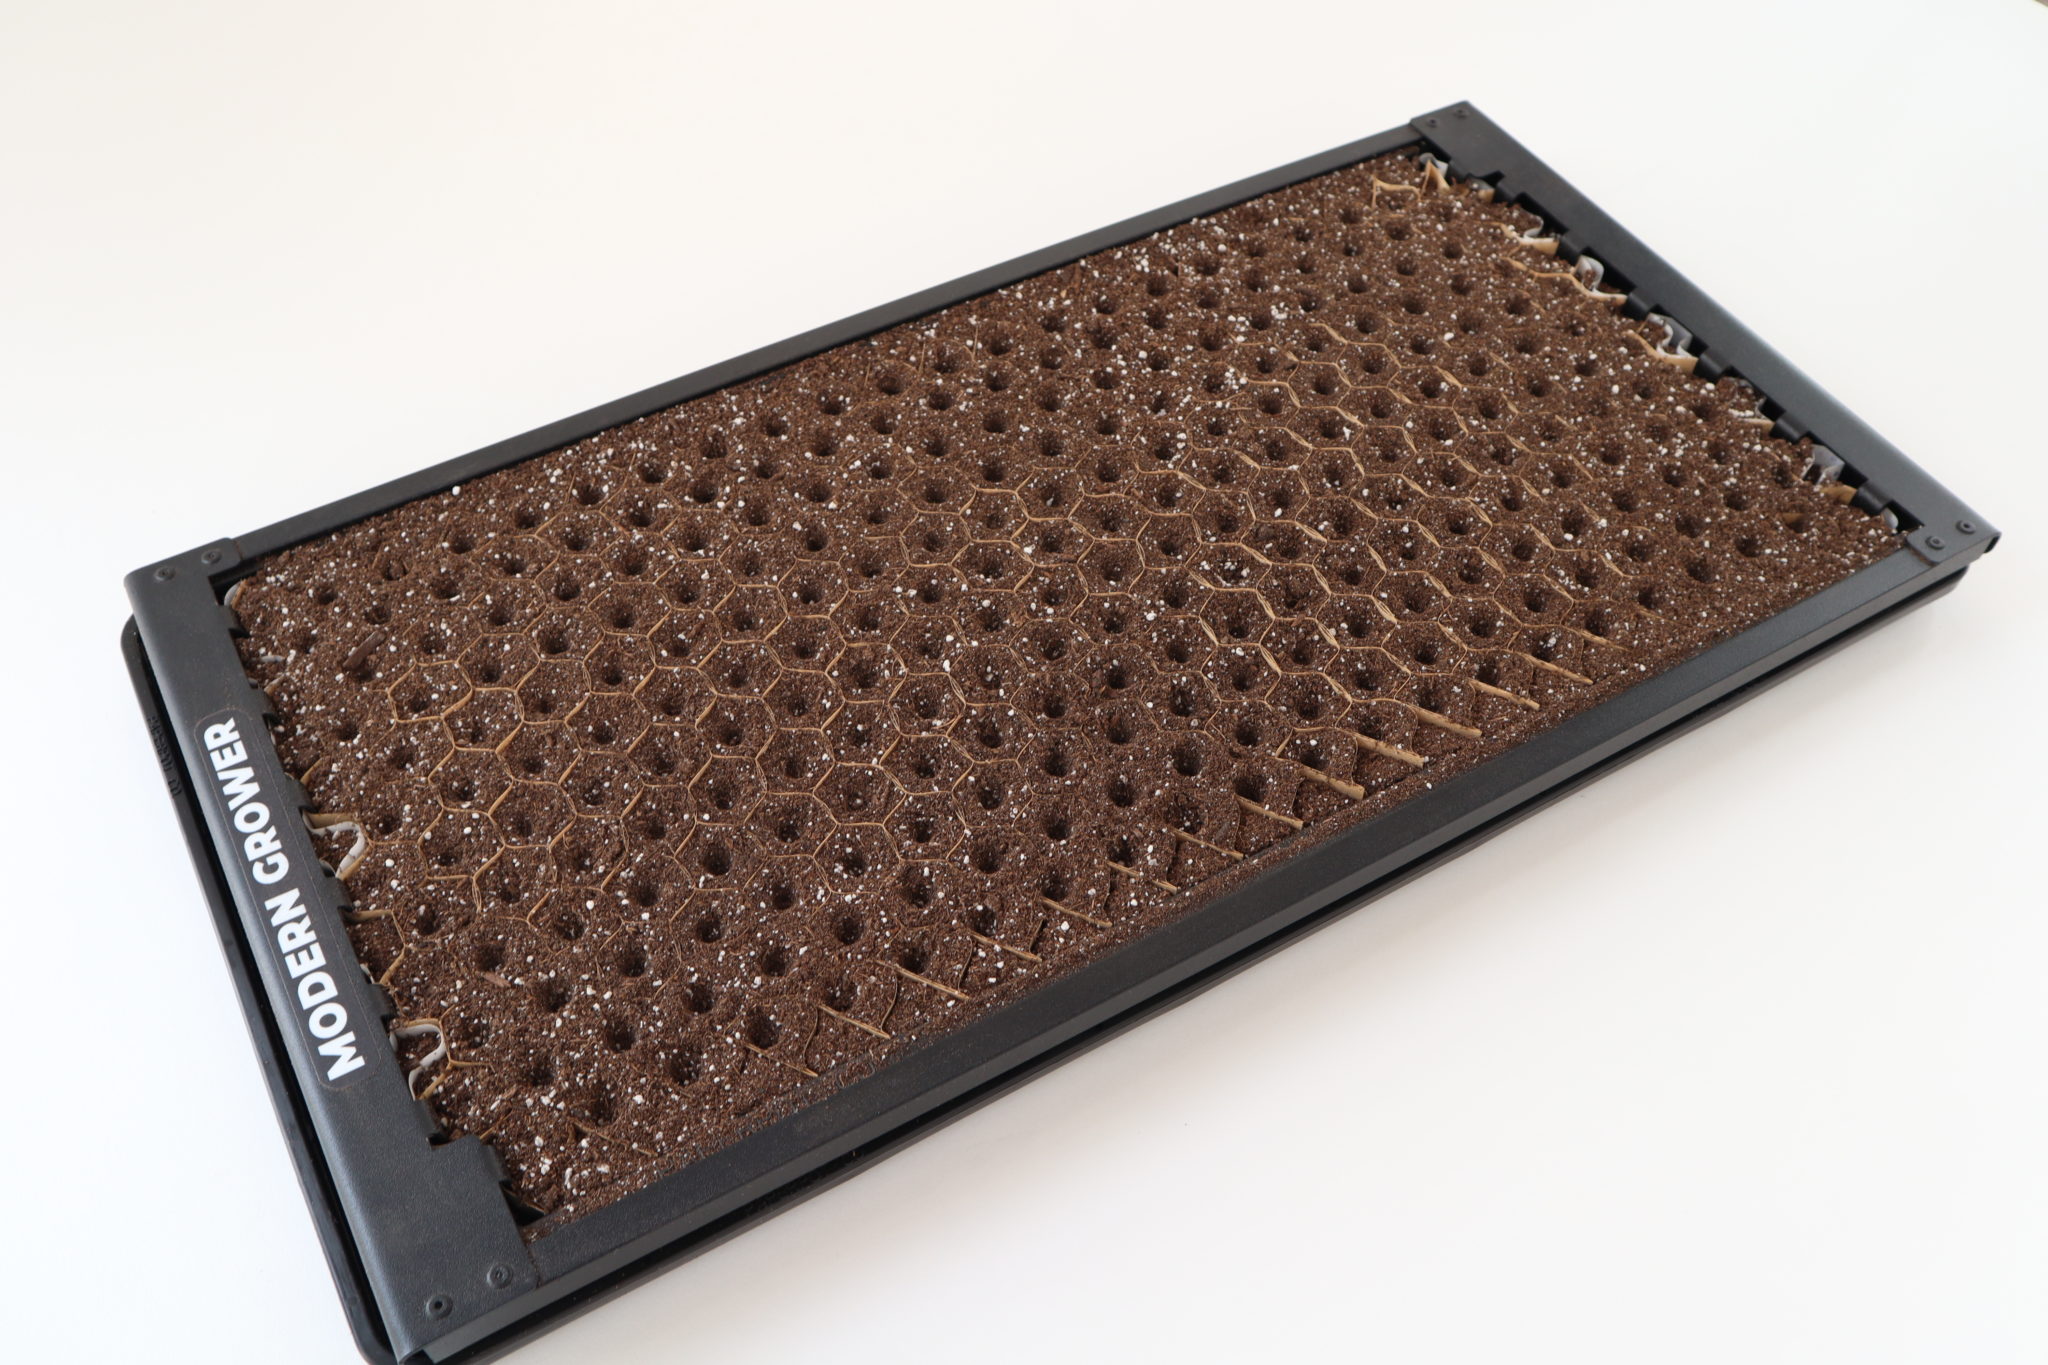
Erich realized that 80-90% of the crops they were growing in paper pots were already in 6” paper chains. In his pursuit of simplicity and standardization, he decided to experiment with growing almost ALL of their paperpot crops in 6” chains. They looked at all of the crops that were using tighter spacings and evaluated what the trade-off would be if they made that spacing just a little bit wider. What would be the pros and cons? After going through that process, Erich felt the pros far outweighed the cons, and went with it!
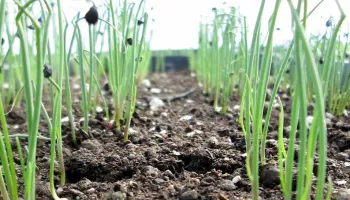
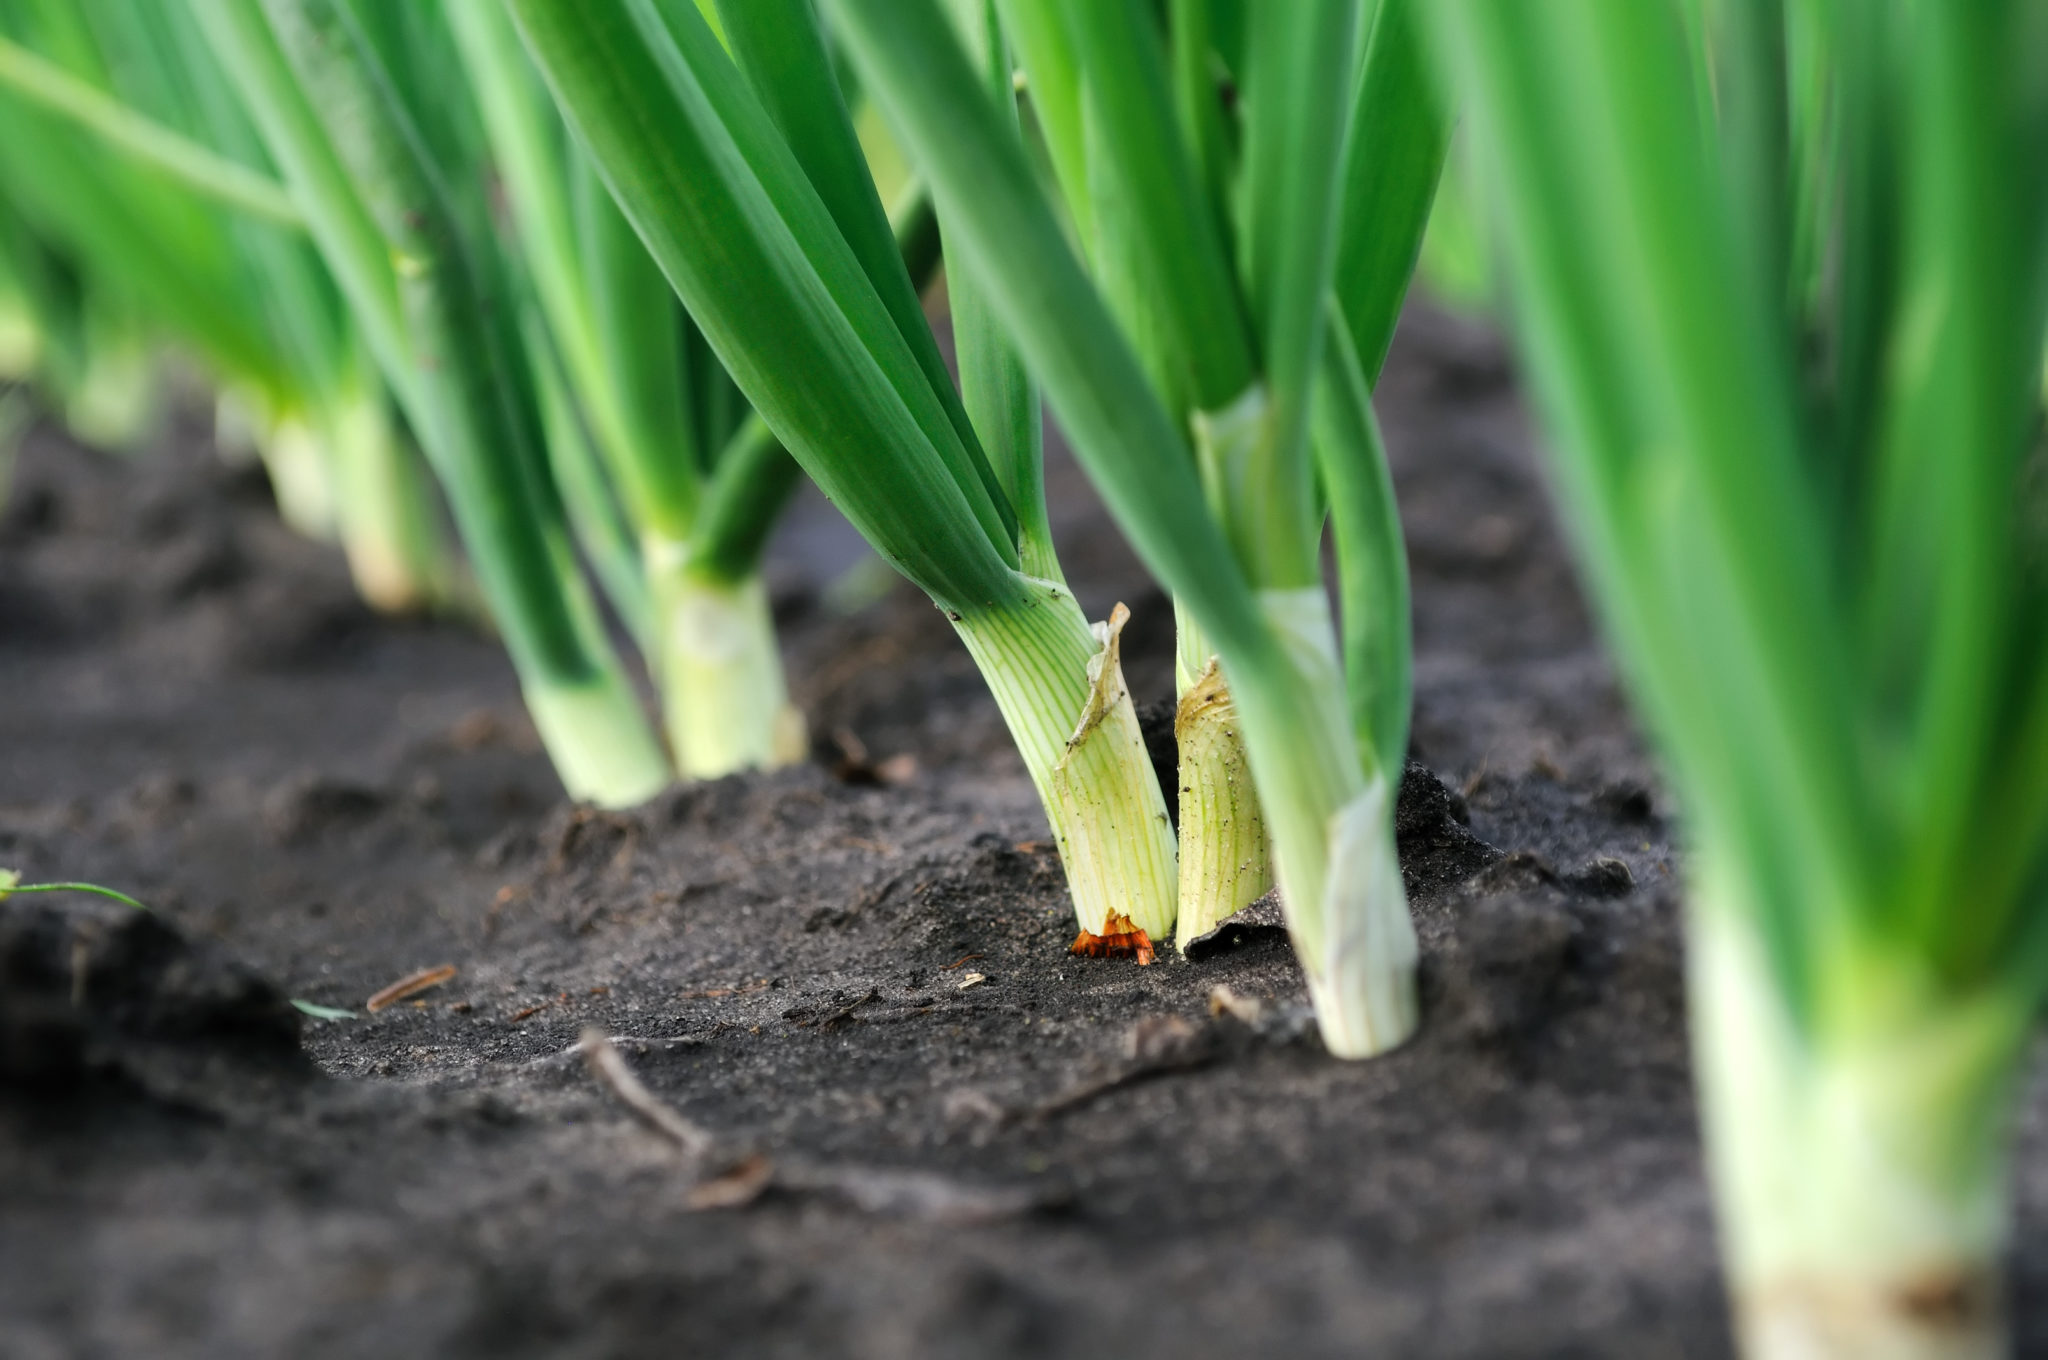
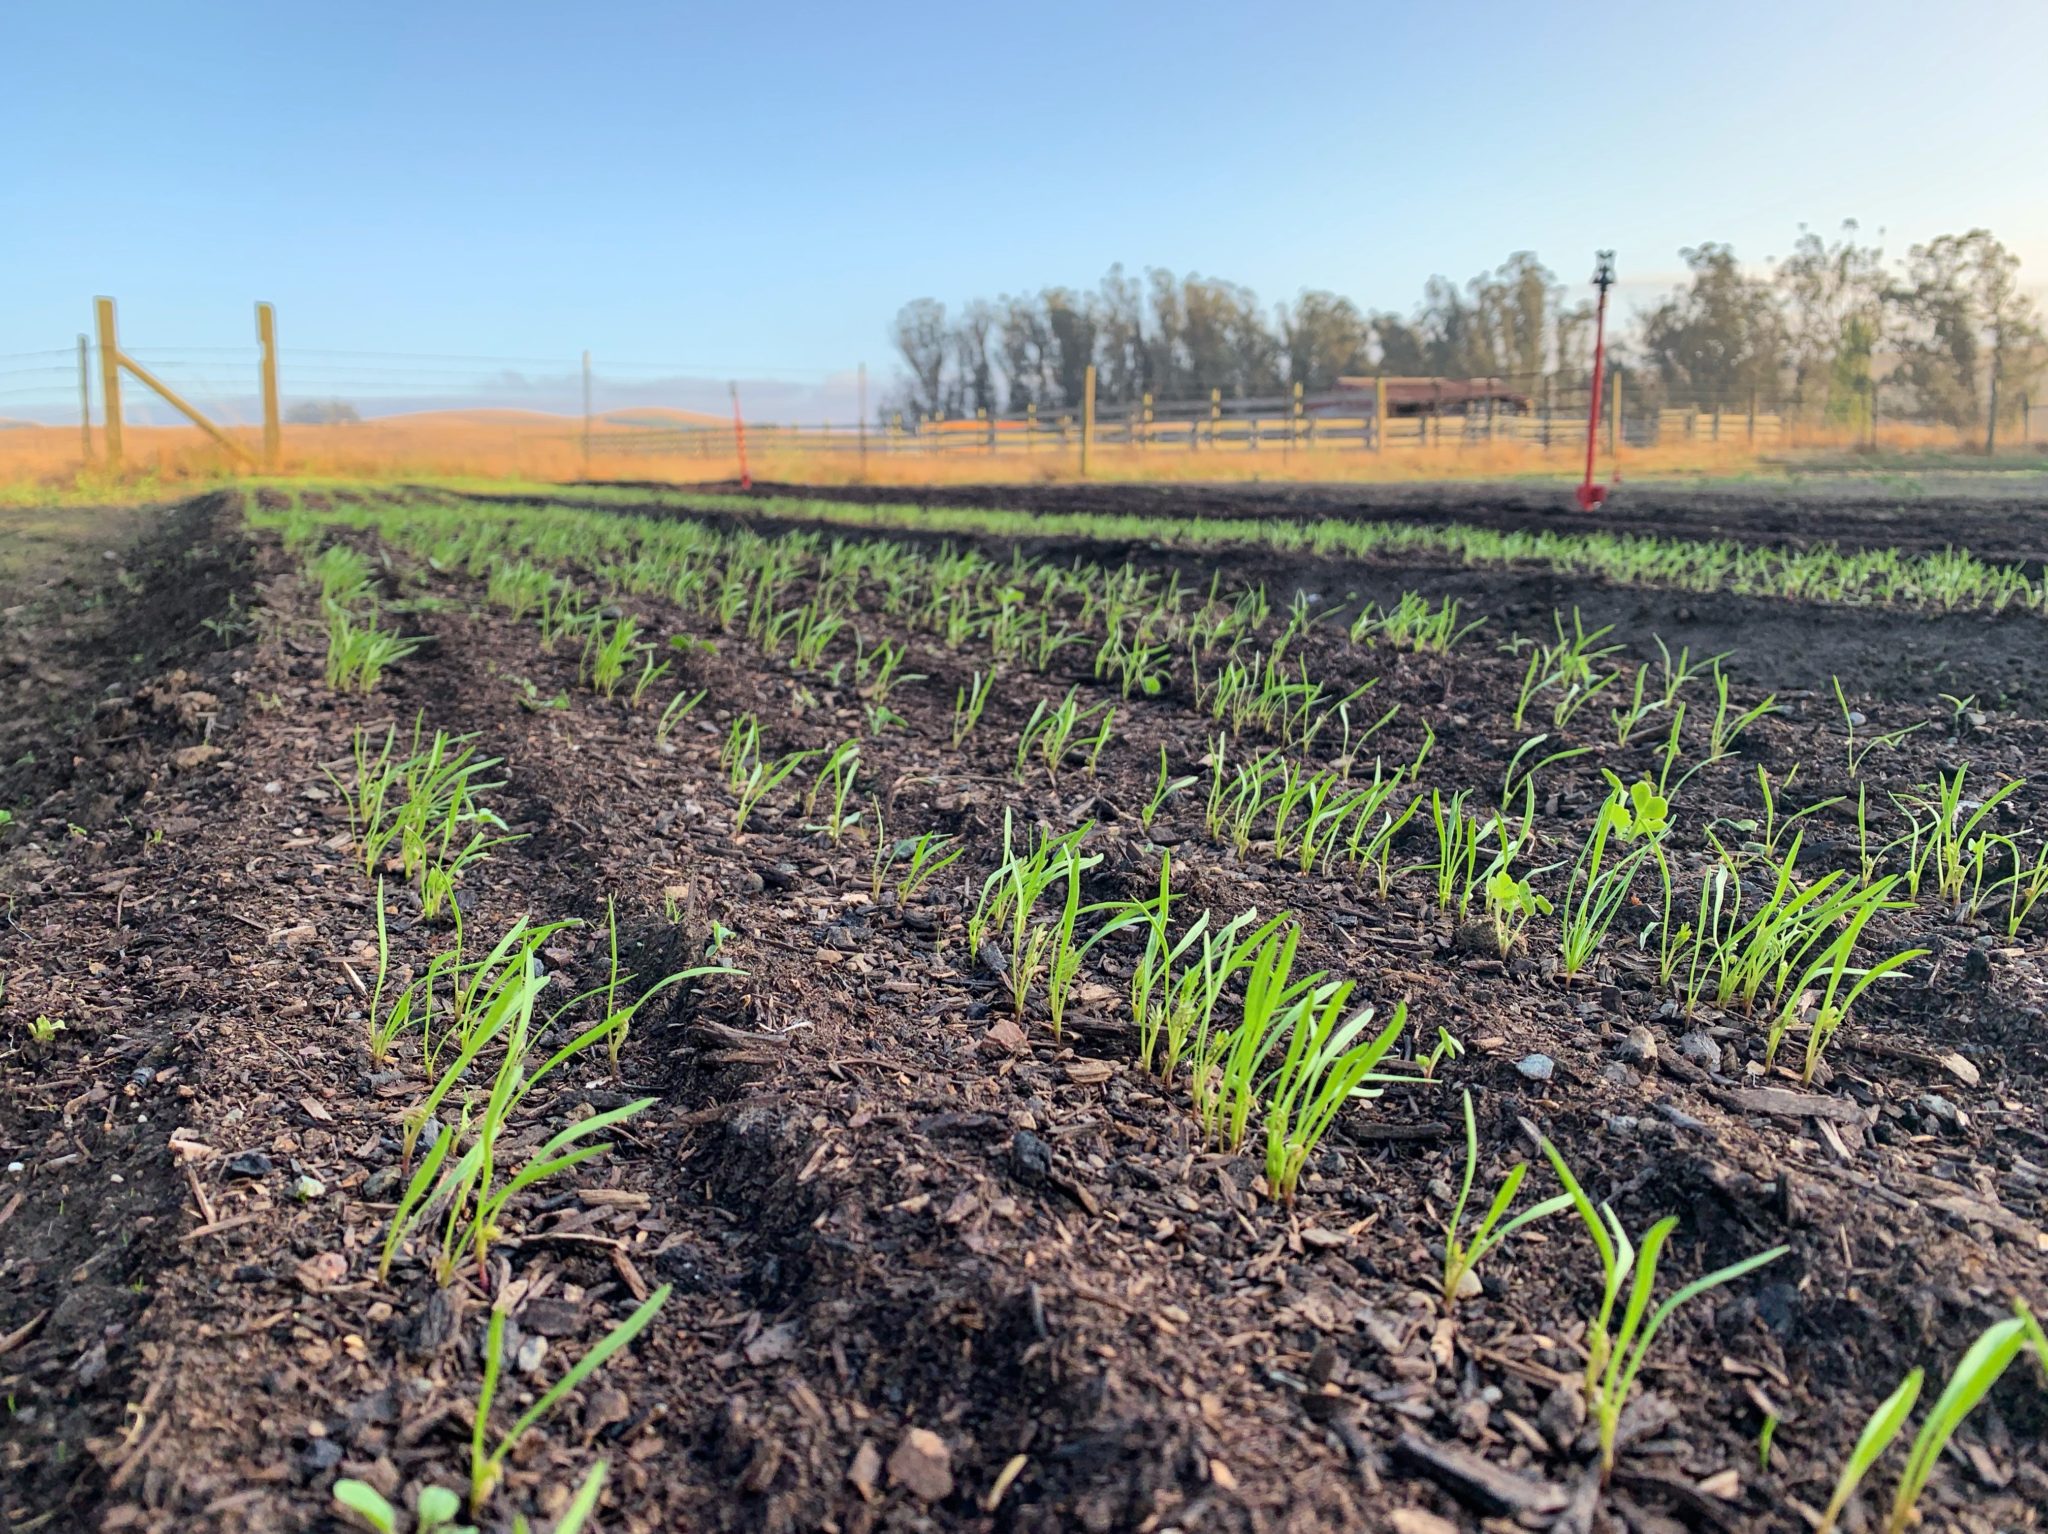
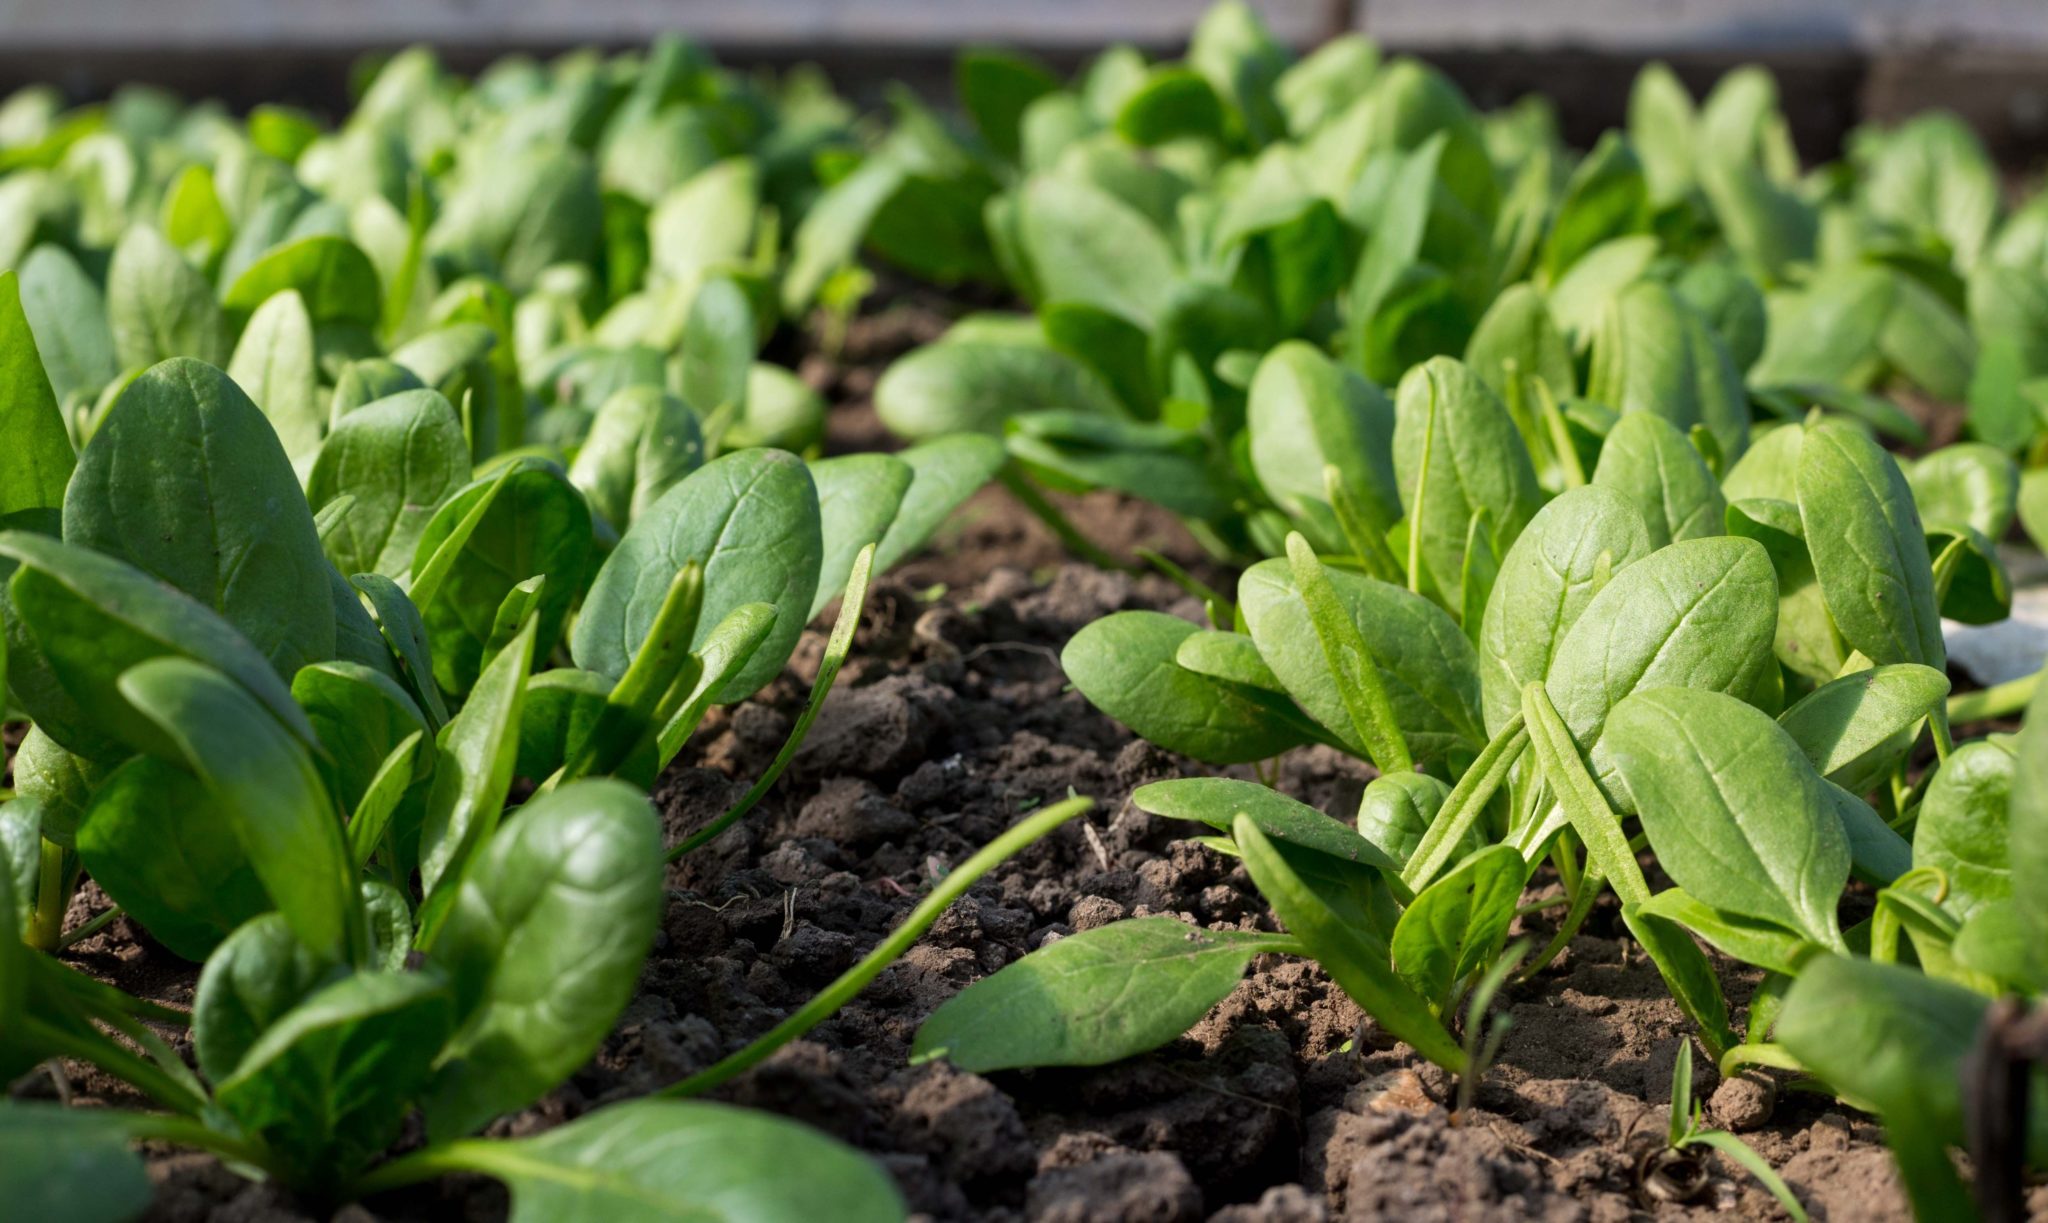
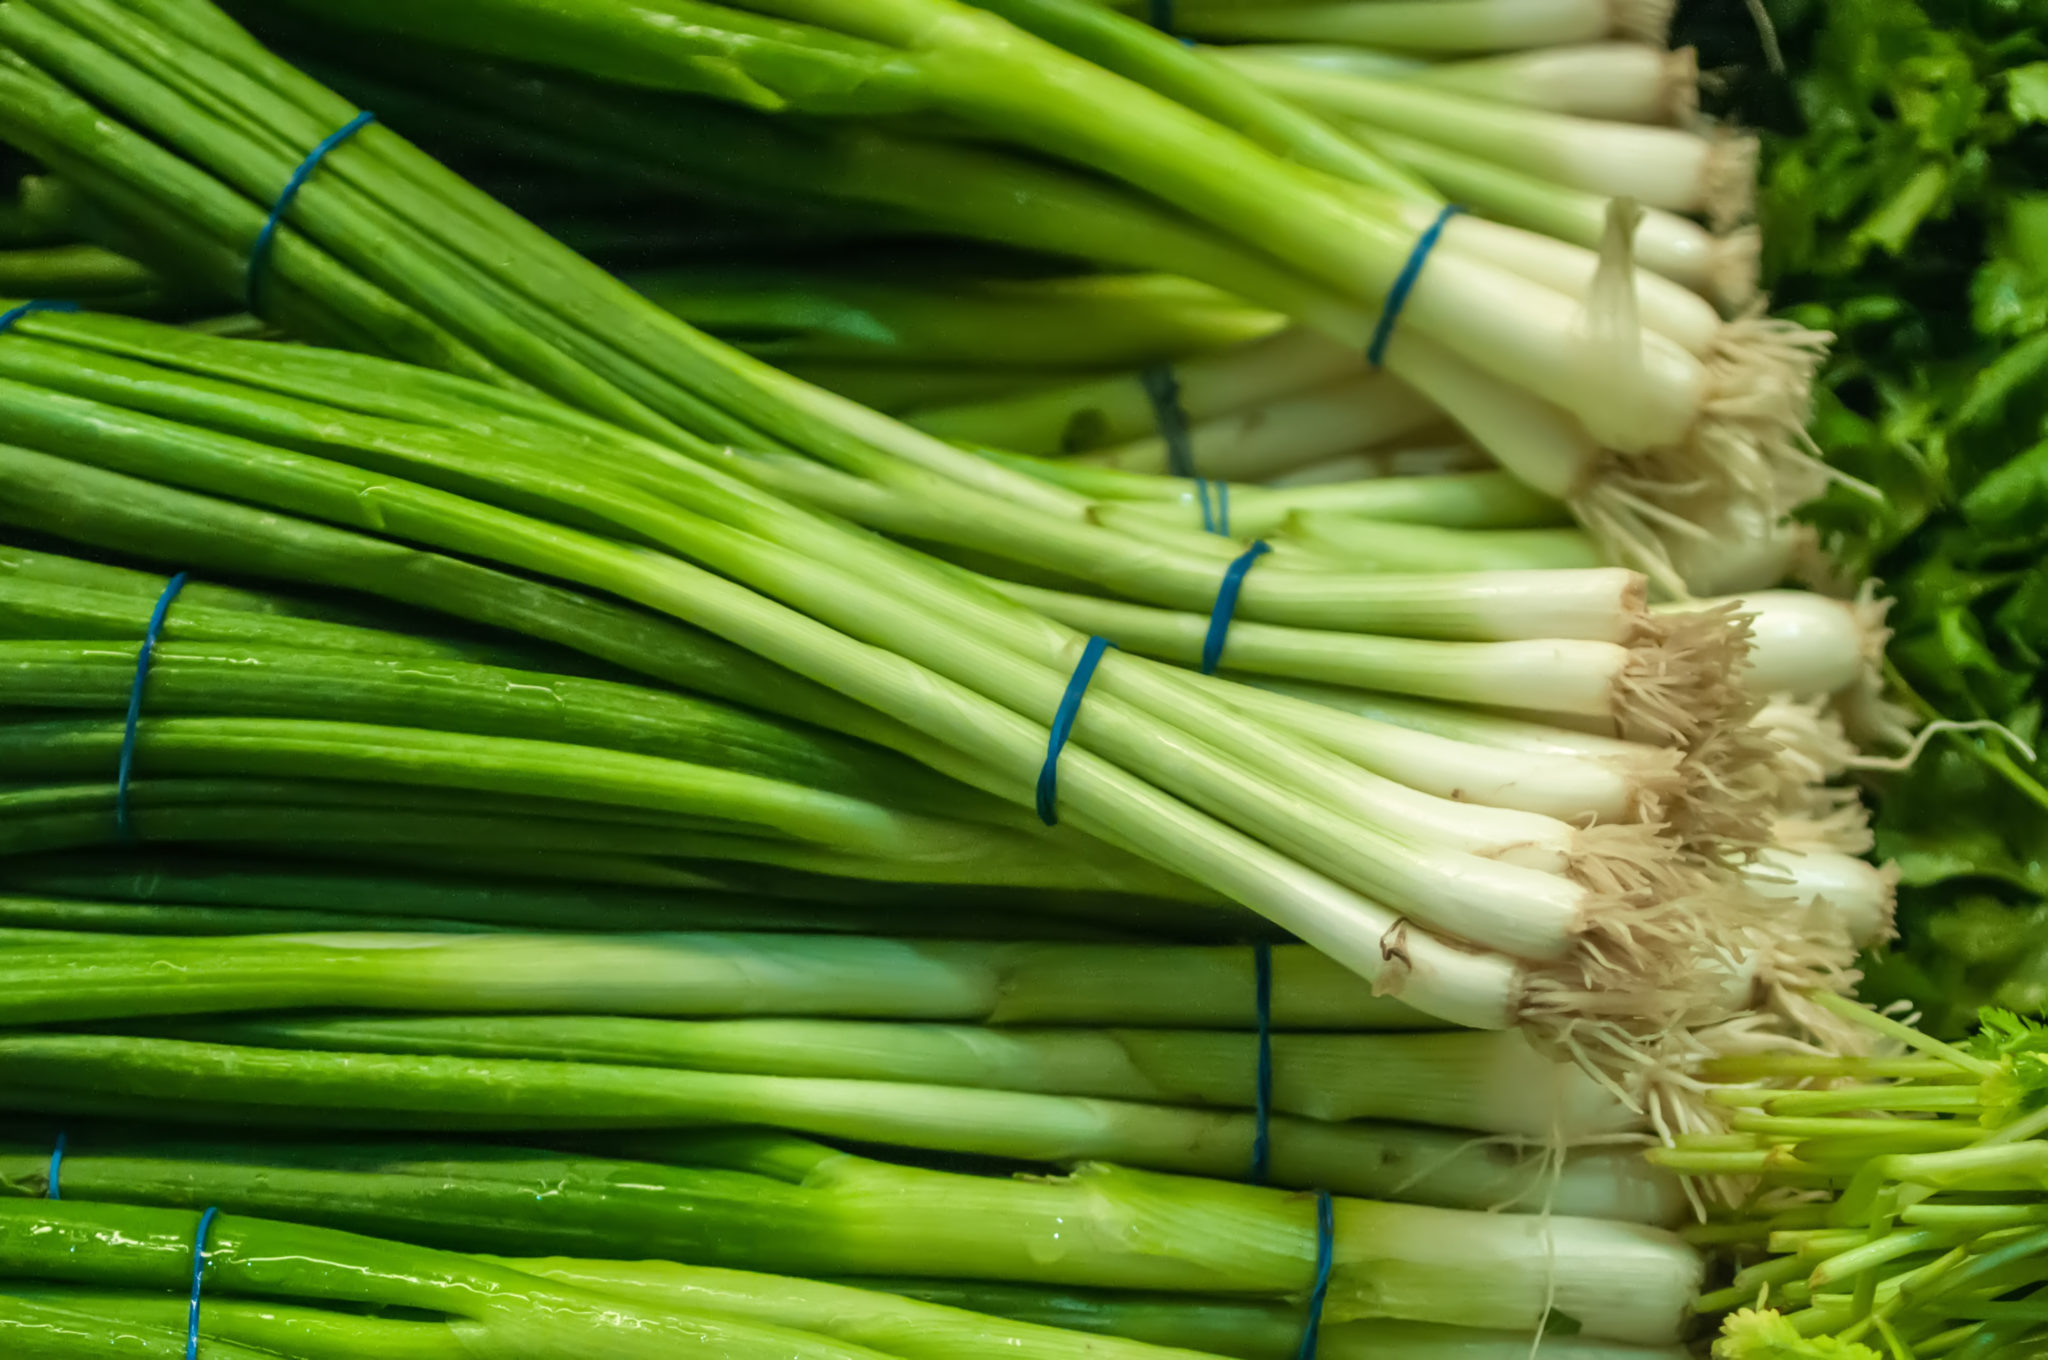
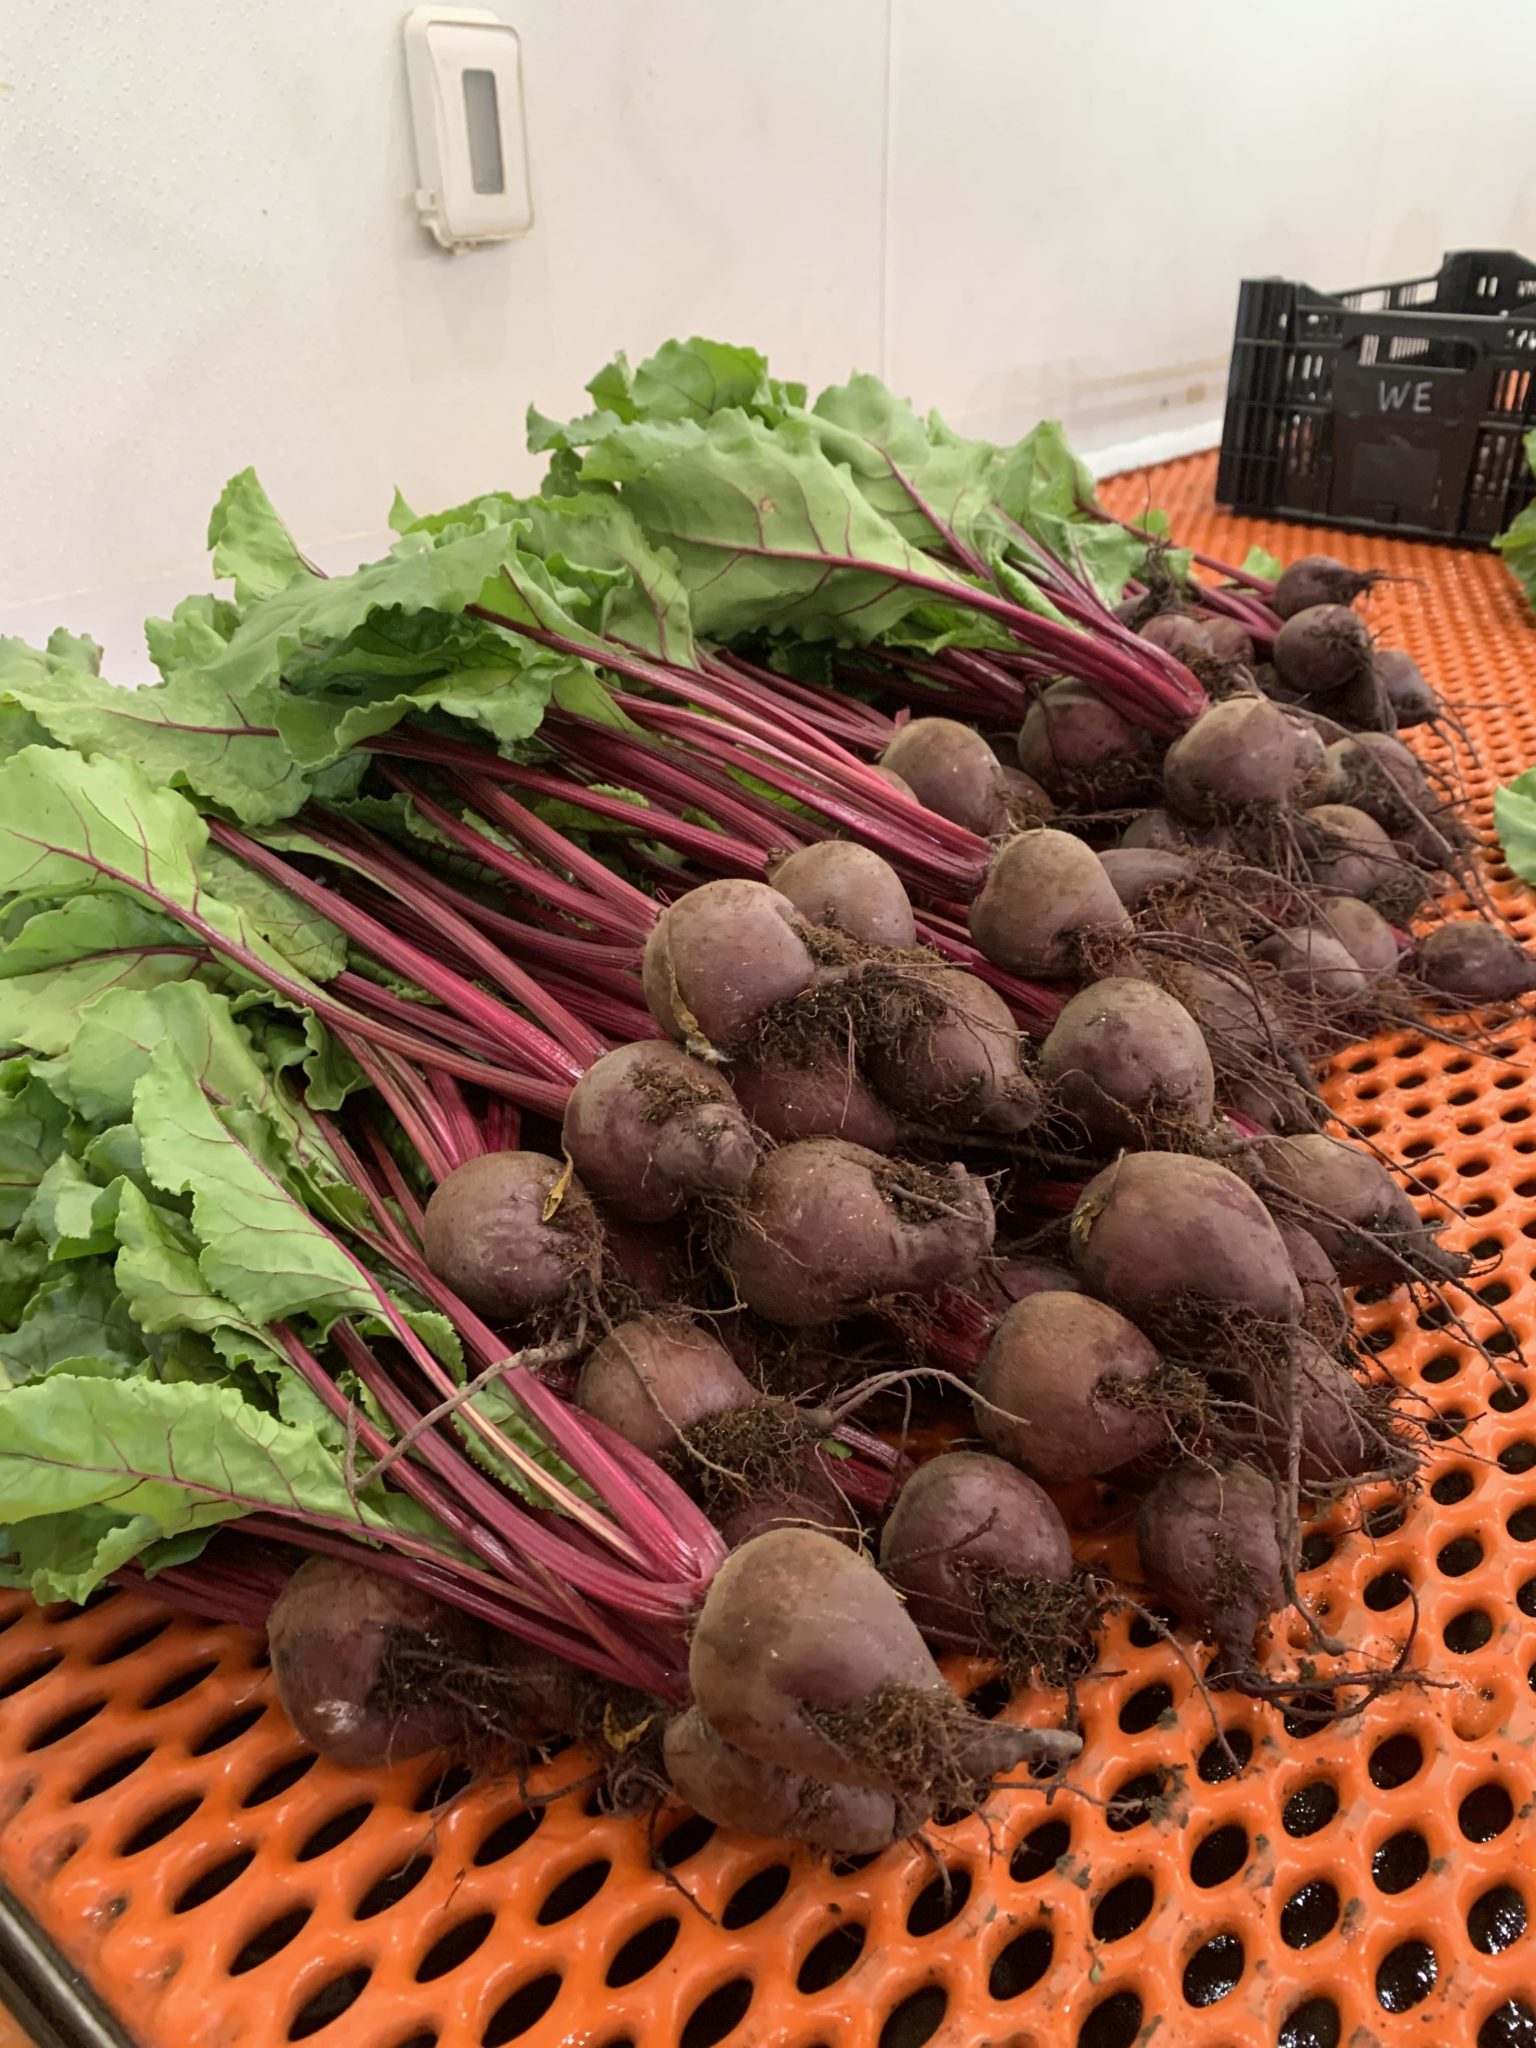
Erich said that moving crops like beets and green onions from 4” up to 6” in row spacing would move them roughly from 1200 down to 800 plants per 100’ bed. Obviously, the trade-off is fewer plants per bed. However, what he discovered was that the plants actually thrived more with a little more space. Just that little extra space between plants gave them more breathing room and increased their speed to maturity.
Even though yields were slightly less, what they found is that the wider-spaced crops matured faster, allowing them to fit in more plantings in the course of the season. At the end of the season, it all came out in the wash. About the same profit, but now with healthier crops, less to think about when it came to ordering paper chains, and a lower margin of error for crew members when planting!
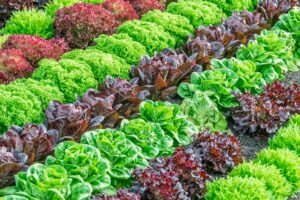
Erich’s philosophy is to prioritize simplicity and standardization over pushing the limits of getting the absolute highest yield per bed. He points out that in this biointensive market garden model, the yield is already so much higher compared to traditional mechanized farming. In his mind, sacrificing a small amount of yield is well worth the increase in flow and simplicity on the farm.
He also points out that some of the crops that were traditionally spaced tighter, like beets and green onions, are not top-tier crops when it comes to profit. If you’re going to make some sacrifices to make your system better, those are the crops you want to do it with. The most profitable crops that are driving the farm (like Salanova and mini head lettuce) were already using the standardized 6” spacing. It made sense to modify the spacing on those crops that were already playing a supporting role.
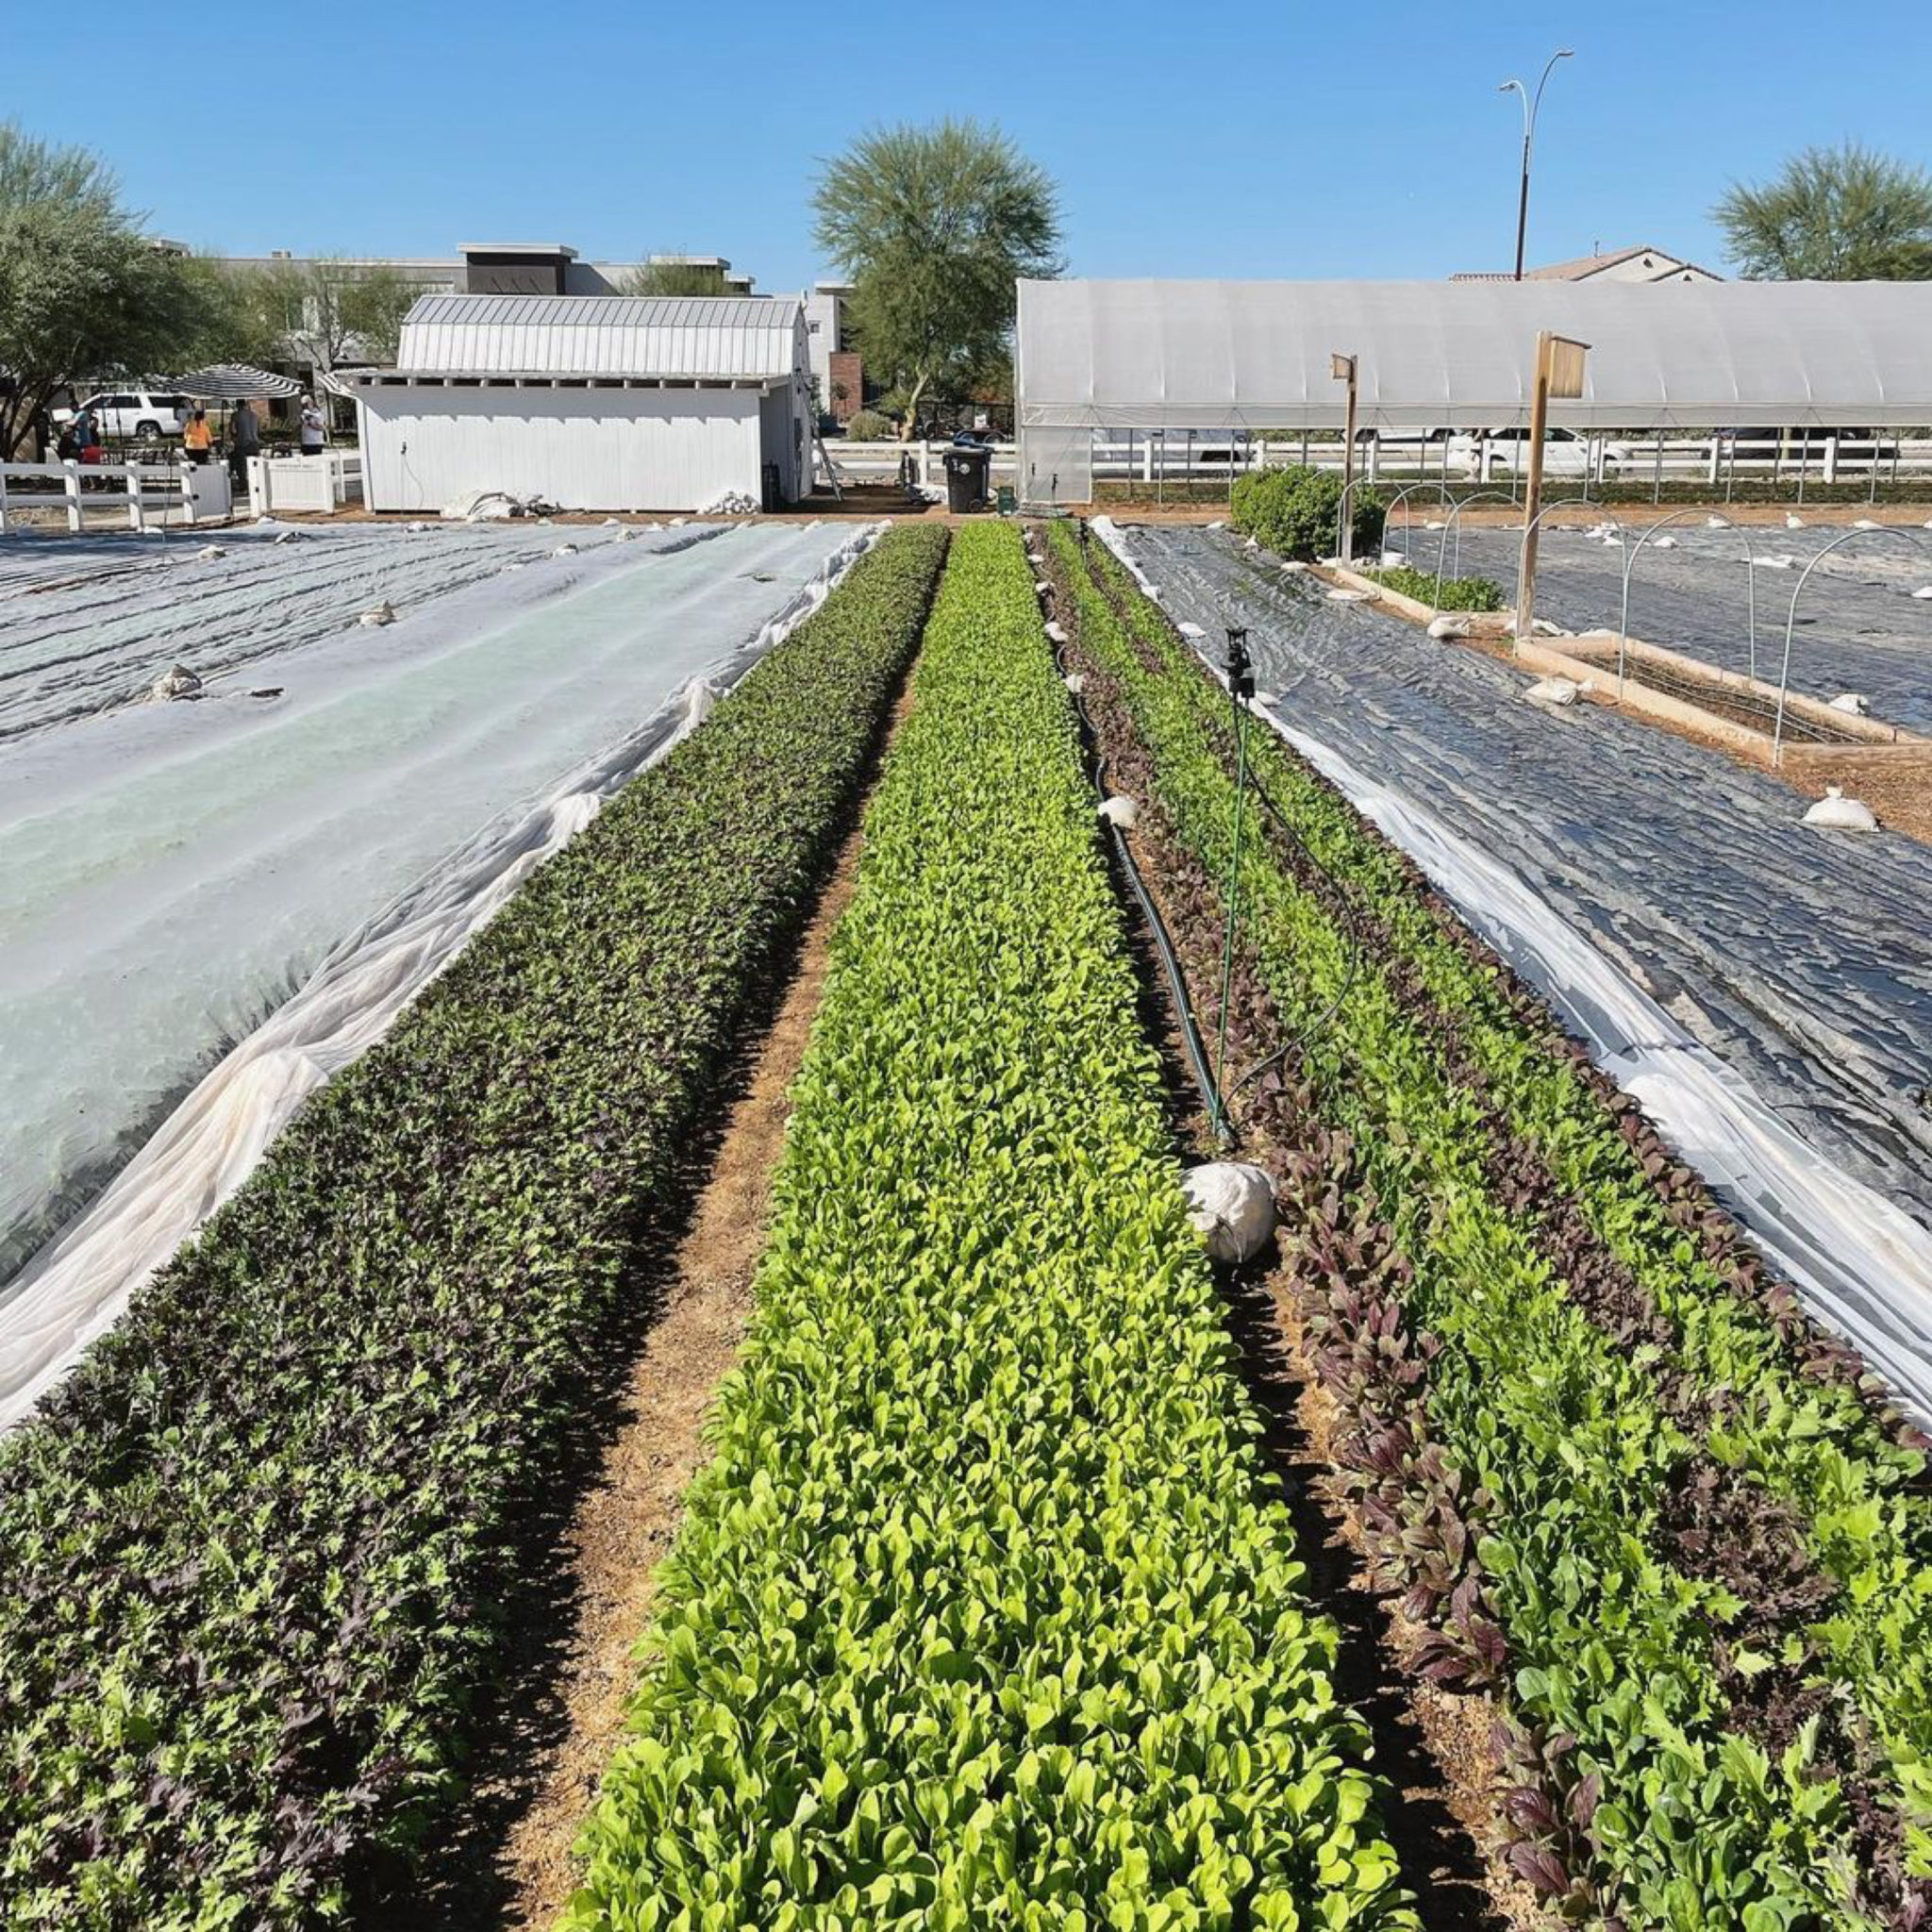
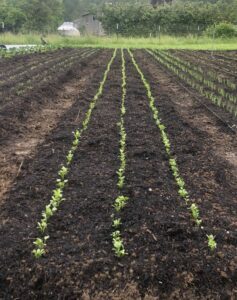
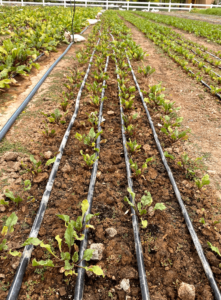
Standardizing Four Rows Per Bed
In addition to standardizing paper pots to 6” spacing, Erich also standardized to four rows per bed. Four rows of 6” paper chains in a 100’ bed will always require three paper chains, which is three trays per bed, every time. You’re not switching to different sizes constantly and having to rethink. With there already being so many daily decisions to make on the farm, this was just one way of paring that down. Fewer trays per bed also means less nursery space needed and less congestion in the germination chamber.
At this point, Erich is using their simplified 6” spacing/four rows per bed system for the following crops:
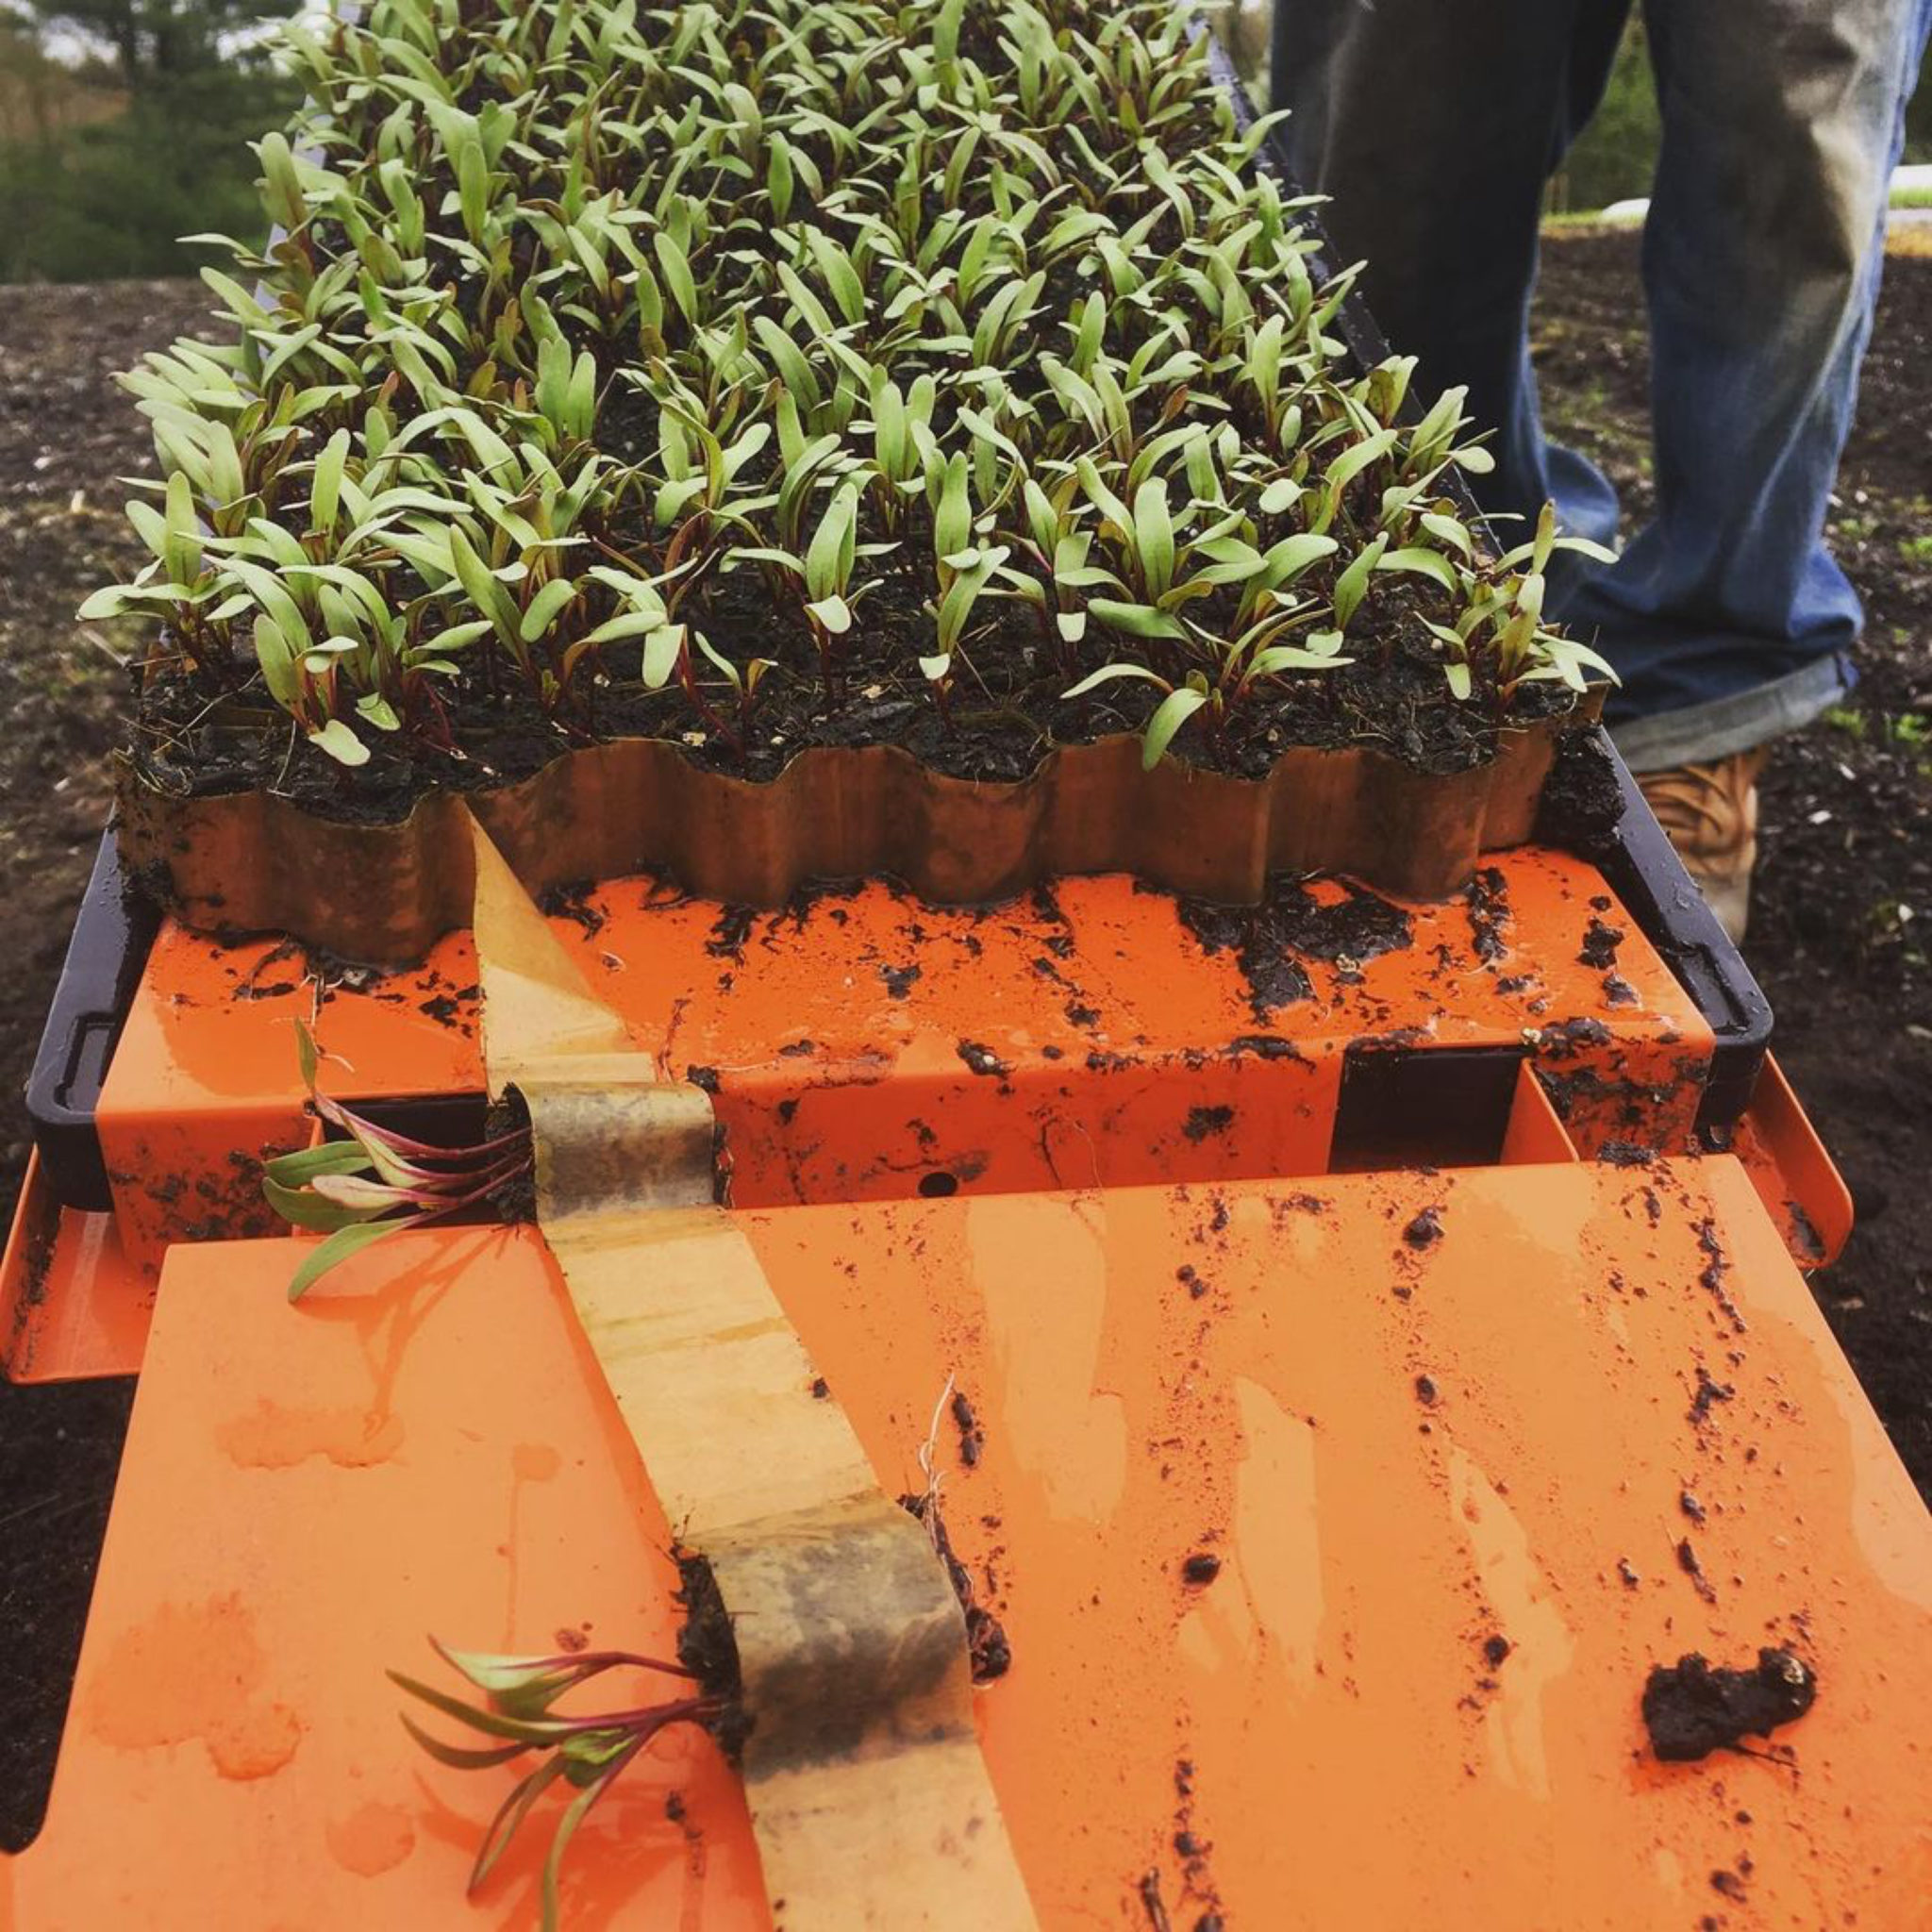
- Beets
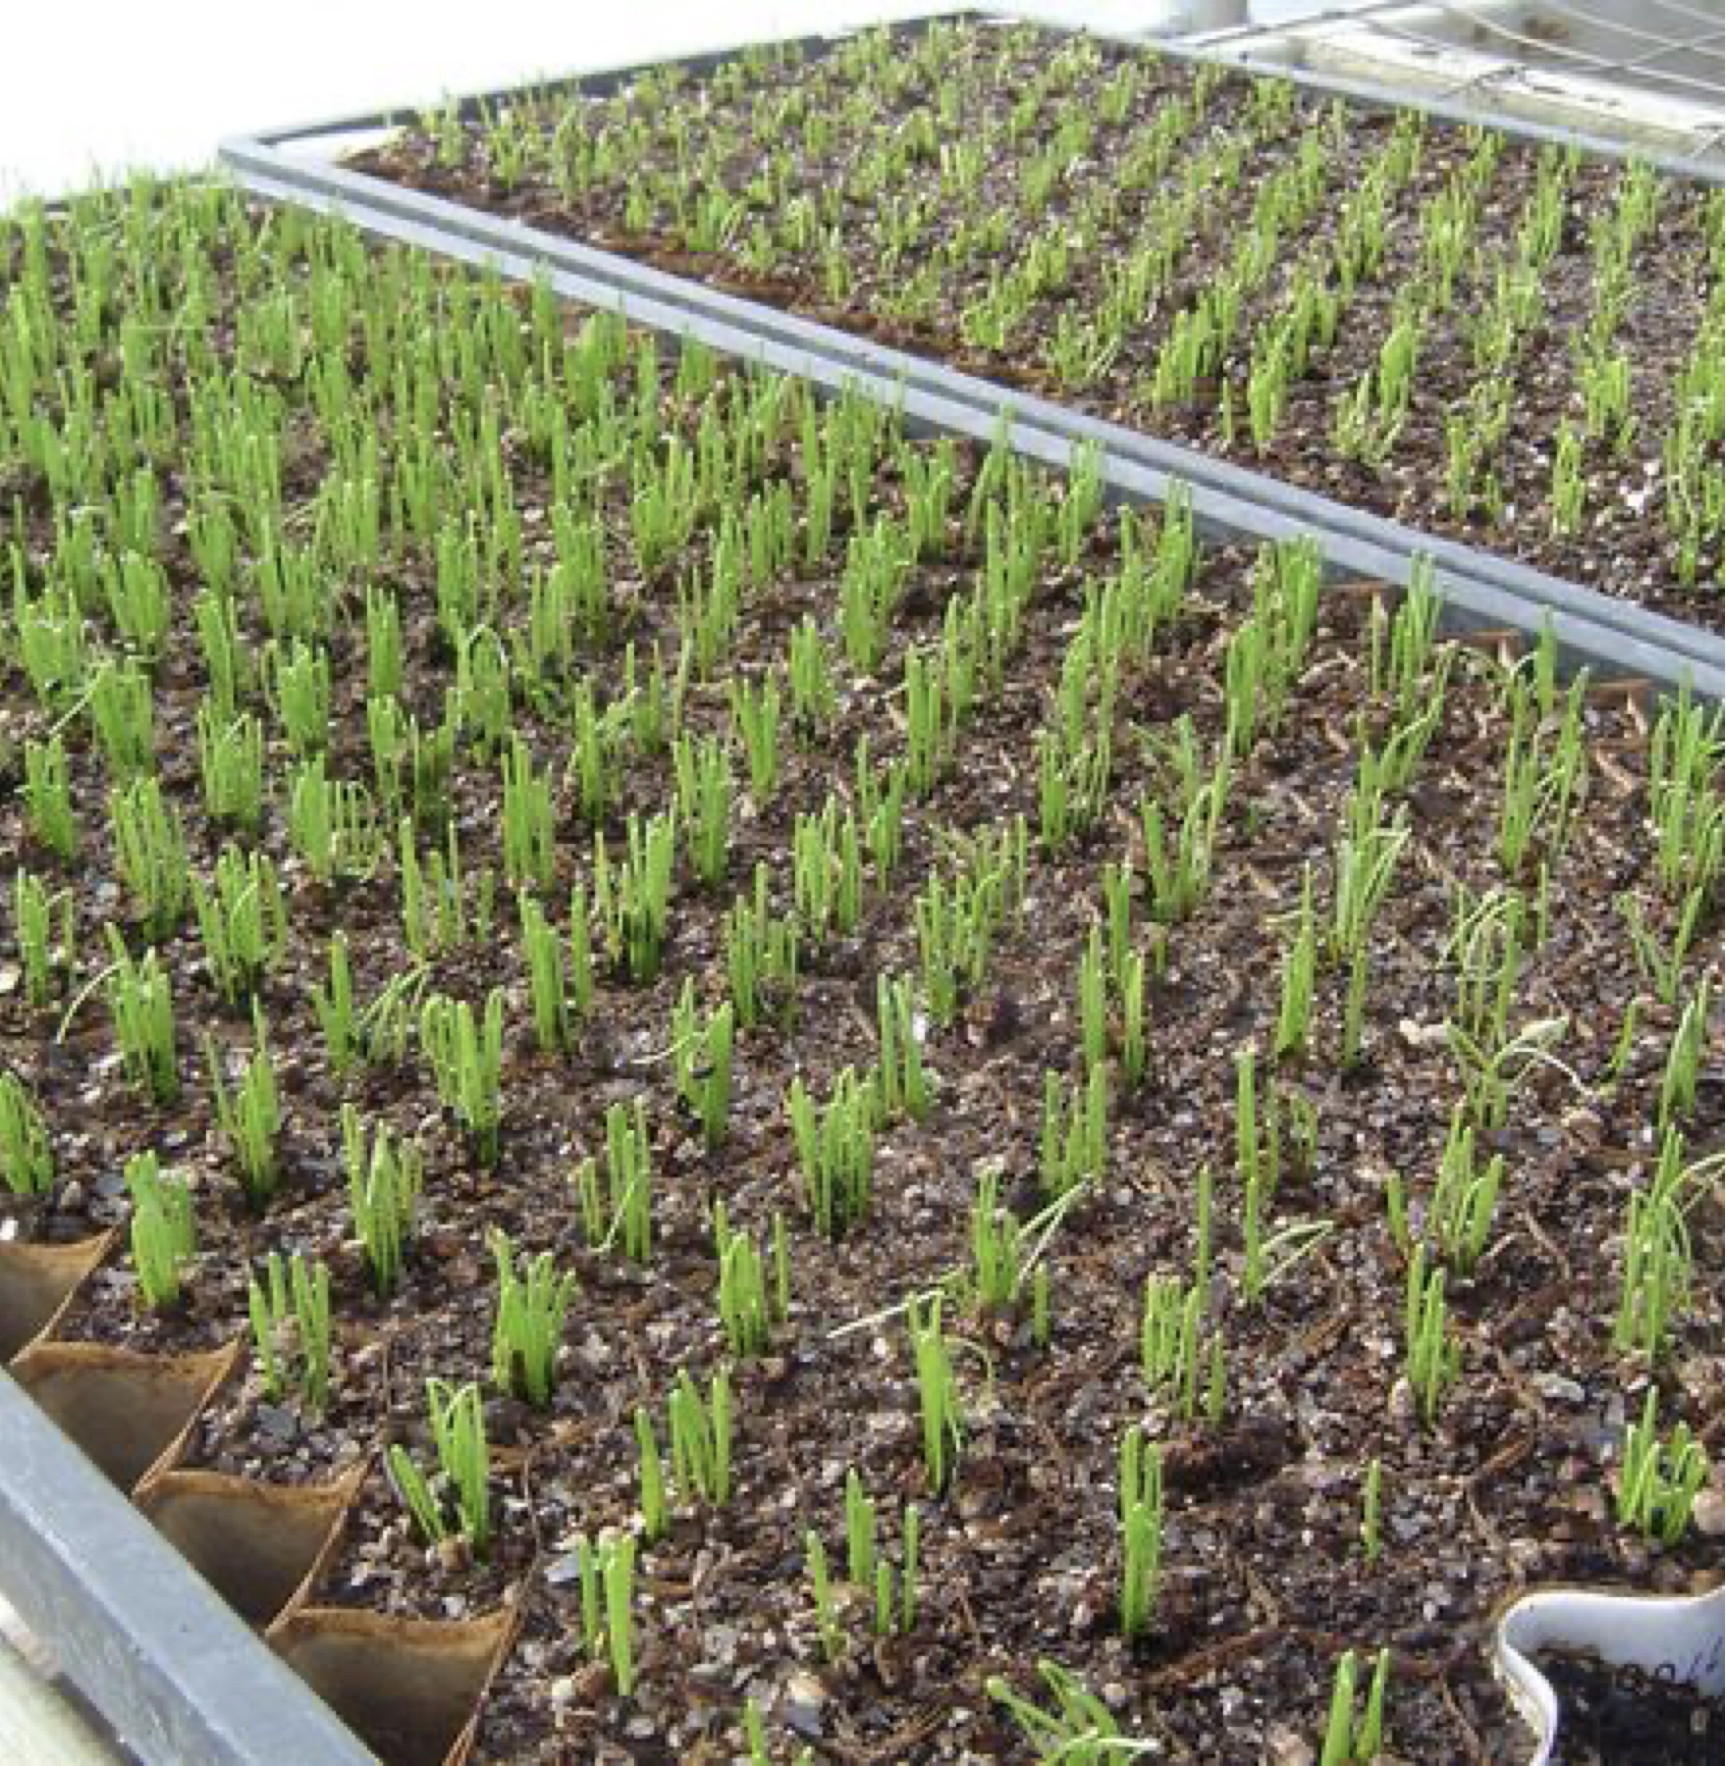
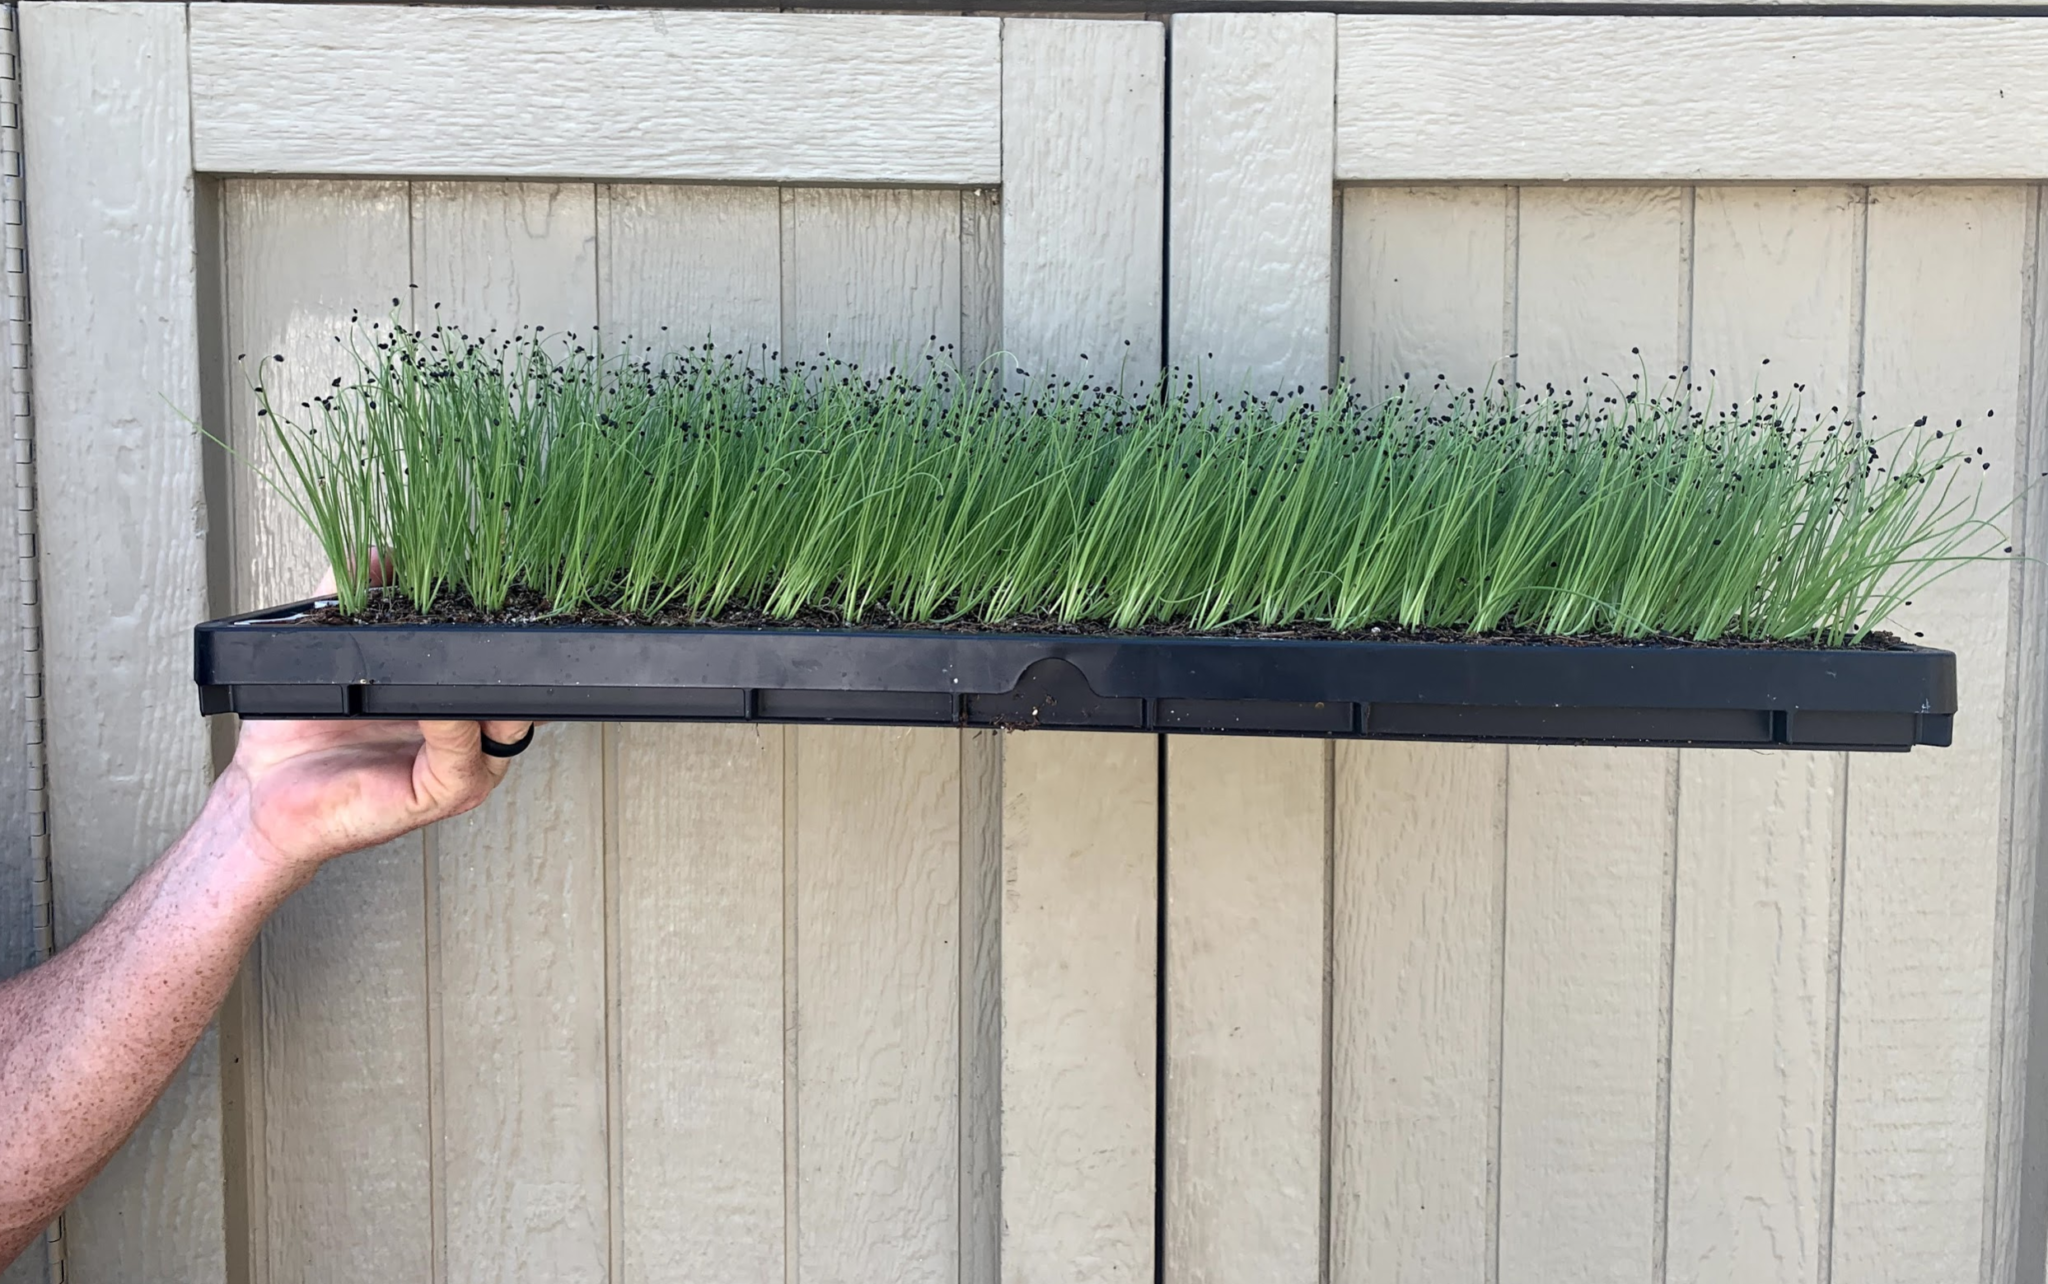
- Green onions
- Fennel
- Kohlrabi
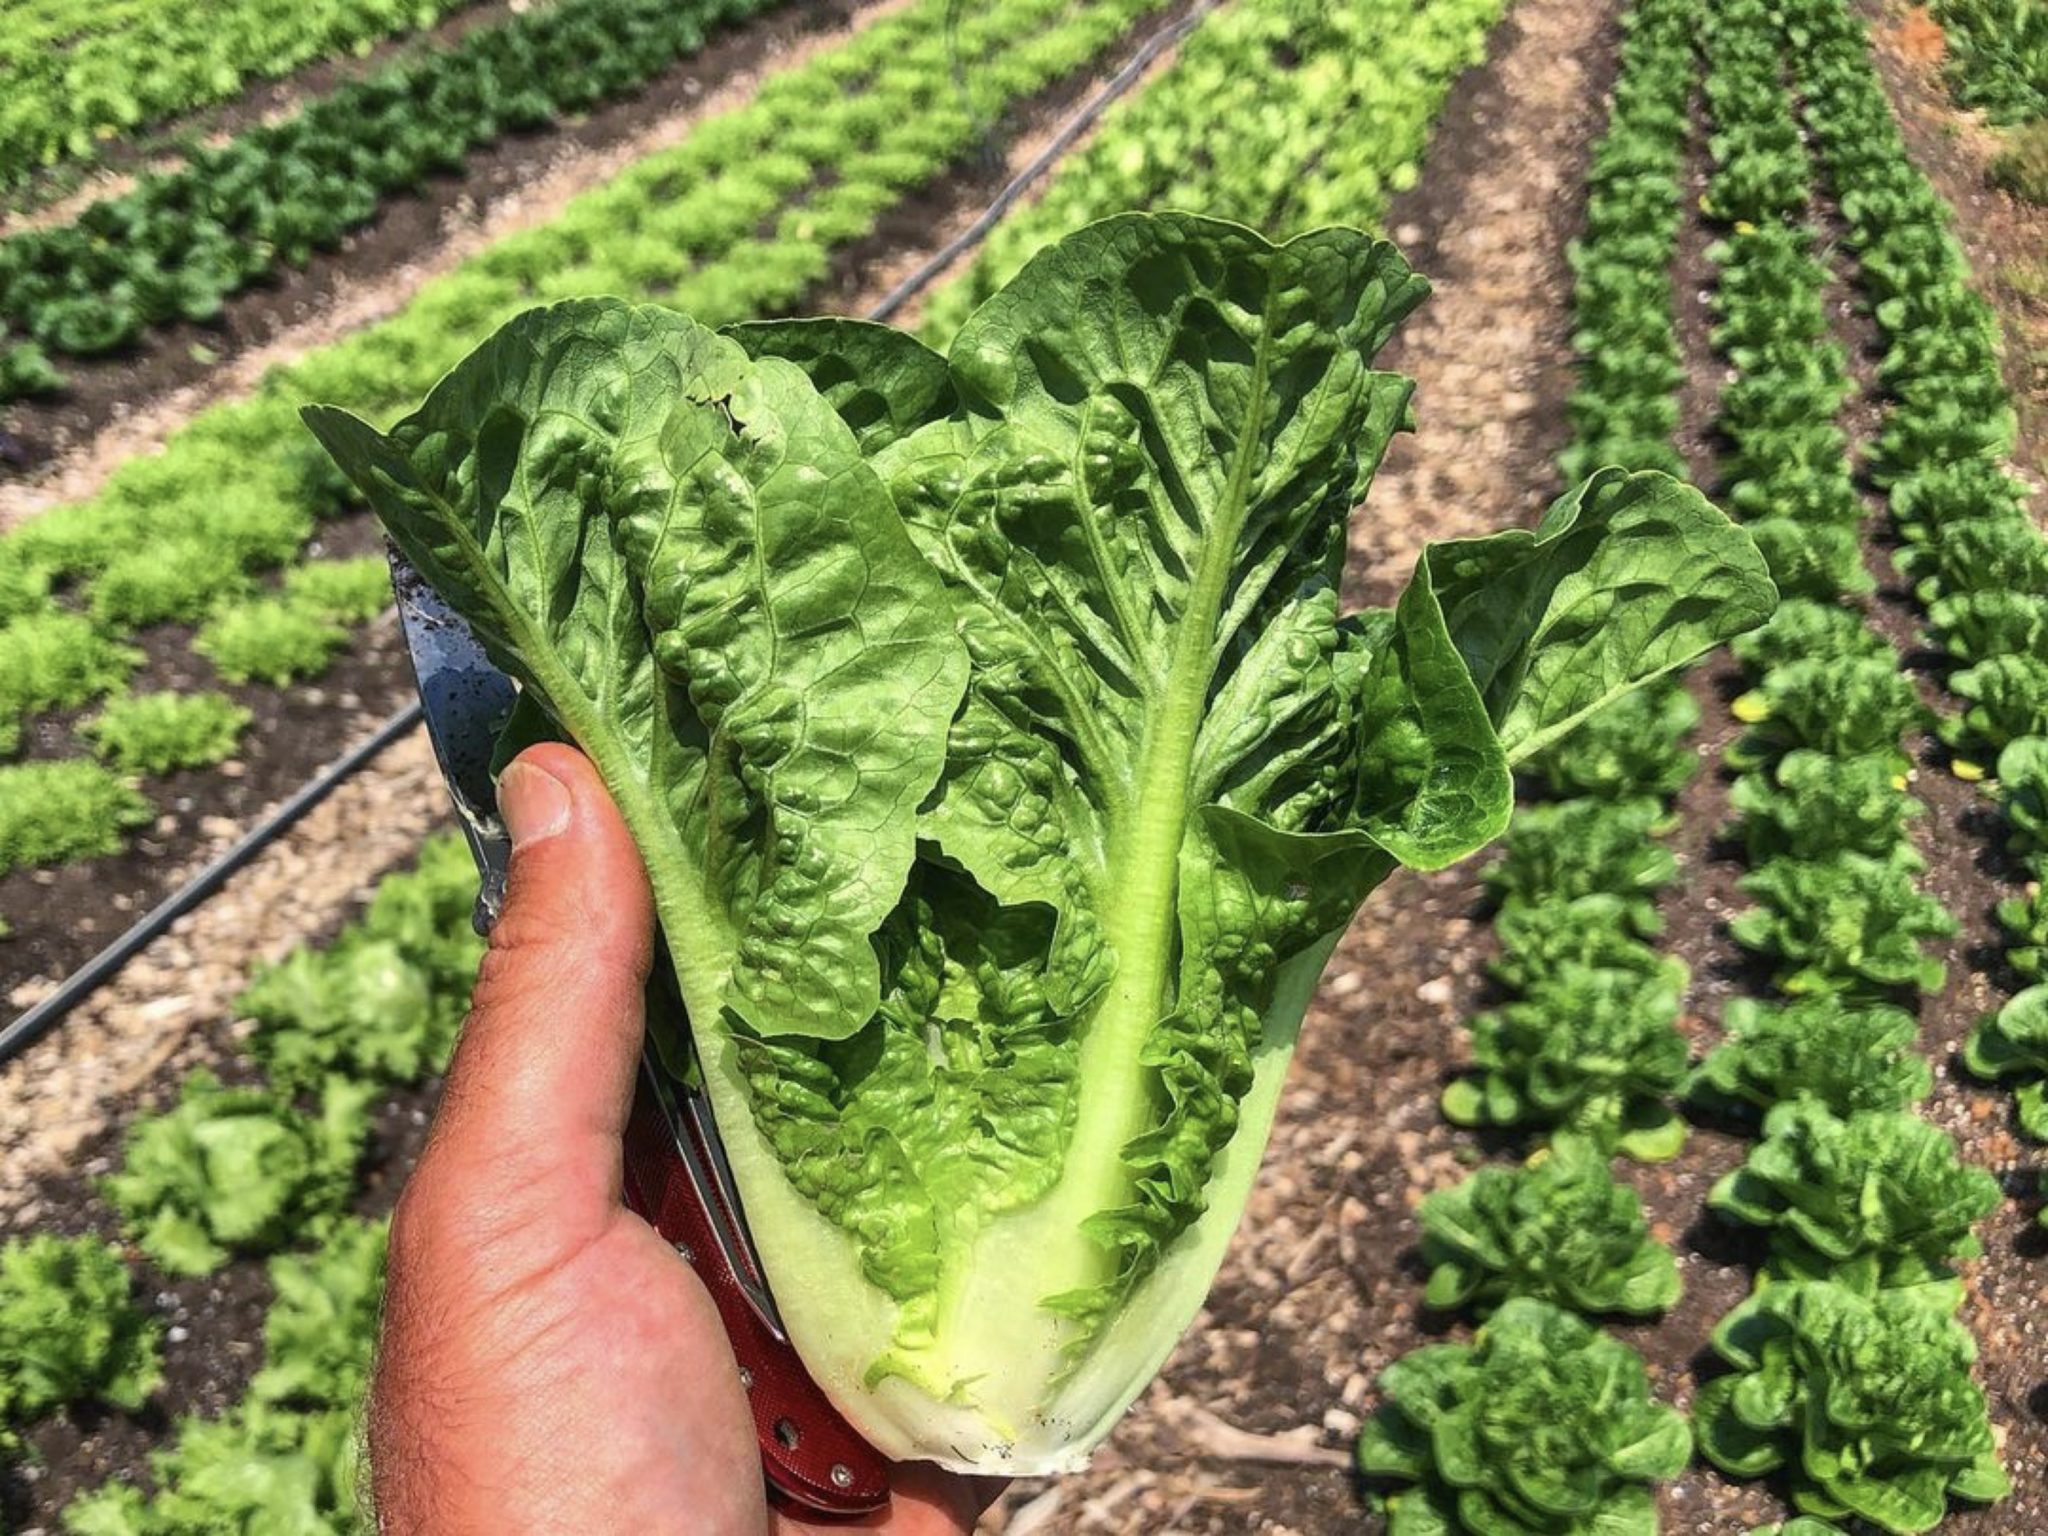
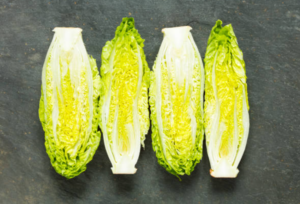
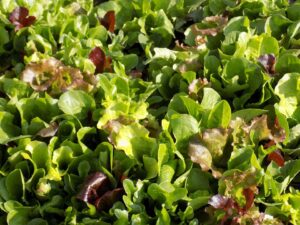
- Little gems (mini head lettuce)
- Salanova lettuce mix
- Summer crisp
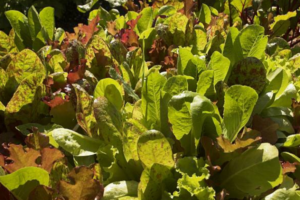
- Mini romaine head lettuce
- Storage radish
Note: Doing storage radishes in the paper chains has allowed them to get a big jump on the season, and also really nice uniformly sized radishes.
Standardizing Days to Transplant
Another point of the process they have standardized is the number of days the crops spend in the nursery, or “days to transplant.” Aside from the root crops, most of the aforementioned crops spend 28 days in the nursery from the time of seeding until ready for transplanting. Beets would be the main caveat. They often need to go in sooner to avoid fungal issues (“damping off”) or maturing too quickly at certain times of the season. Because of this, beets will sometimes do best to be transplanted in three weeks rather than four.
Standardizing Potting Mix
Steadfast Farm used to have one potting mix for their microgreen trays and then another for all of their field crops. It was a premium mix for the field crops with more fertility, and then a lower octane mix for the microgreens.
With these two different mixes, there was the potential of somebody grabbing the microgreens’ potting mix and using it for the field crop seedlings, which would then lead to low fertility issues for those high-value crops! This was an issue Erich had encountered in the past and wanted to edge out.
That’s why they decided it was worth paying more to use a premium potting mix for their microgreens. Making that sacrifice in the cost of the potting mix was worth it to avoid those problems. Another choice in favor of standardizing a process, even with a small increase in cost.
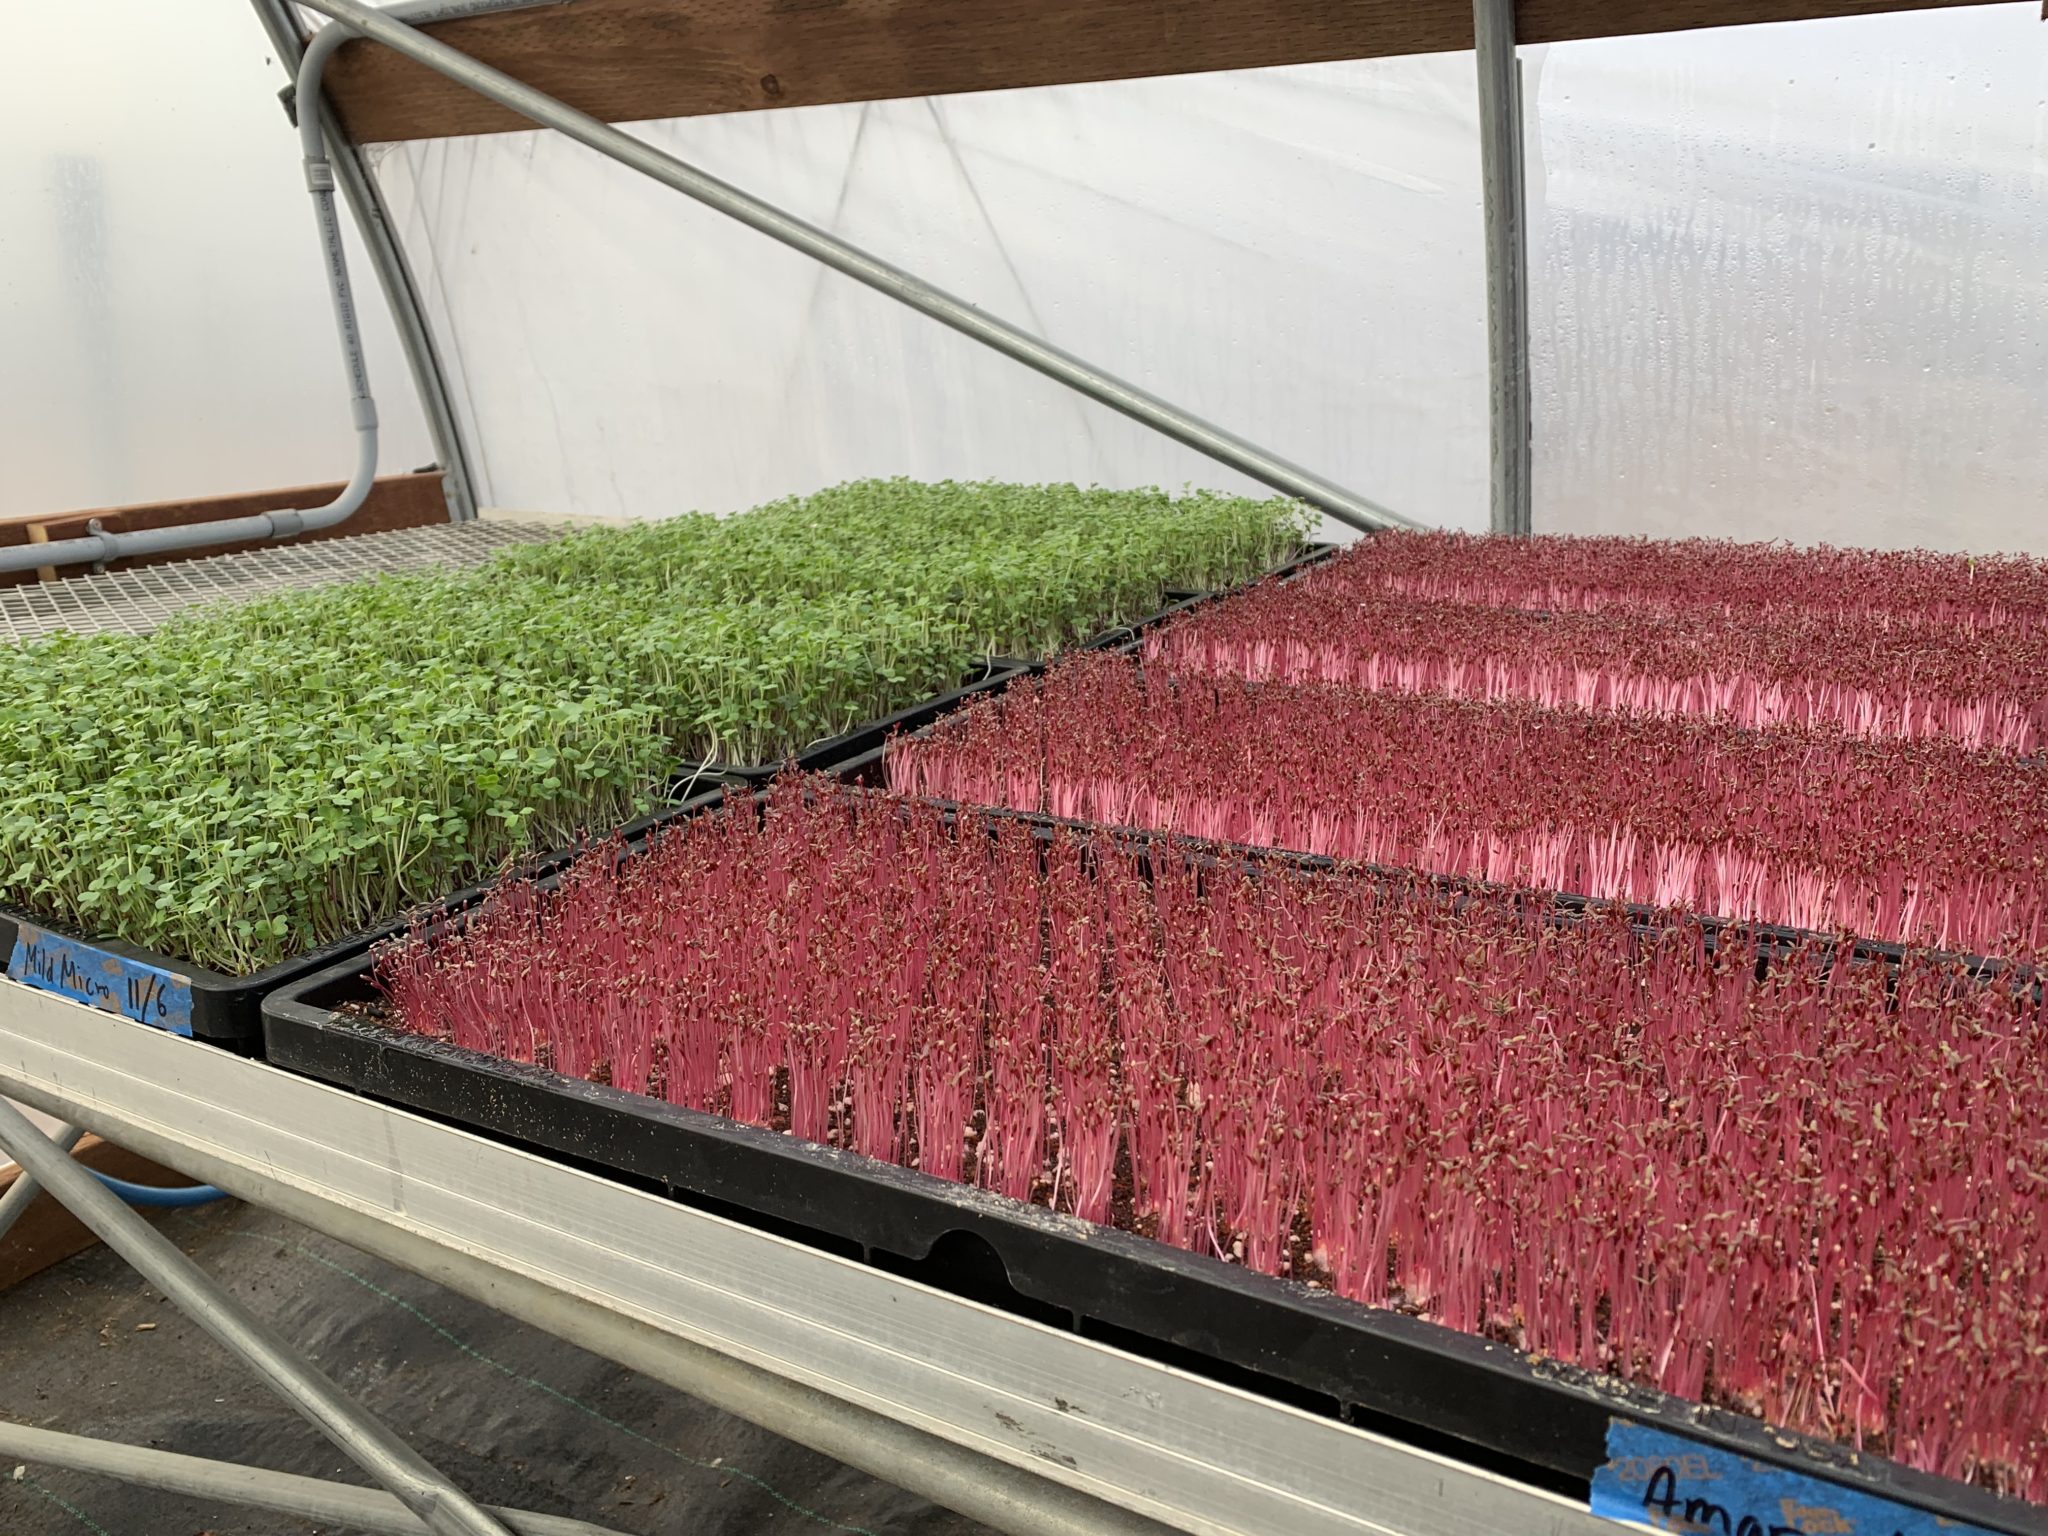
Standardizing Germination
While there are specific germination temperature targets for different crops, most of the time, there’s going to be a mix of crops going into the germination chamber on most days. Erich has found that 77-78°F (25-25.5°C) is the sweet spot temperature that most crops will germinate well in.
Their germination chamber is a DIY modified freezer. It cools from the native freezer components, and a crockpot in the bottom is used for the heating element. They also added a pond fogger for increasing humidity, and they also have a small waterproof fan installed that helps the air and humidity circulate. Adding the fan is one improvement they’ve made in the last couple of years to avoid having various microclimates form within the germination chamber. The fan has helped to keep things consistent throughout. The supplied shelving that came with the freezer was removed, and they had custom slide-out racks fabricated, allowing them to fit about 50 paperpot trays! All of their paperpot crops go in the germination chamber directly after seeding with the drop seeder.
Their germination chamber is only filled to capacity when they’re first moving into the season and seeding very heavily. Each crop that goes in has a time target, i.e. 48 hours for lettuce. Keeping good notes and setting alarms to check on germination is key, especially as there is no light in the chamber. If trays are not removed right as the seeds are beginning to pop, they’ll end up with leggy, unhealthy crops. As a general rule, trays are pulled if about 10% of the cells are visibly germinating. That is enough indication that all the others are also in process and the whole tray can be moved to the greenhouse tables. Waiting past that point is too much of a risk.
Standardizing Fertility
Steadfast Farm uses an organic pro mix potting soil that has a bio-fungicide and mycorrhizae included. The mix also initially contained chicken manure for the fertilizer charge, but they found that it was burning off too quickly. It just wasn’t quite enough to get the seedlings through that one month of growth in the nursery.
Because of this, they began adding a boost of fertility 7-10 days after seeding. They use a composted chicken manure crumble product, which they sift through a really fine sieve. This creates a fine, granular composted chicken manure powder that is very stable. At this point, they do a light dusting over each tray. It’s important to do this at that 7-10 day mark while the plants are still popping up and before they’ve stretched out and covered the cell. The goal is to get this fertilizer in contact with the soil.
After a light dusting, they’ll do a quick watering to rinse off the plants and get the fertilizer into the soil. Erich said this has proven to be a real game changer, as they’ve seen a nice surge in growth as well as much bigger transplants going into the field at that four-week mark.
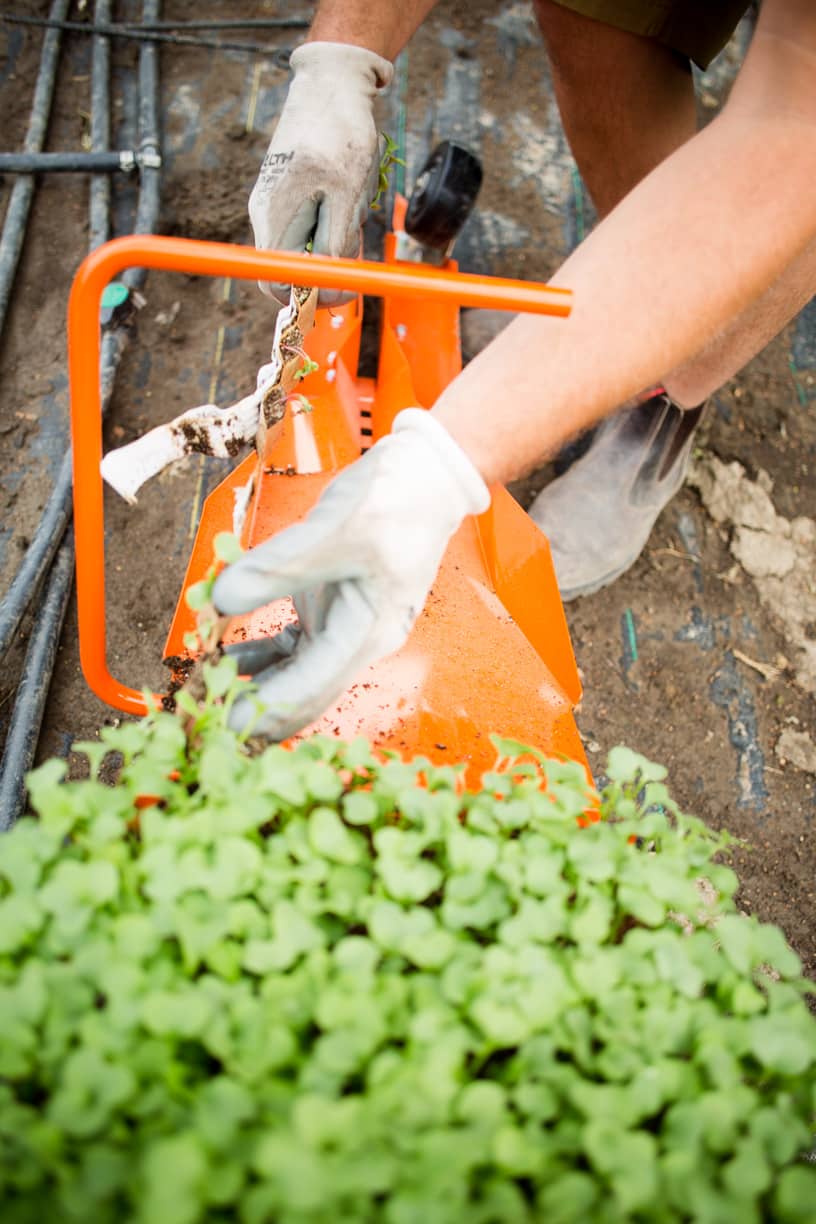
In addition to that, they do a “root dip” with a liquid kelp product for all of the trays just prior to getting transplanted. This has helped the plants make the transition from the nursery to the field and to reduce transplant shock.
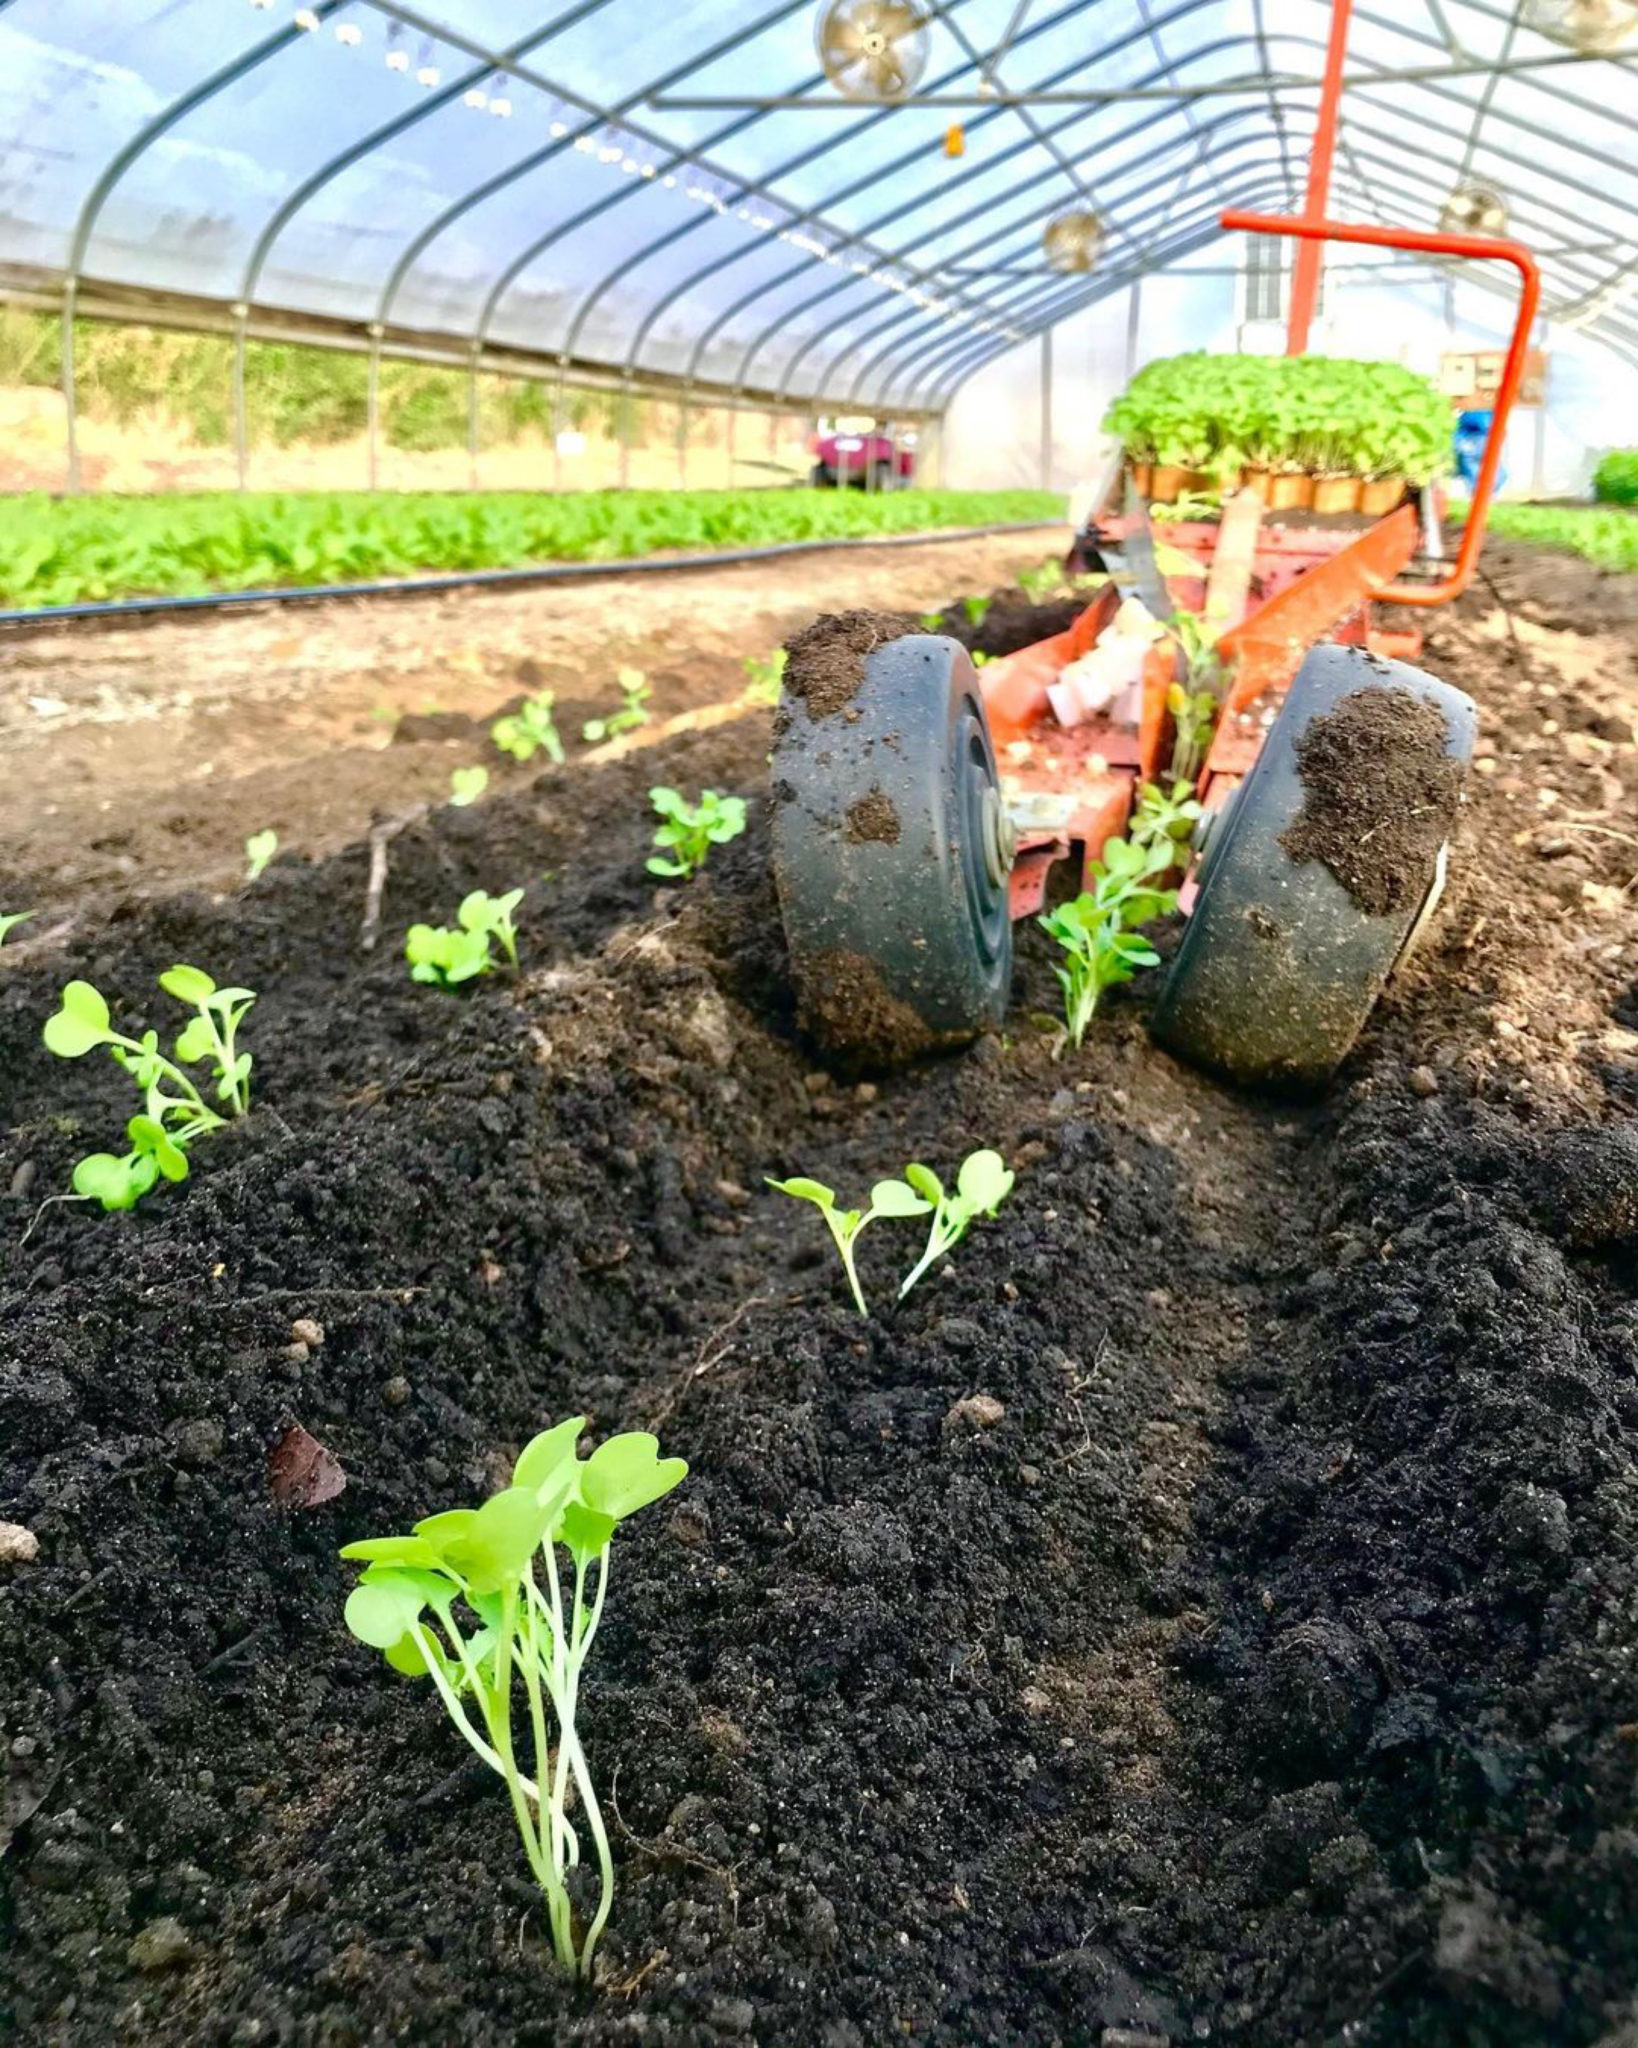
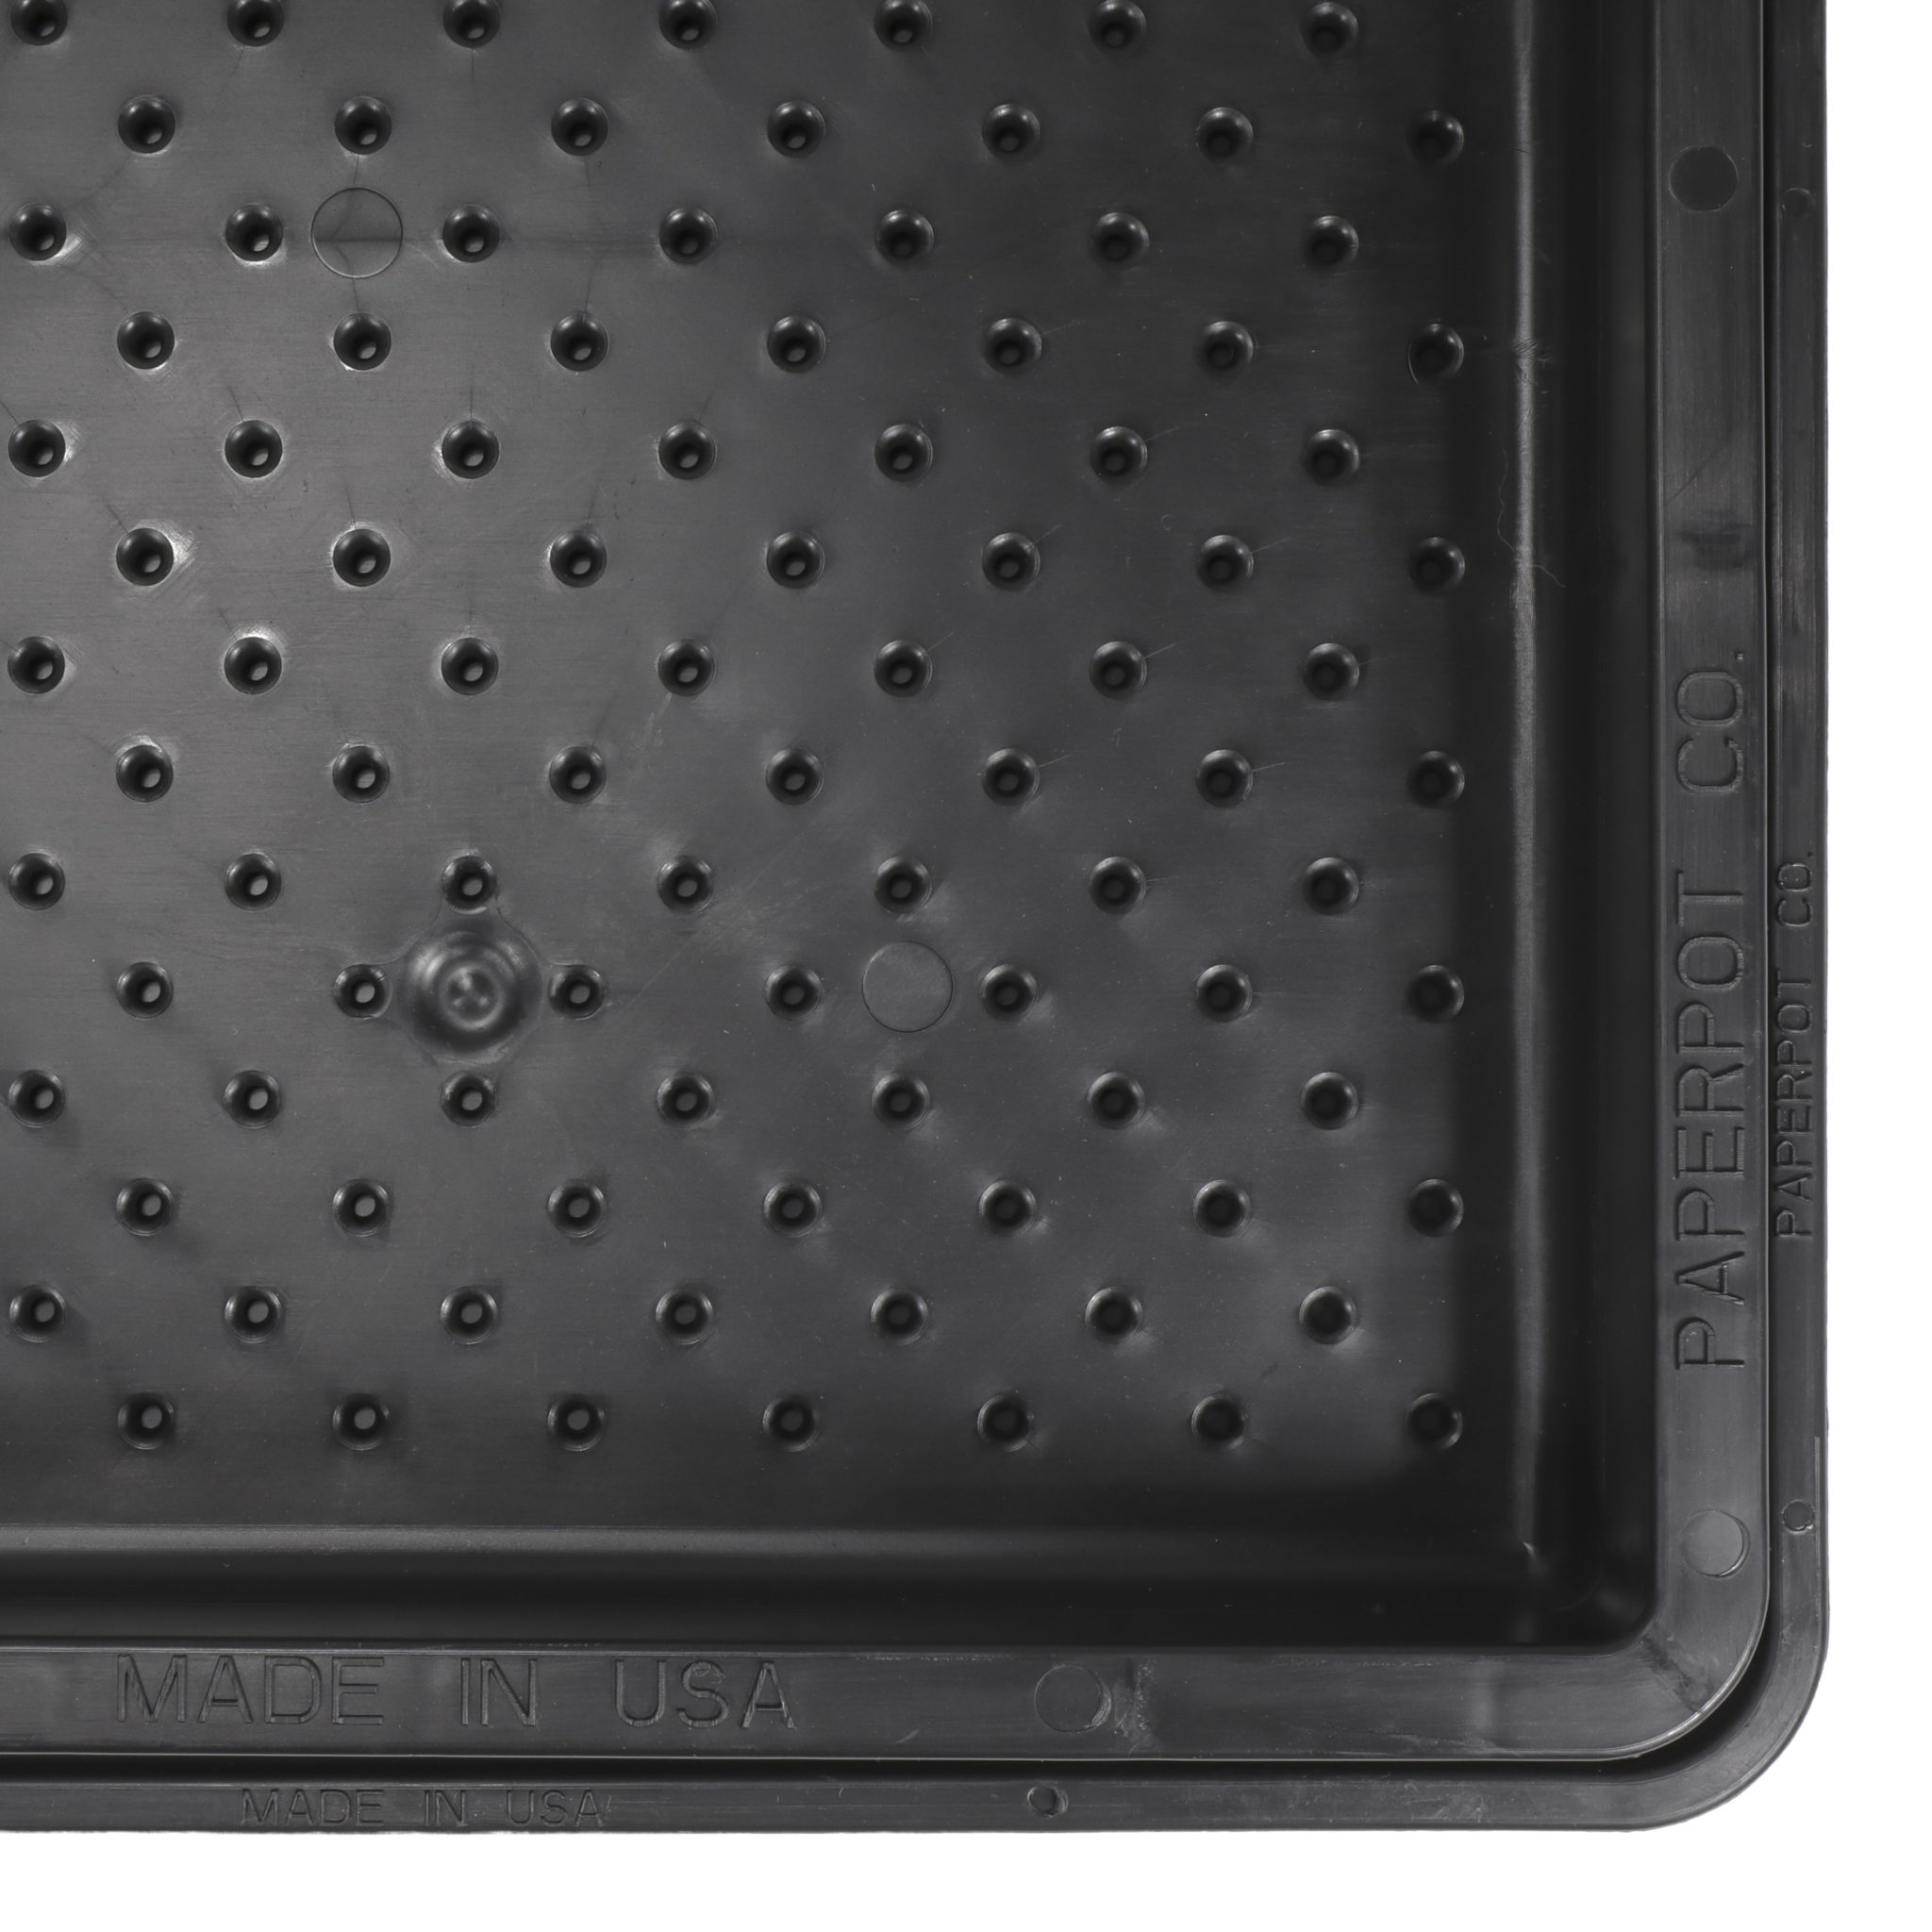
Standardizing the Nursery: Humidity Domes and Bottom Trays
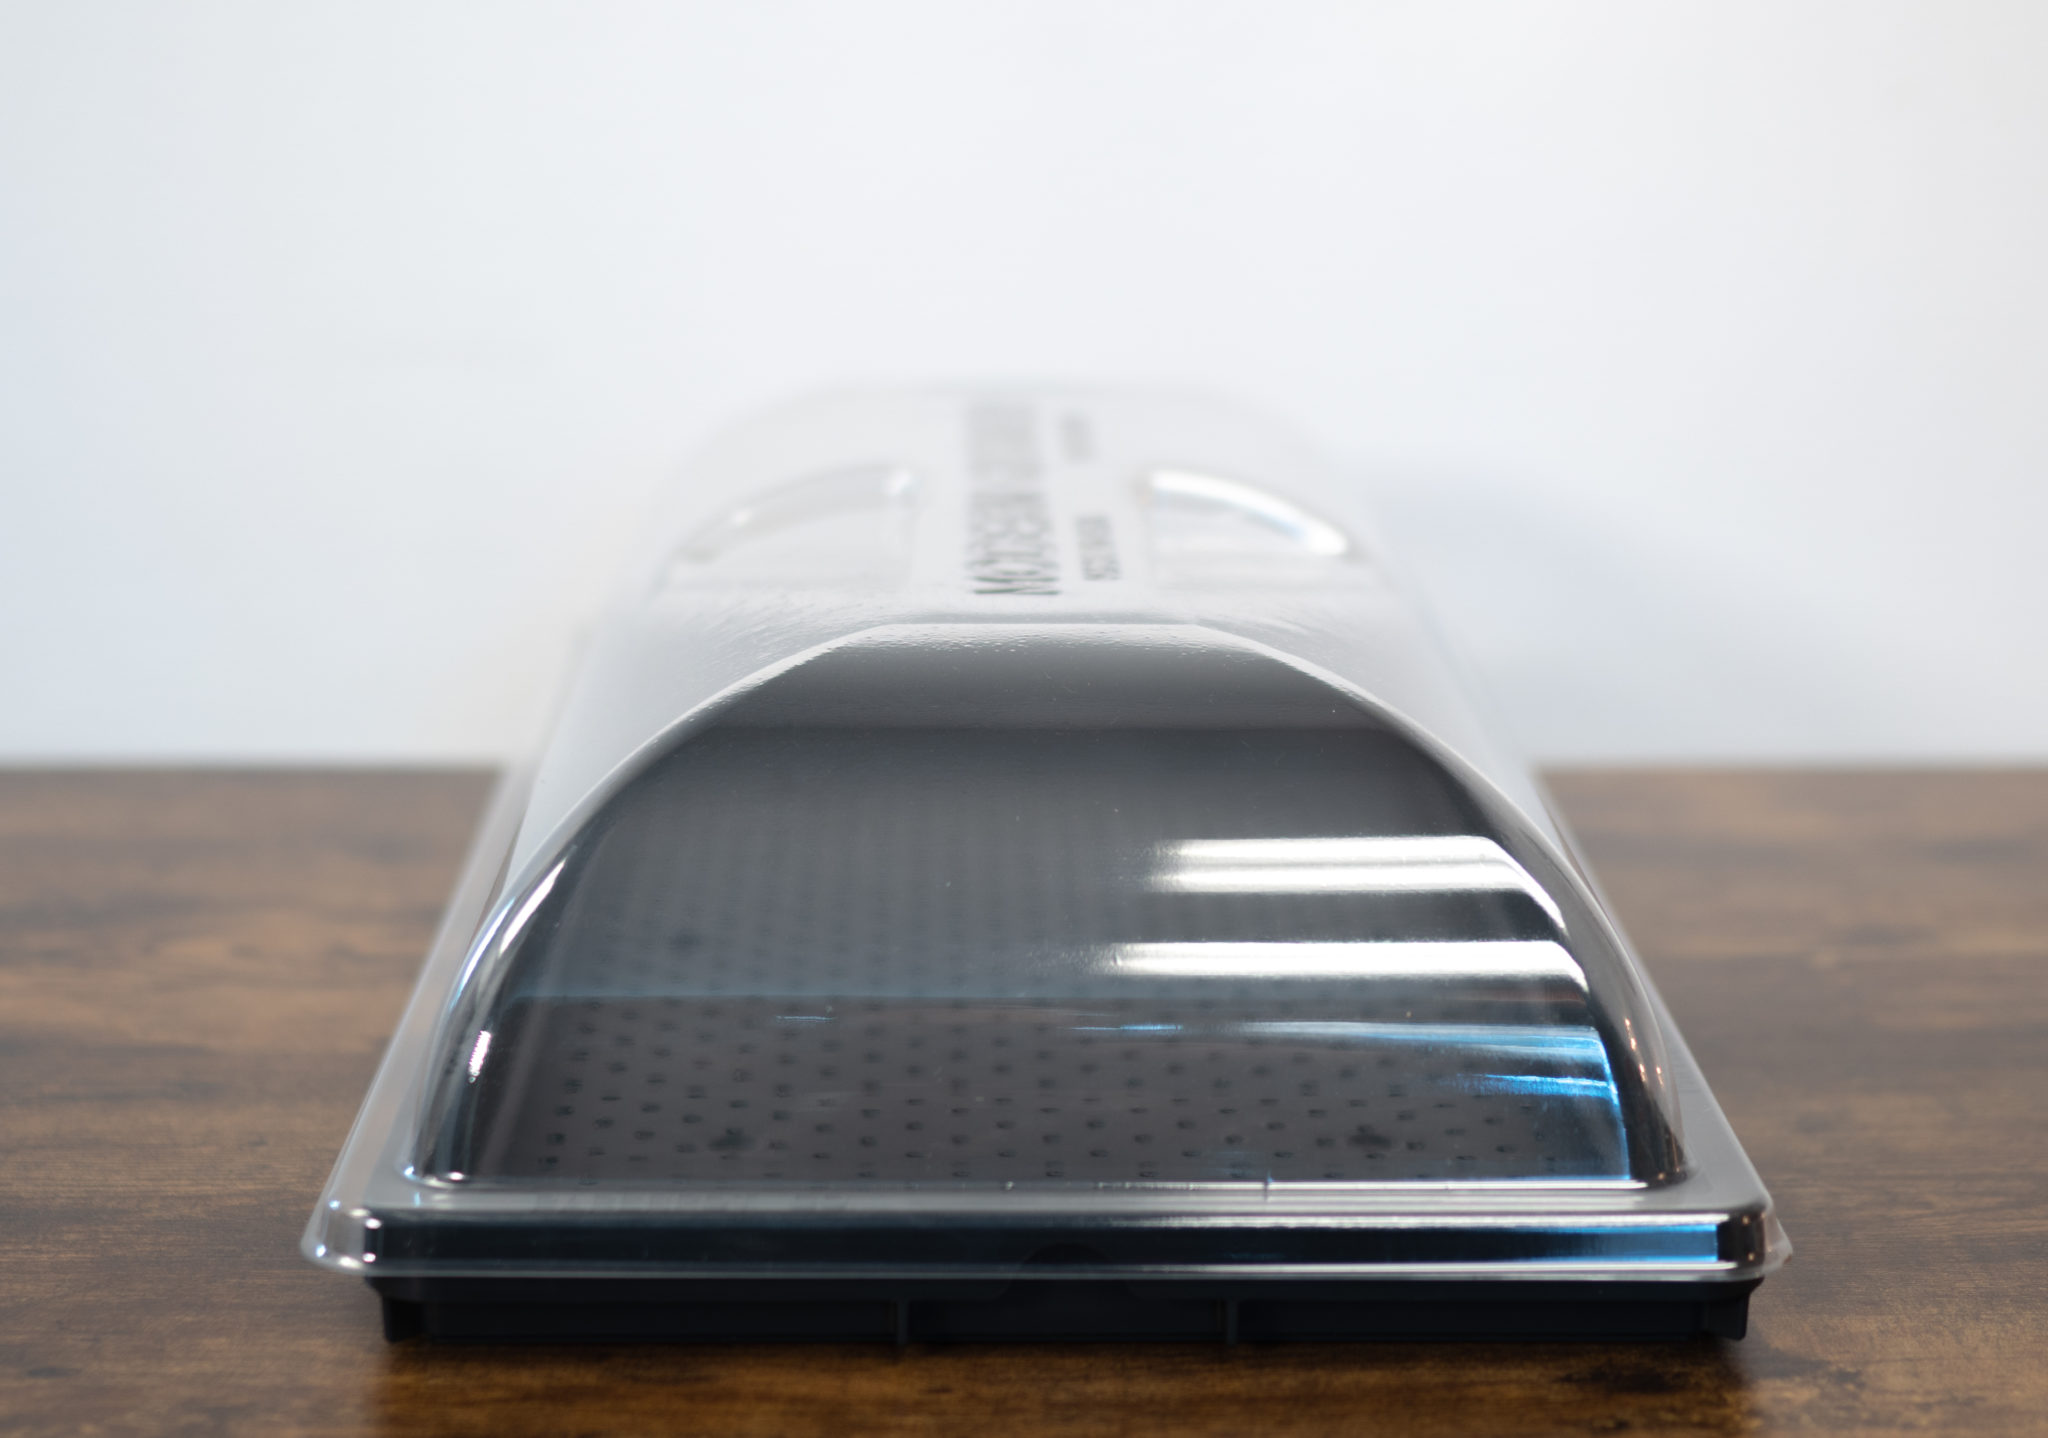
Over the past year, Erich began using the Paperpot Humidity Domes, as well as the solid bottom trays (which are designed to fit perfectly underneath the Paperpot germination trays).
They use the humidity domes for a couple of reasons. As soon as a crop comes out of the germination chamber, they put the humidity domes over the trays. Since trays are pulled when just 10% of the seeds are showing visible signs of popping, the rest are still in the very early stages of germination. As such, they still benefit from higher humidity to ensure the successful completion of the process for all of the seeds.
Erich has found that they get a much higher percentage of germination in the paper chains when adding the humidity domes after the germination chamber. And a high percentage of germination is one of the most critical things in the paper chain system. In general, the trays are spending their first 48 hours in the germination chamber, and then the next 48 hours in the nursery space under humidity domes. During parts of the year with less daylight, they’ve even put the trays with humidity domes in their microgreens room under grow lights for those next two days to help with germination.
They’ve also found that adding the humidity domes to trays of seedlings acts as a thermal blanket for protection from the cold. Being in Mesa, Arizona, none of the tunnels at Steadfast Farm are heated in any way. The passive heat from the clear poly is plenty. Mid-afternoon in the wintertime, they place humidity domes over the plants to make sure they continue to size up really well. This traps heat and adds one more layer of protection for the plants. They are then taken off mid-morning the next day.
The Paperpot solid bottom trays have also been extremely helpful when contending with the high summer temperatures in Arizona. With the size of paper chain pots being relatively small, there’s a lot of opportunity for things to dry out in extreme heat. This means a small margin of error for maintaining the right amount of moisture in those trays.
With the solid bottom trays underneath the perforated germination trays, even when they water from above, the water is prevented from draining through and running out the bottom. The plants and soil get what they need from above, and then as they begin drying out in the high heat, they are able to uptake the excess water from below. This has helped them to prolong the time in between waterings, which is super helpful in Arizona summers. Without the solid bottom trays, they would be watering three times a day when it’s 110°F (43°C). However, by adding the solid bottom trays, they now only have to water once a day, or once every other day. For their context, it has worked wonderfully.
Conclusion
So there it is! One farmer’s attempt to standardize as much as possible to reduce decision fatigue. Hopefully, this information will help to inspire some ideas of how you might do the same on your farm. Keep it simple. Keep it fun!
If you’ve got some Paperpot Transplanter tips or tricks of your own, we’d also love for you to share them with us!
Relevant Links
Designing Market Farms for Success | Switching from 30″ Beds to Standard Row Spacing | Tips for Transplanting Crops Early


Jay Valencia
Visiting Steadfast Farm was a big event for me. Upon arrival I found that we were a little late for the tacos and coffee but could still get fresh carrots and radishes along with some artisan bread. Grabbed a bag and a shirt as well. Sat in the car for a bit and then Erich showed up. He was under the weather and I had texted him prior to arrival but was very happy he came down. We got to chat a but and then Chase showed me around. After years of watching Erichs progress from farm to farm this was definitely the one to check out. It was like walking into a YouTube video, of which Curtis Stone had been the host.
It was immaculate and everyone was happily doing their work. There was even time for a visitor like me. As a fledgling farmer I was very impressed and they have definitely set the bar for an agrihood farm design. The surrounding park was well designed with the farm at the center. The farm was absent of operational stress and it showed in everyone’s personality.
So happy to have gone two hours out of the way to make it here. We drove home from California to New Mexico and it was a definite bucket list type item.
Lucas
Amazing article. Thank you so much for putting out content like this. It is so cool to have a company put out so much good information for free. All of the growing notes and articles you make are the missing resource from all the market garden books I have read.
Seth
Thank you, Lucas! This kind of feedback makes all the hard work with it. So glad to hear it’s been a good resource for you.